View methods side by side.
Choose up to four methods. Add them using the search and share the comparison by copying its link.
| Criterion | 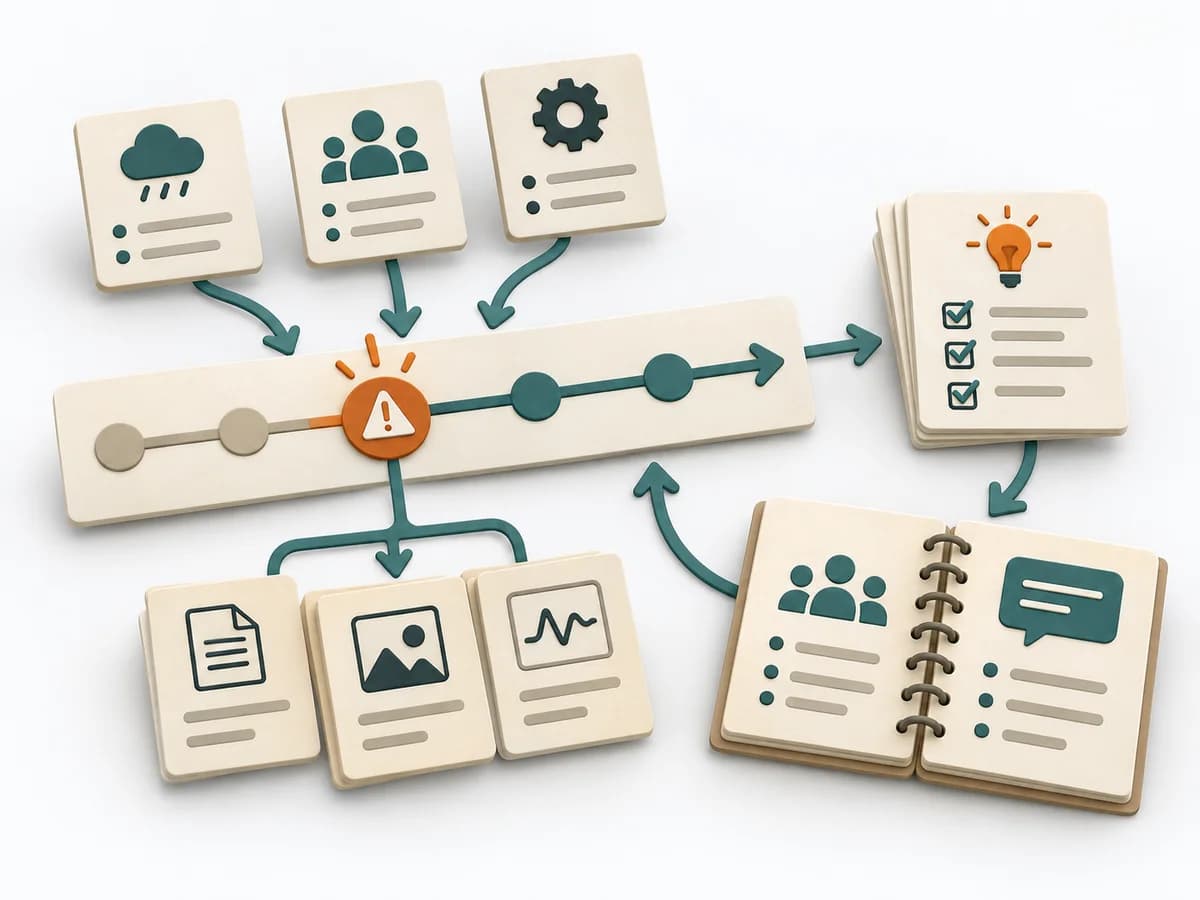 DevOps Blameless Postmortem | 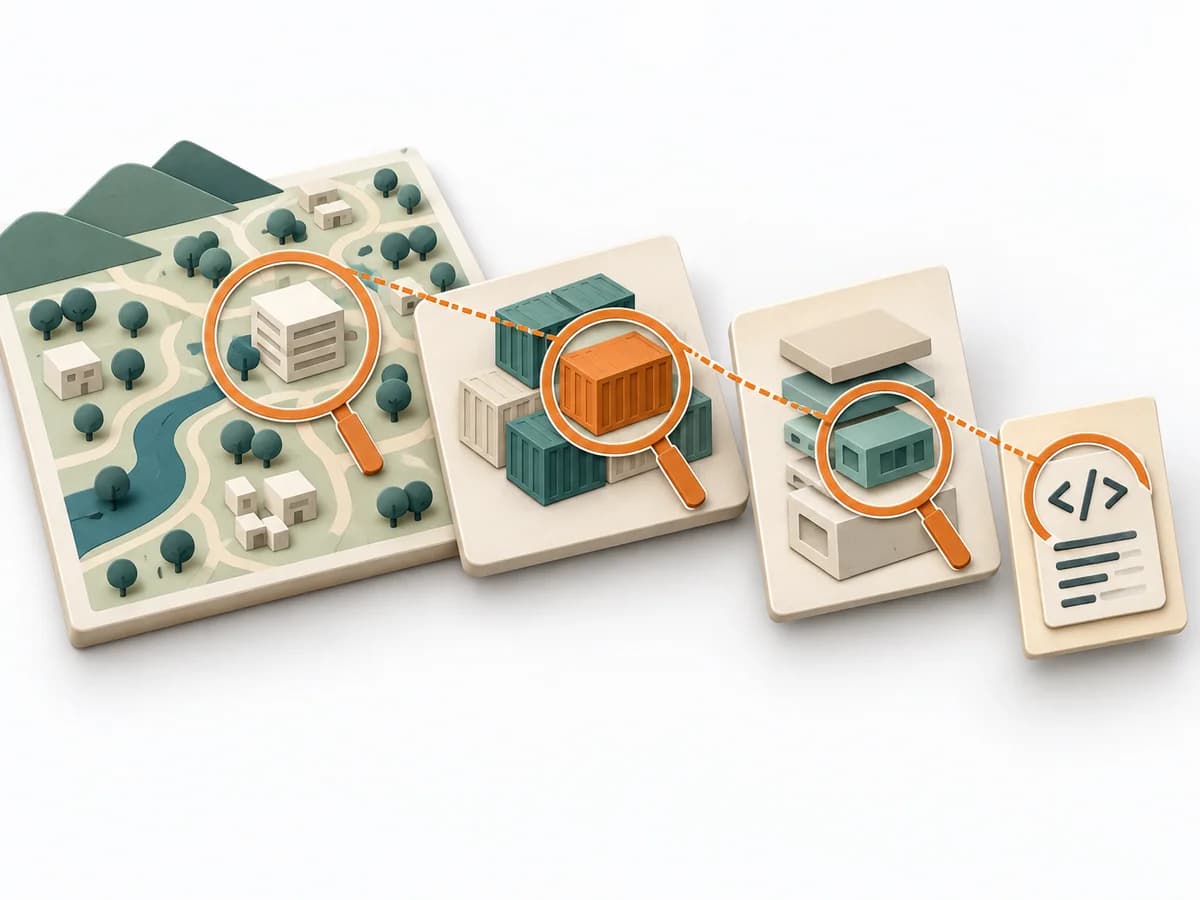 Architecture C4 Model | 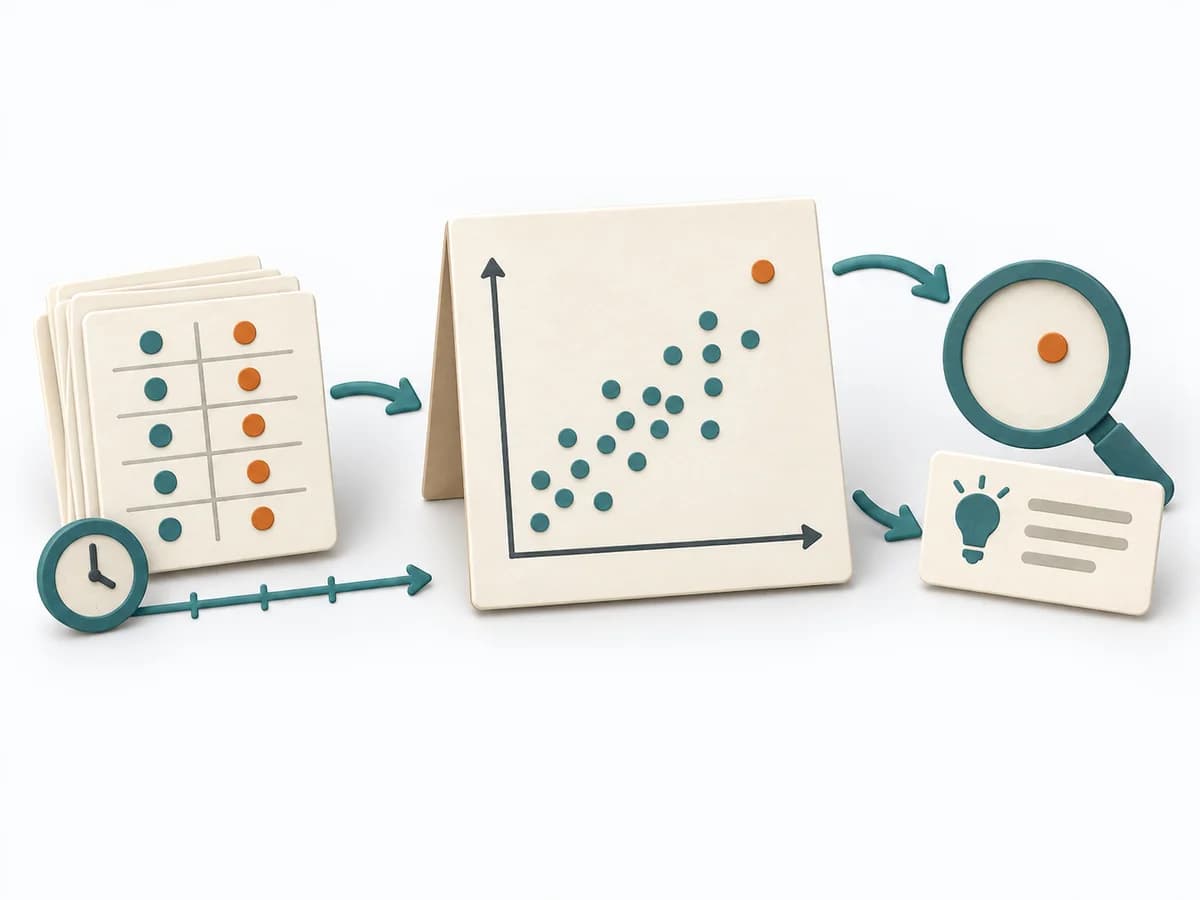 Operations Scatter Diagram |  Operations 5 Whys |
|---|---|---|---|---|
Purposedifferent | After an incident with damage or a near miss, the method creates a sober field for learning without assigning blame. It directs attention to the course of events, conditions, and effective countermeasures. | The C4 Model makes a system legible across several resolution levels, from context down to code. It suits situations where different audiences need to understand the same architecture from different altitudes. | When the question is whether two measures are related, the method makes patterns in the data picture visible. It separates felt correlations from relationships that actually show up in the data. | For a single, hard-to-explain deviation, the method exposes the causal chain behind the visible symptom. It keeps the cause open until a controllable condition emerges instead of a mere description. |
Complexitydifferent | Medium | Low | Low | Low |
Timedifferent | 30-90 min | 1-4 h | 30-90 min | 15-30 min |
Participantsdifferent | 3-12 | 1-5 | 1-4 | 2-6 |
Formatdifferent | Workshop + async | Workshop + async | Workshop + async | Workshop |
Outputdifferent | Postmortem Doc, Action Items, Timeline | Context Diagram, Container Diagram, Component Diagram | Scatter Plot, Korrelationsnotiz, Hypothesenliste | Root cause notes, Countermeasures |
Tagsno overlap | Site Reliability EngineeringIncidentLearningReliability | ArchitectureCommunicationVisualization | Root causeQualityVisualization | Root causeIncidentLeanProblem solving |