View methods side by side.
Choose up to four methods. Add them using the search and share the comparison by copying its link.
| Criterion |  Decision Making Argument Mapping |  Decision Making OODA Loop |  DevOps Blameless Postmortem | 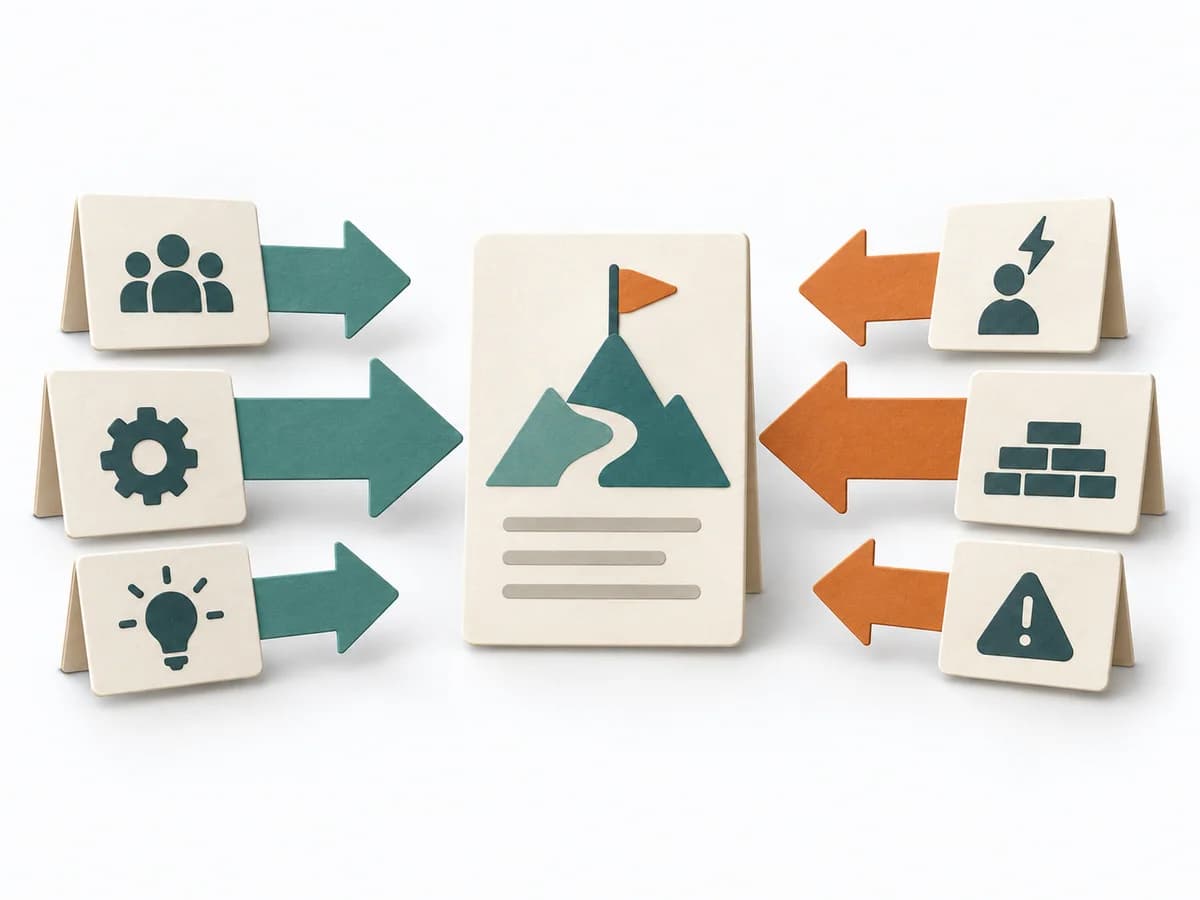 Decision Making Force Field Analysis |
|---|---|---|---|---|
Purposedifferent | When statements, evidence, and counterarguments get mixed up, a debate quickly loses its structure. Argument Mapping breaks a thesis down into its reasoning and makes visible what it really rests on. | In dynamic situations, decisions become outdated faster than they can be prepared. The OODA Loop holds observing, orienting, deciding, and acting together as a recurring rhythm so reaction does not slide into inertia. | After an incident with damage or a near miss, the method creates a sober field for learning without assigning blame. It directs attention to the course of events, conditions, and effective countermeasures. | In change initiatives, supporting and restraining forces sit at the table at the same time. Force Field Analysis makes these tensions explicit and shows where change can be pushed forward by strengthening or relieving. |
Complexitydifferent | Medium | Medium | Medium | Low |
Timedifferent | 1-3 h | 15-60 min je Zyklus | 30-90 min | 45-90 min |
Participantsdifferent | 1-8 | 1-8 | 3-12 | 3-12 |
Formatdifferent | Workshop + async | Workshop + async | Workshop + async | Workshop |
Outputdifferent | Argument Map, Evidence Gaps, Decision Rationale | Situation Assessment, Decision Loop, Action Updates | Postmortem Doc, Action Items, Timeline | Force Field Map, Change Levers, Risk Notes |
Tagsno overlap | SensemakingDecisionRationale | DecisionChangeLearningStrategy | Site Reliability EngineeringIncidentLearningReliability | ChangeDecisionStrategy |