View methods side by side.
Choose up to four methods. Add them using the search and share the comparison by copying its link.
| Criterion |  Operations Visual Management | 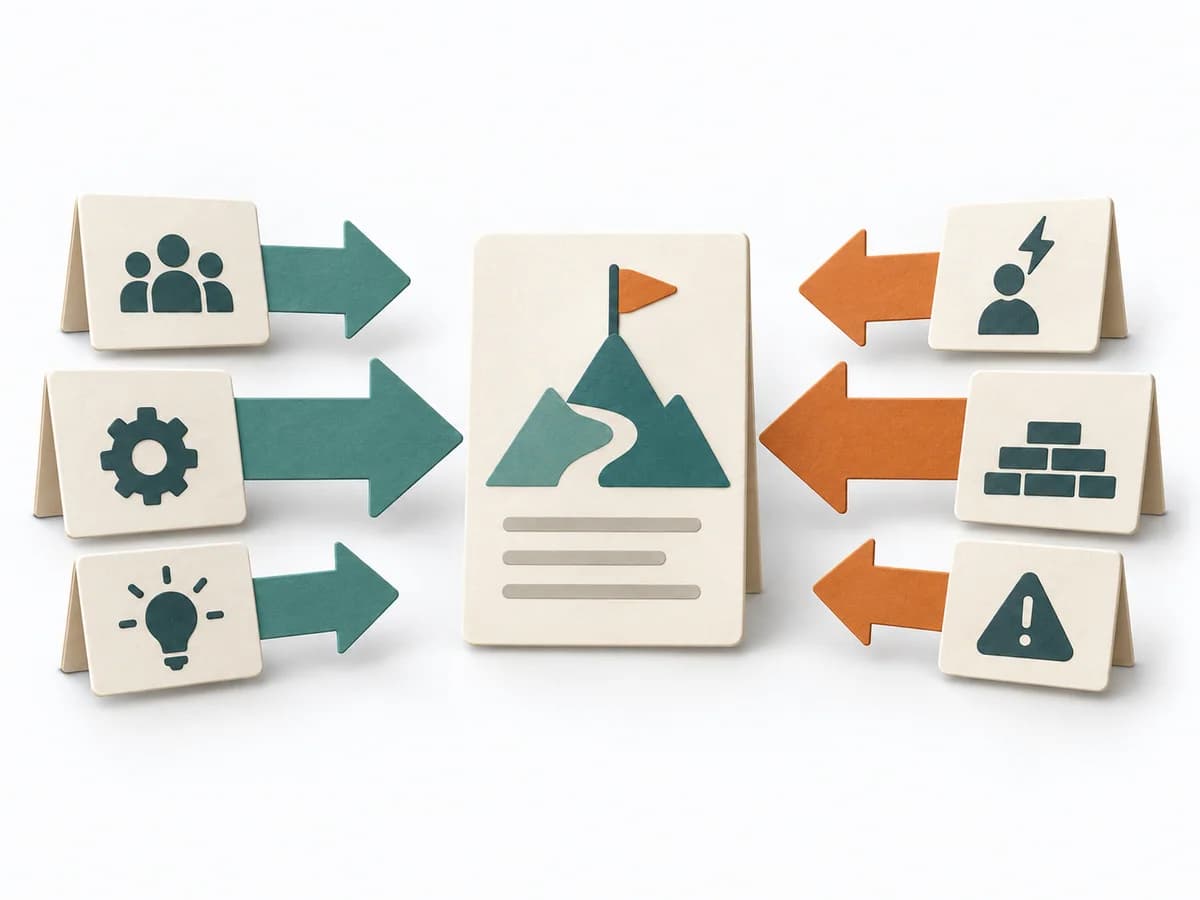 Decision Making Force Field Analysis | 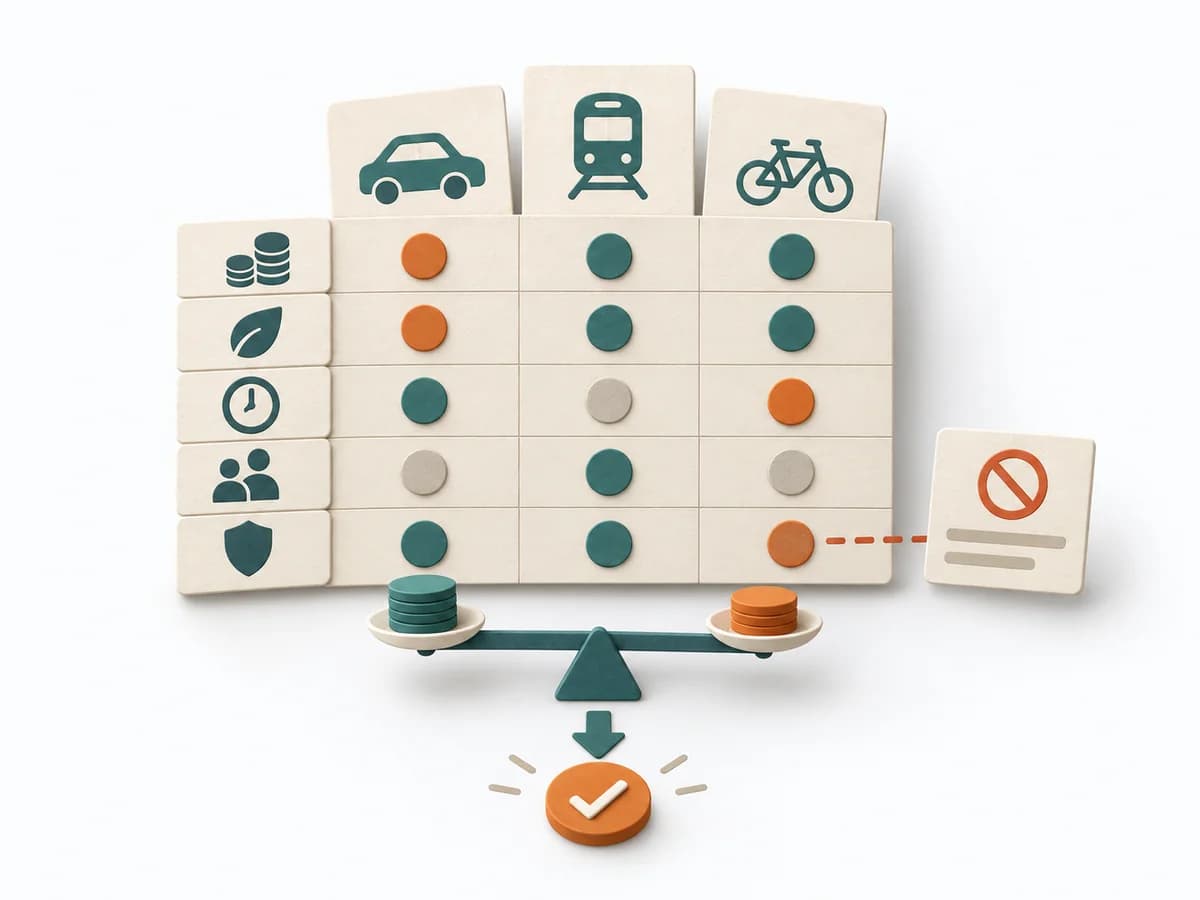 Decision Making Trade-off Analysis |  Decision Making OODA Loop |
|---|---|---|---|---|
Purposedifferent | With high tempo and many parallel topics, the method makes status, deviations, and priorities visible at a glance. It reduces search effort and prevents what matters from getting lost in daily work. | In change initiatives, supporting and restraining forces sit at the table at the same time. Force Field Analysis makes these tensions explicit and shows where change can be pushed forward by strengthening or relieving. | With limited resources, quality, speed, cost, and risk almost always compete with each other. Trade-off Analysis makes these tensions explicit and prevents decisions from producing hidden side effects. | In dynamic situations, decisions become outdated faster than they can be prepared. The OODA Loop holds observing, orienting, deciding, and acting together as a recurring rhythm so reaction does not slide into inertia. |
Complexitydifferent | Low | Low | Medium | Medium |
Timedifferent | Ongoing | 45-90 min | 45-120 min | 15-60 min je Zyklus |
Participantsdifferent | 1-20 | 3-12 | 2-8 | 1-8 |
Formatdifferent | Workshop + async | Workshop | Workshop + async | Workshop + async |
Outputdifferent | Visual Board, Status Indicators, Exception Cues | Force Field Map, Change Levers, Risk Notes | Trade-off Matrix, Criteria List, Decision Rationale, Accepted Downsides | Situation Assessment, Decision Loop, Action Updates |
Tagsno overlap | SignalsOperationsVisual management | ChangeDecisionStrategy | TradeoffsDecisionCriteriaOptions | DecisionChangeLearningStrategy |