View methods side by side.
Choose up to four methods. Add them using the search and share the comparison by copying its link.
| Criterion | 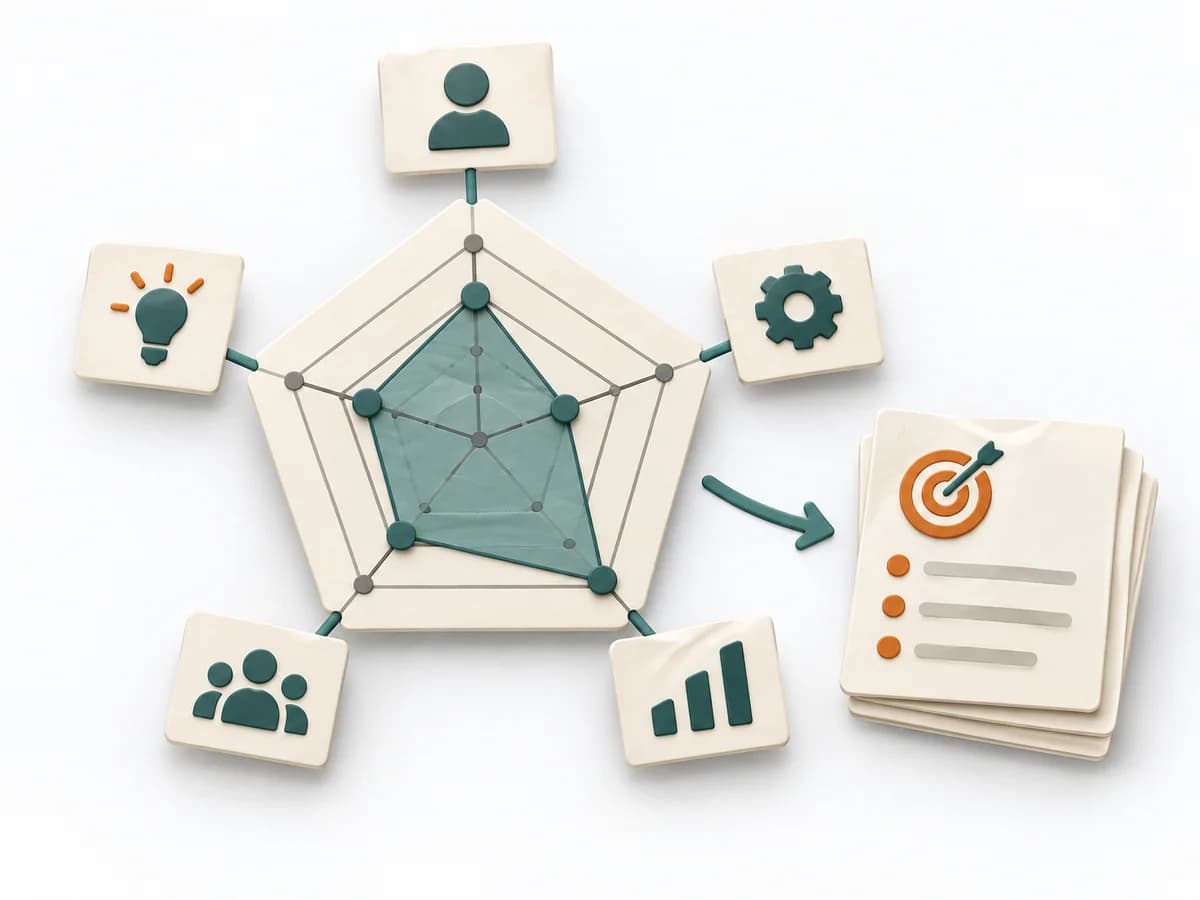 Decision Making Radar | 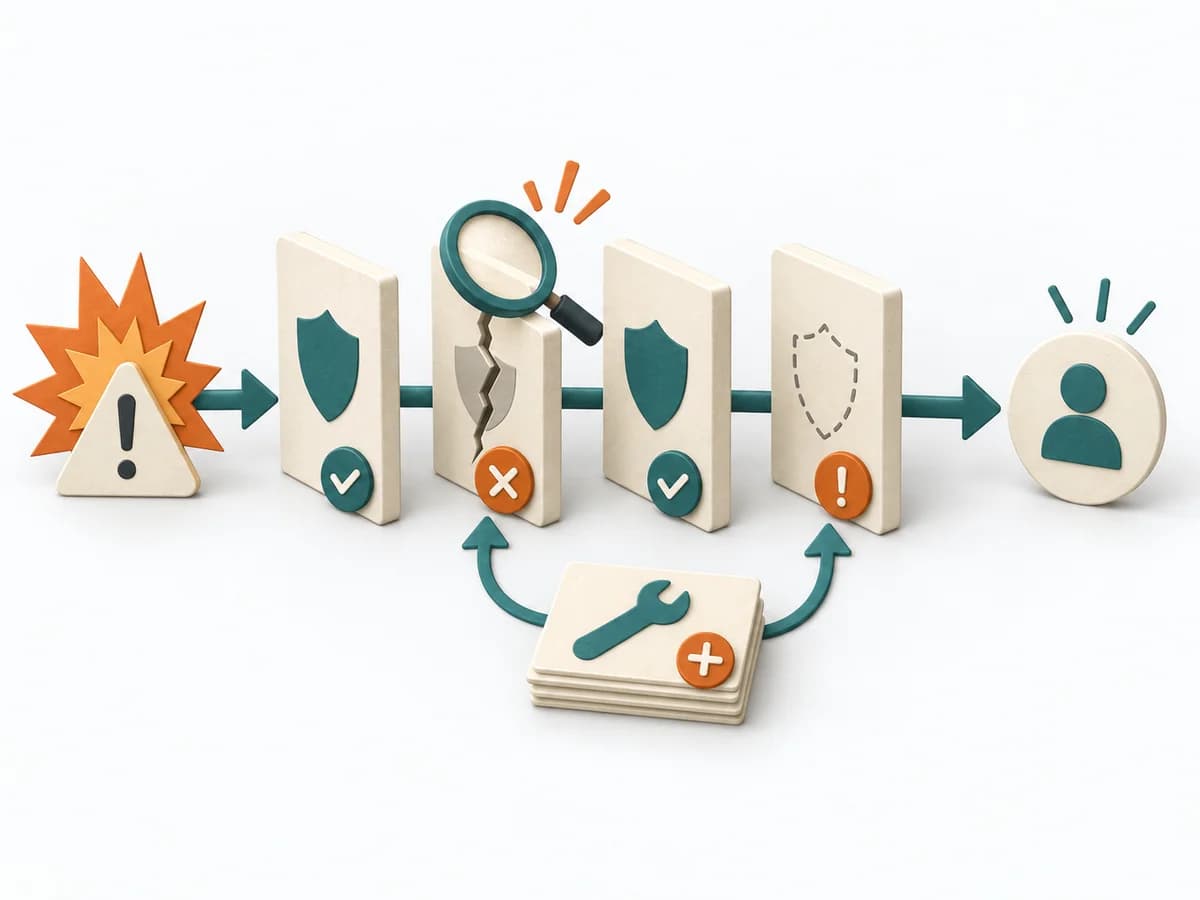 Operations Barrier Analysis | 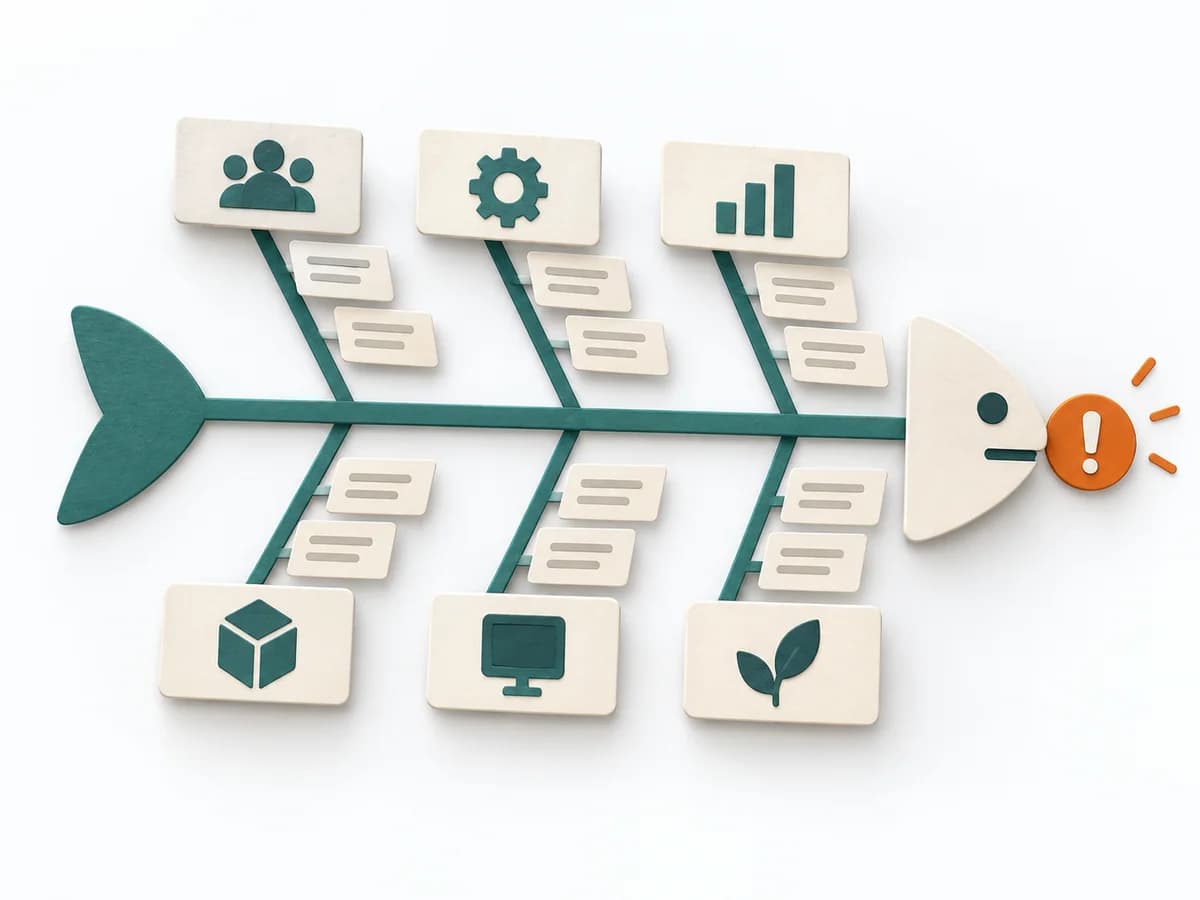 Operations Fishbone Diagram | 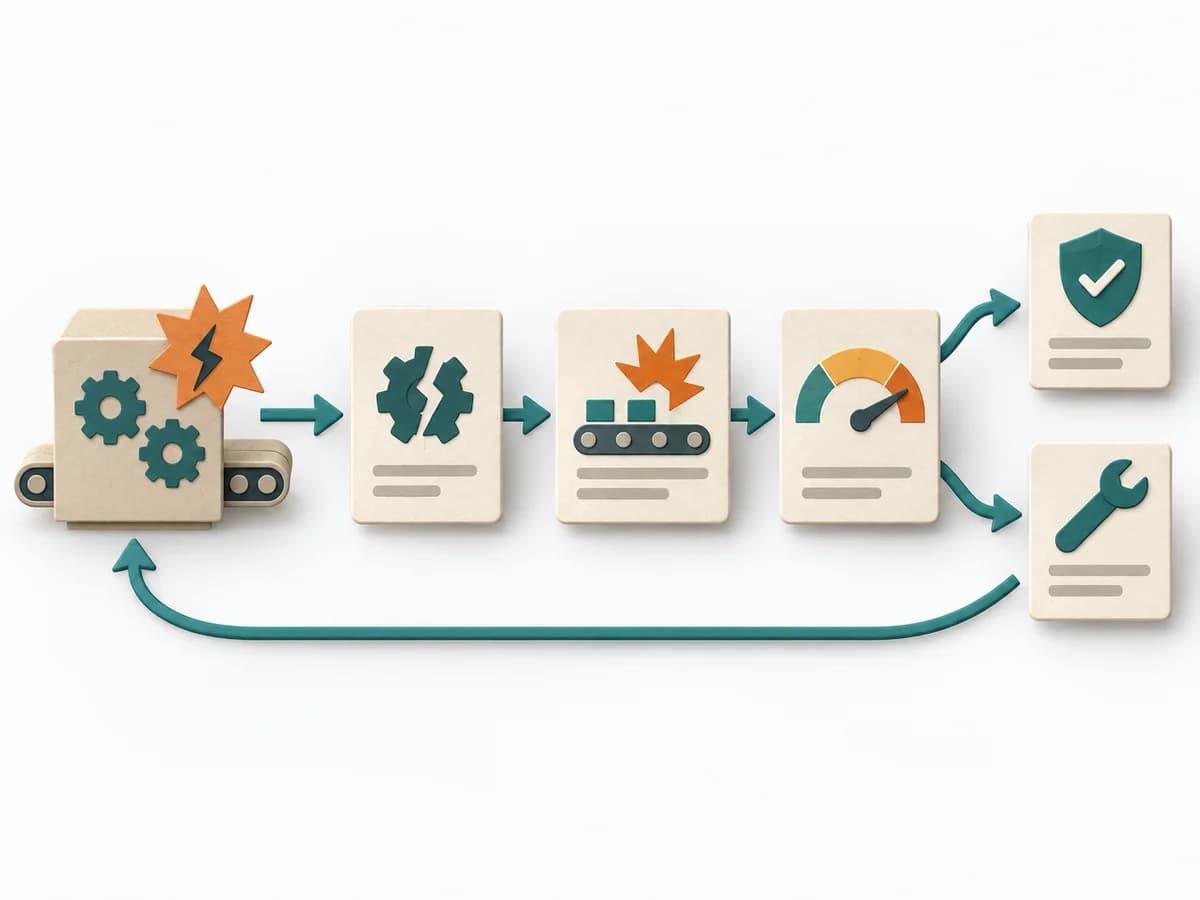 Operations Failure Mode and Effects Analysis |
|---|---|---|---|---|
Purposedifferent | When capabilities, maturity levels, or market positions need to be compared across several dimensions, overview is easily lost. Radar brings different characteristics into a shared picture and shows patterns faster than tables do. | For a risk that can only be managed through multiple layers of protection, the method examines the effectiveness of each barrier. It shows where safeguards are missing, too weak, or fail under real conditions. | When a problem has several possible contributing factors, the method sorts causes by cause areas. It prevents an initial hunch from blocking the view of other plausible drivers. | For a process, product, or service with noticeable failure risks, the method assesses possible failure modes in advance. It directs attention to combinations of occurrence, effect, and detectability. |
Complexitydifferent | Medium | Medium | Low | High |
Timedifferent | 1-2 h | 2-4 h | 30-60 min | 2-6 h |
Participantsdifferent | 2-10 | 2-6 | 2-8 | 3-10 |
Formatdifferent | Workshop + async | Workshop + async | Workshop | Workshop |
Outputdifferent | Radar Map, Capability Scores, Action Areas | Barrier Inventory, Failure Analysis per Barrier, Action Backlog | Fishbone Diagram, Cause Categories, Investigation Backlog | FMEA Table, Risk Priority, Mitigation Actions |
Tagsno overlap | AssessmentPortfolioCapability | Root causeSafetyIncident | Root causeQualityOperations | RiskQualityOperationsRoot cause |