View methods side by side.
Choose up to four methods. Add them using the search and share the comparison by copying its link.
| Criterion |  Systems Thinking Polarity Mapping |  Decision Making OODA Loop |  Systems Thinking Wardley Mapping | 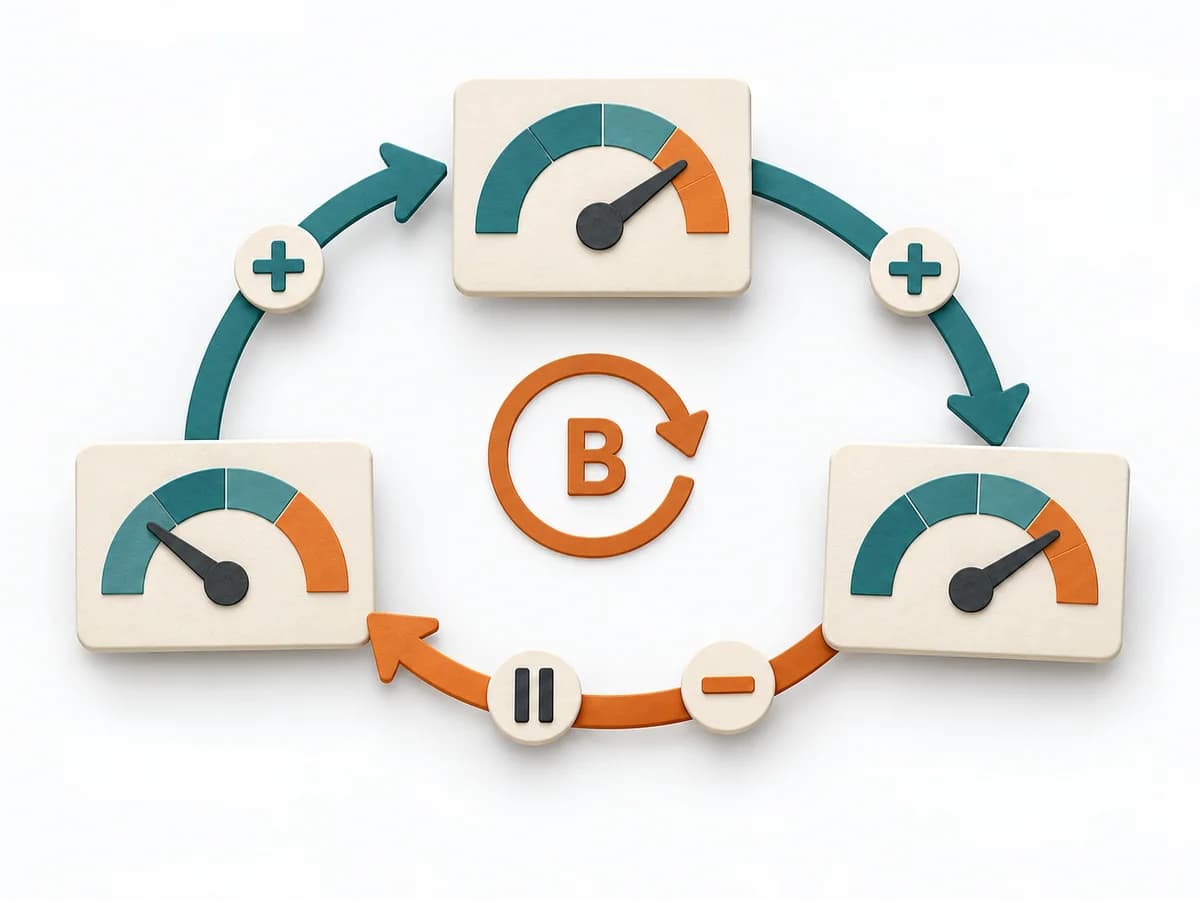 Systems Thinking Causal Loop Diagram |
|---|---|---|---|---|
Purposedifferent | Polarity Mapping makes tensions between two opposing poles tangible, such as standardization and adaptation or control and autonomy. The method guards against making apparent either-or decisions prematurely. | In dynamic situations, decisions become outdated faster than they can be prepared. The OODA Loop holds observing, orienting, deciding, and acting together as a recurring rhythm so reaction does not slide into inertia. | Wardley Mapping makes visible where an offering stands today and where it can evolve. The method connects user need, value chain, and evolution stages into a strategic basis for platform, build, or buy decisions. | A Causal Loop Diagram makes feedback, reinforcement, and balance in a system legible. It uncovers side effects and self-reinforcement that stay hidden in linear explanations. |
Complexitysame | Medium | Medium | Medium | Medium |
Timedifferent | 1-2 h | 15-60 min je Zyklus | 1-3 h | 1-3 h |
Participantsdifferent | 3-12 | 1-8 | 2-10 | 2-8 |
Formatdifferent | Workshop | Workshop + async | Workshop + async | Workshop |
Outputdifferent | Polarity Map, Warning Signs, Balance Actions | Situation Assessment, Decision Loop, Action Updates | Wardley Map, Strategic Options, Evolution Notes | Causal Loop Diagram, Feedback Notes, Leverage Points |
Tagsno overlap | Systems thinkingTradeoffsLeadership | DecisionChangeLearningStrategy | StrategySystems thinkingDynamics | FeedbackSystems thinkingCausalityDynamics |