View methods side by side.
Choose up to four methods. Add them using the search and share the comparison by copying its link.
| Criterion |  Growth Golden Circle |  Decision Making OODA Loop | 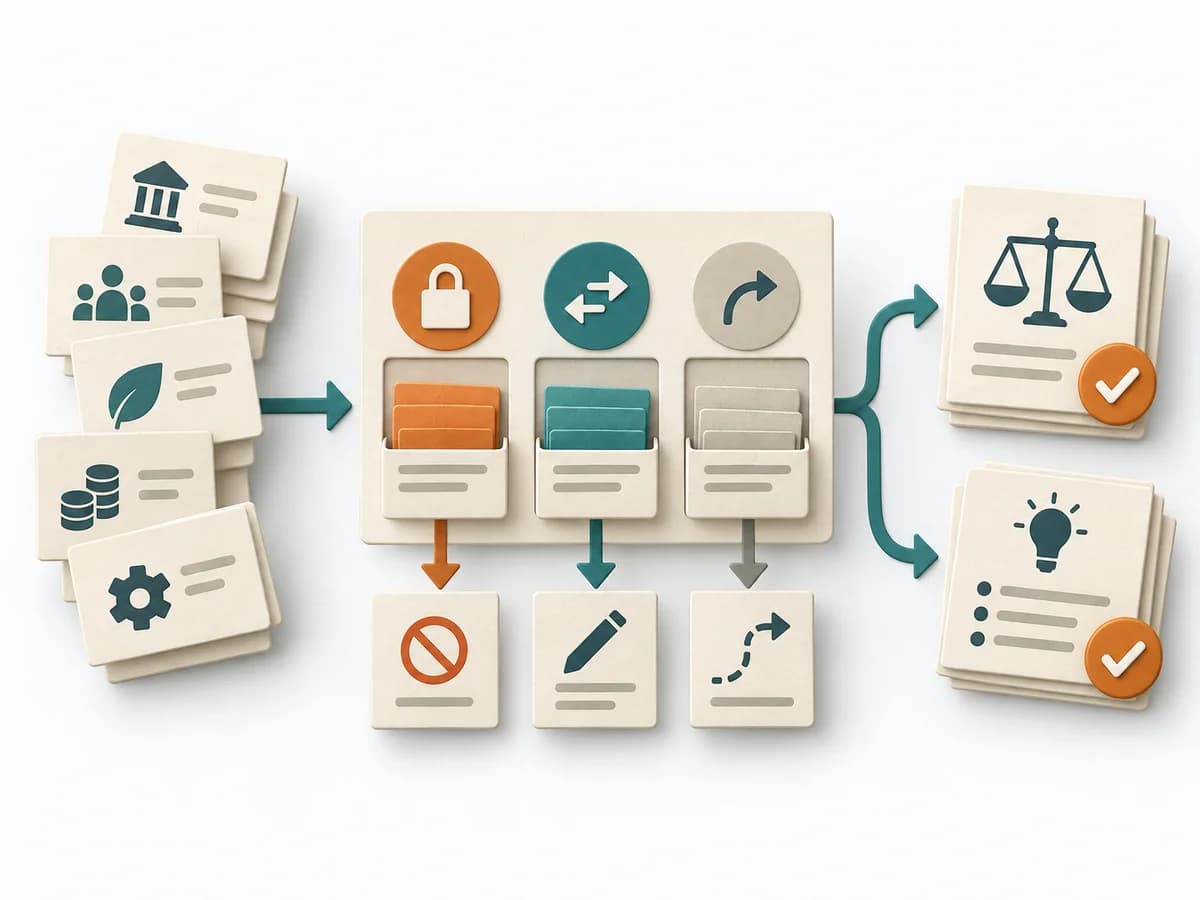 Decision Making Constraint Analysis | 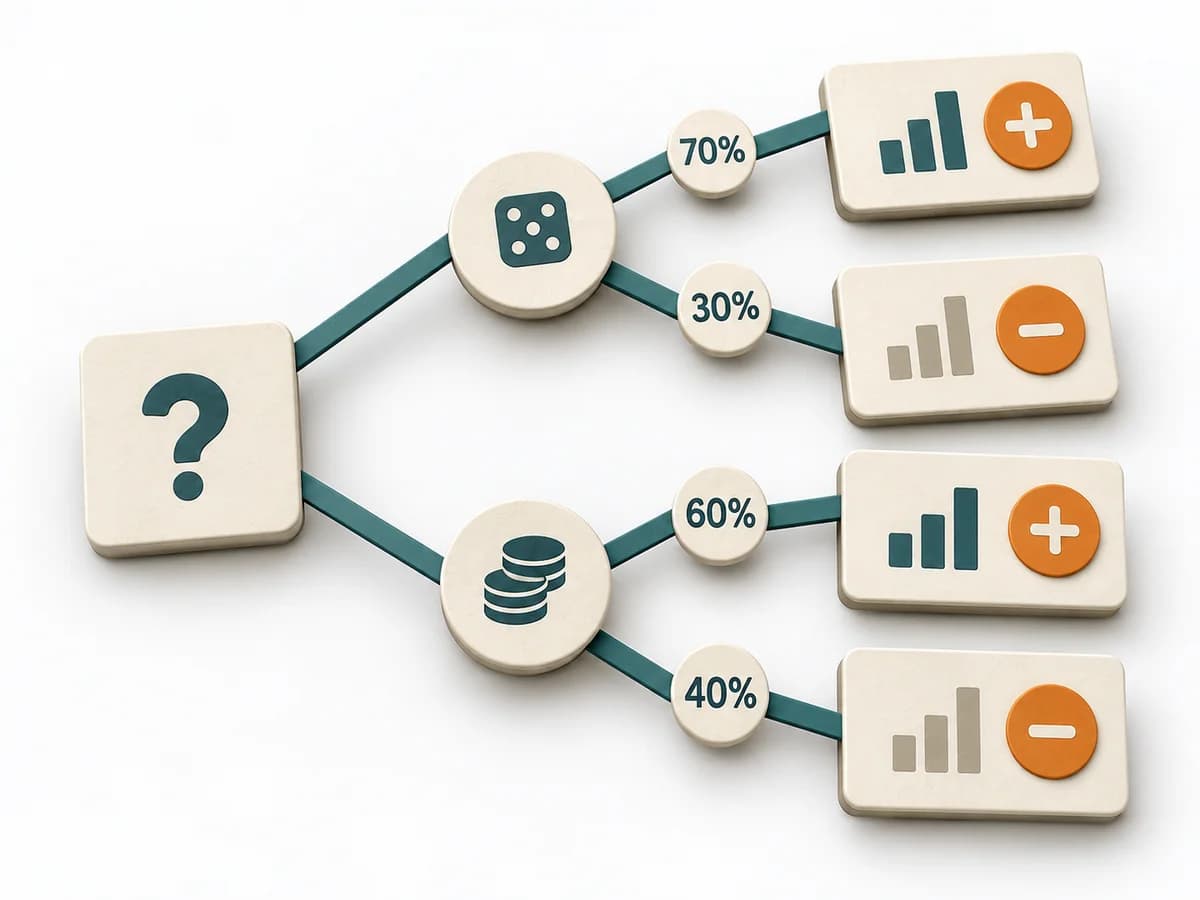 Decision Making Decision Tree |
|---|---|---|---|---|
Purposedifferent | In positioning and communication, what an offering actually stands for often becomes blurred. The Golden Circle sharpens a product's inner rationale and connects purpose, approach, and offering into a clear statement. | In dynamic situations, decisions become outdated faster than they can be prepared. The OODA Loop holds observing, orienting, deciding, and acting together as a recurring rhythm so reaction does not slide into inertia. | When an initiative stalls, the limit often lies not in the idea but in hard or soft boundary conditions. Constraint Analysis separates these limits and shows which of them can actually be shaped. | For decisions with follow-on paths and dependencies, a linear comparison is often not enough. A Decision Tree shows how options branch under conditions and which consequences hang on each branch. |
Complexitydifferent | Low | Medium | Low | Medium |
Timedifferent | 30-60 min | 15-60 min je Zyklus | 30-90 min | 30-90 min |
Participantsdifferent | 1-8 | 1-8 | 2-8 | 1-6 |
Formatsame | Workshop + async | Workshop + async | Workshop + async | Workshop + async |
Outputdifferent | Why Statement, Messaging Notes, Positioning Draft | Situation Assessment, Decision Loop, Action Updates | Constraint List, Hard/Soft Classification, Option Impact Notes, Decision Boundaries | Decision Tree, Option Map, Assumption List |
Tagsno overlap | MarketingPositioningCommunication | DecisionChangeLearningStrategy | ConstraintsDecisionPlanningOptions | DecisionTreeOptions |