View methods side by side.
Choose up to four methods. Add them using the search and share the comparison by copying its link.
| Criterion | 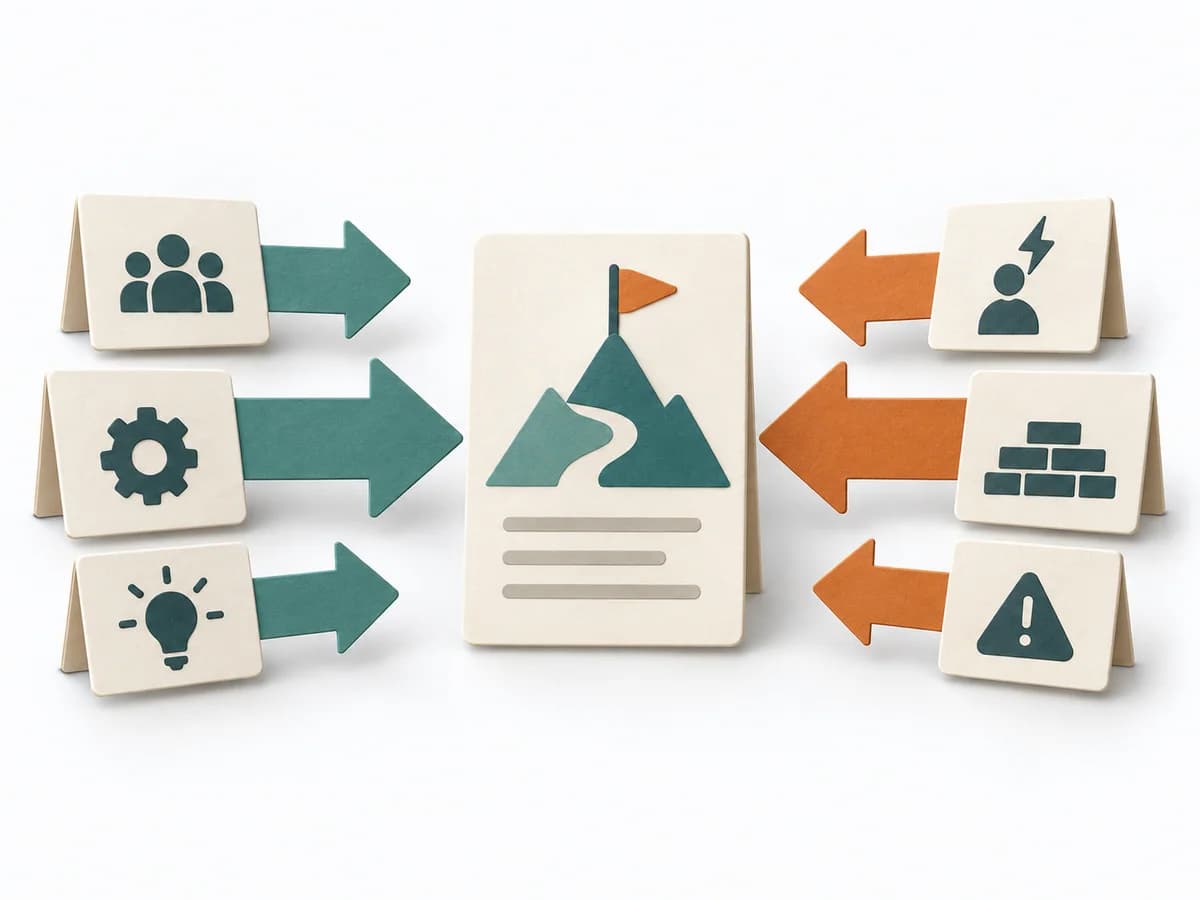 Decision Making Force Field Analysis | 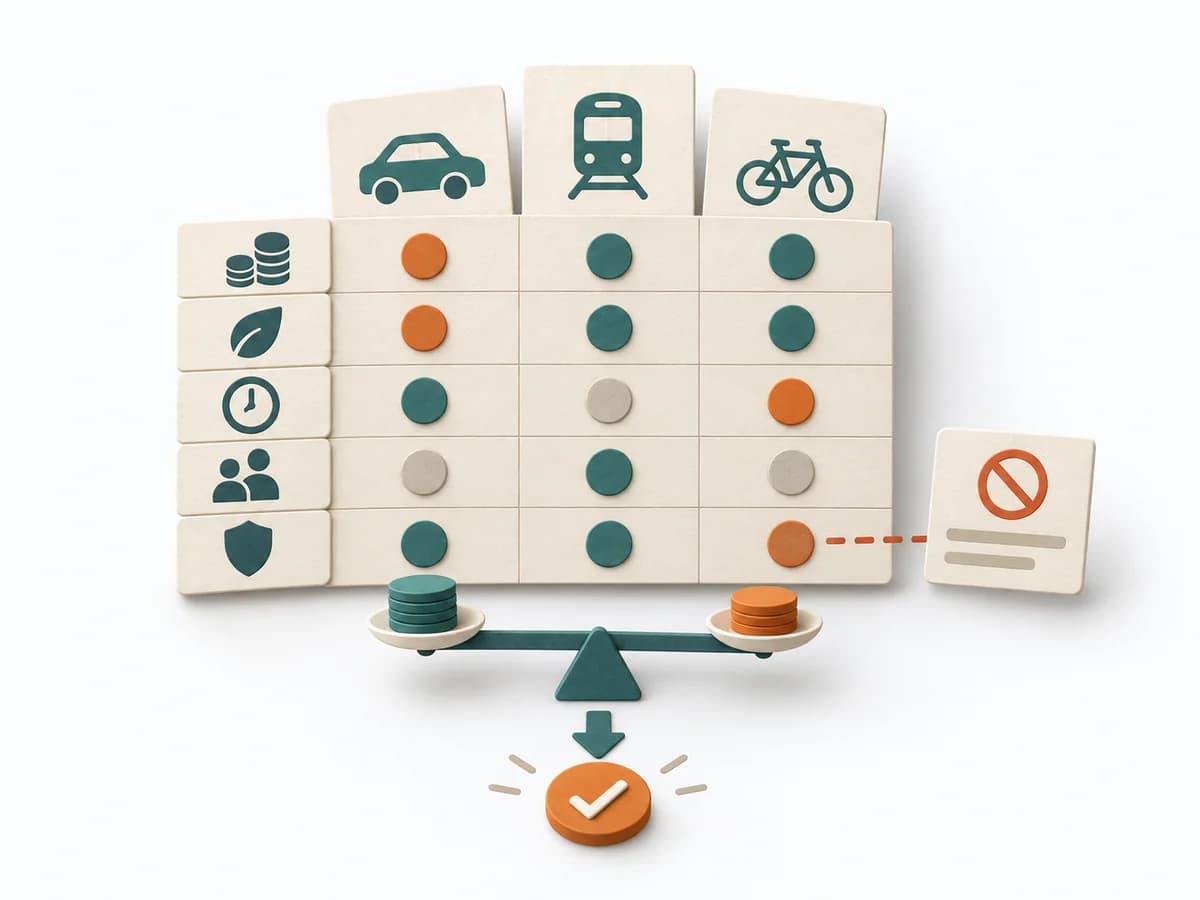 Decision Making Trade-off Analysis | 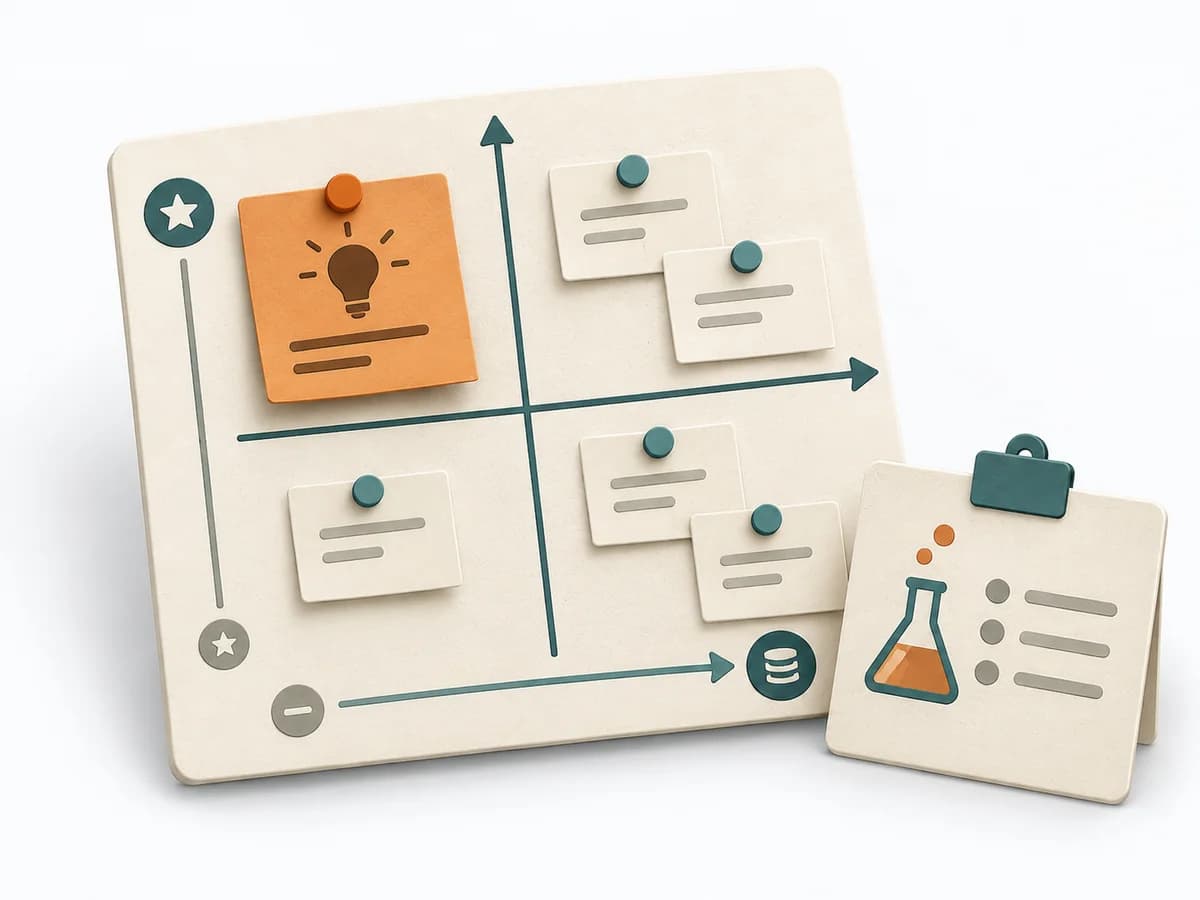 Product Discovery Assumption Mapping | 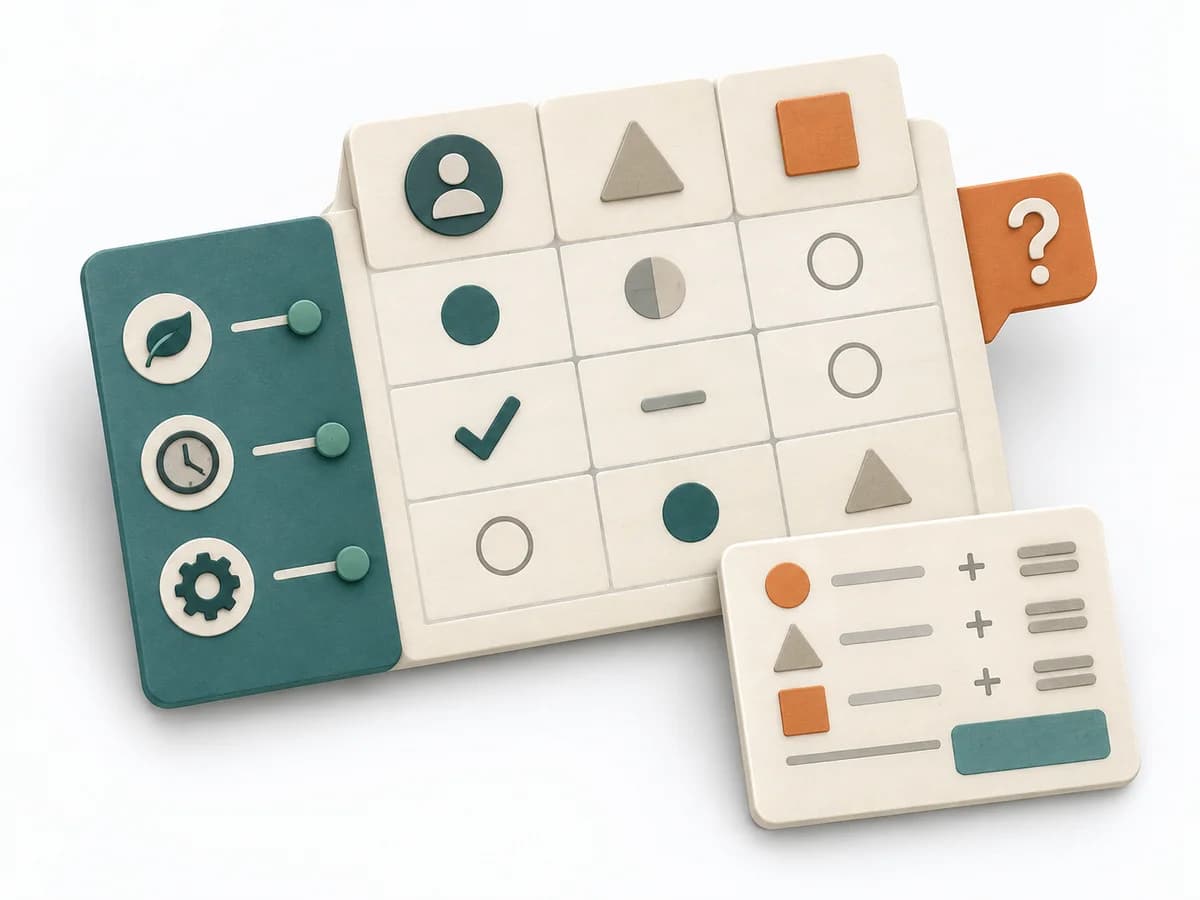 Decision Making Decision Matrix |
|---|---|---|---|---|
Purposedifferent | In change initiatives, supporting and restraining forces sit at the table at the same time. Force Field Analysis makes these tensions explicit and shows where change can be pushed forward by strengthening or relieving. | With limited resources, quality, speed, cost, and risk almost always compete with each other. Trade-off Analysis makes these tensions explicit and prevents decisions from producing hidden side effects. | When assumptions still sit unordered in the room, it weighs uncertainty against leverage. It makes visible which hypotheses should be checked first. | When several options collide with several criteria, comparison quickly becomes subjective. A Decision Matrix makes the trade-off visible and brings weighting, criteria, and options into a shared logic. |
Complexitydifferent | Low | Medium | Medium | Medium |
Timedifferent | 45-90 min | 45-120 min | 45-60 min | 45-90 min |
Participantsdifferent | 3-12 | 2-8 | 2-8 | 2-8 |
Formatdifferent | Workshop | Workshop + async | Workshop + async | Workshop + async |
Outputdifferent | Force Field Map, Change Levers, Risk Notes | Trade-off Matrix, Criteria List, Decision Rationale, Accepted Downsides | Assumption map, Test backlog, Risk ranking | Decision Matrix, Scoring Rationale, Selected Option |
Tagsno overlap | ChangeDecisionStrategy | TradeoffsDecisionCriteriaOptions | AssumptionsRiskExperimentsValidation | DecisionCriteriaScoringTradeoffs |