View methods side by side.
Choose up to four methods. Add them using the search and share the comparison by copying its link.
| Criterion | 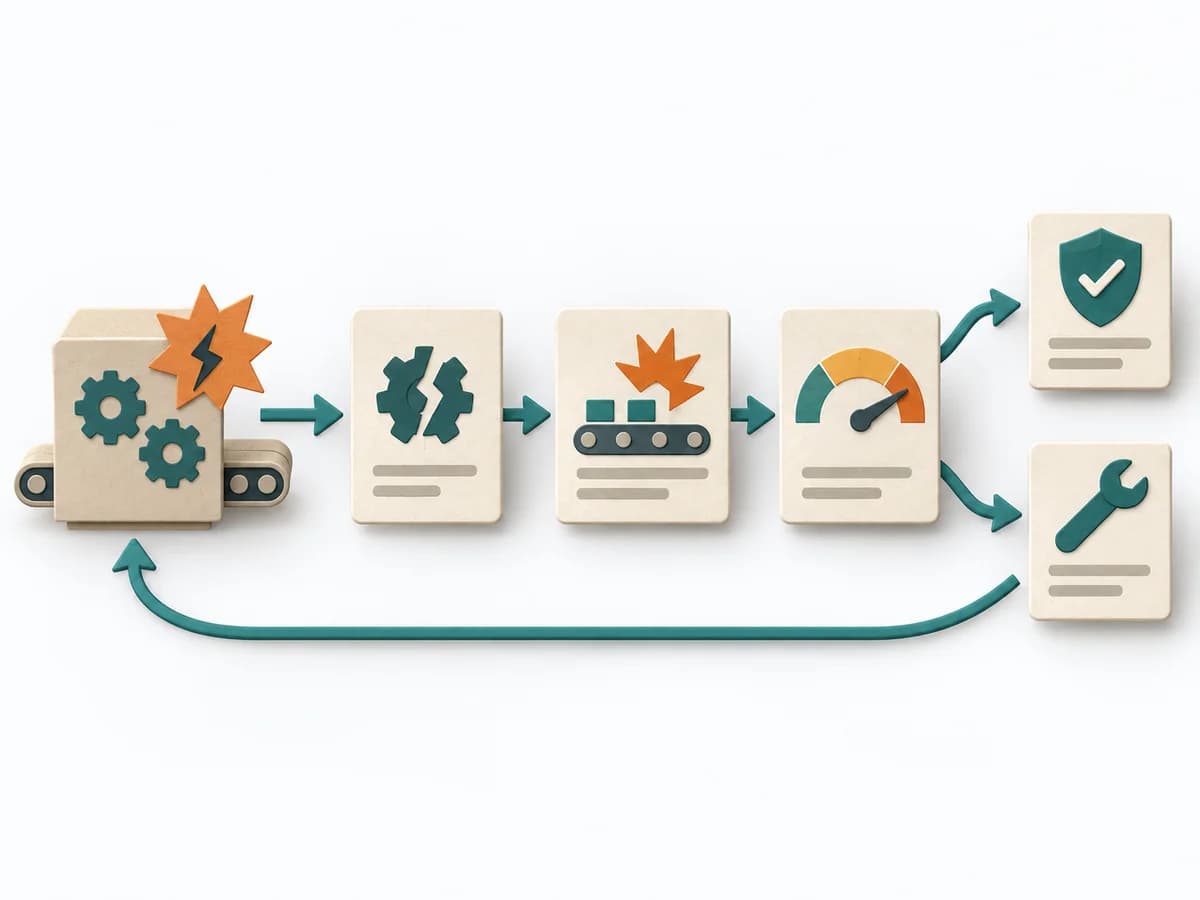 Operations Failure Mode and Effects Analysis | 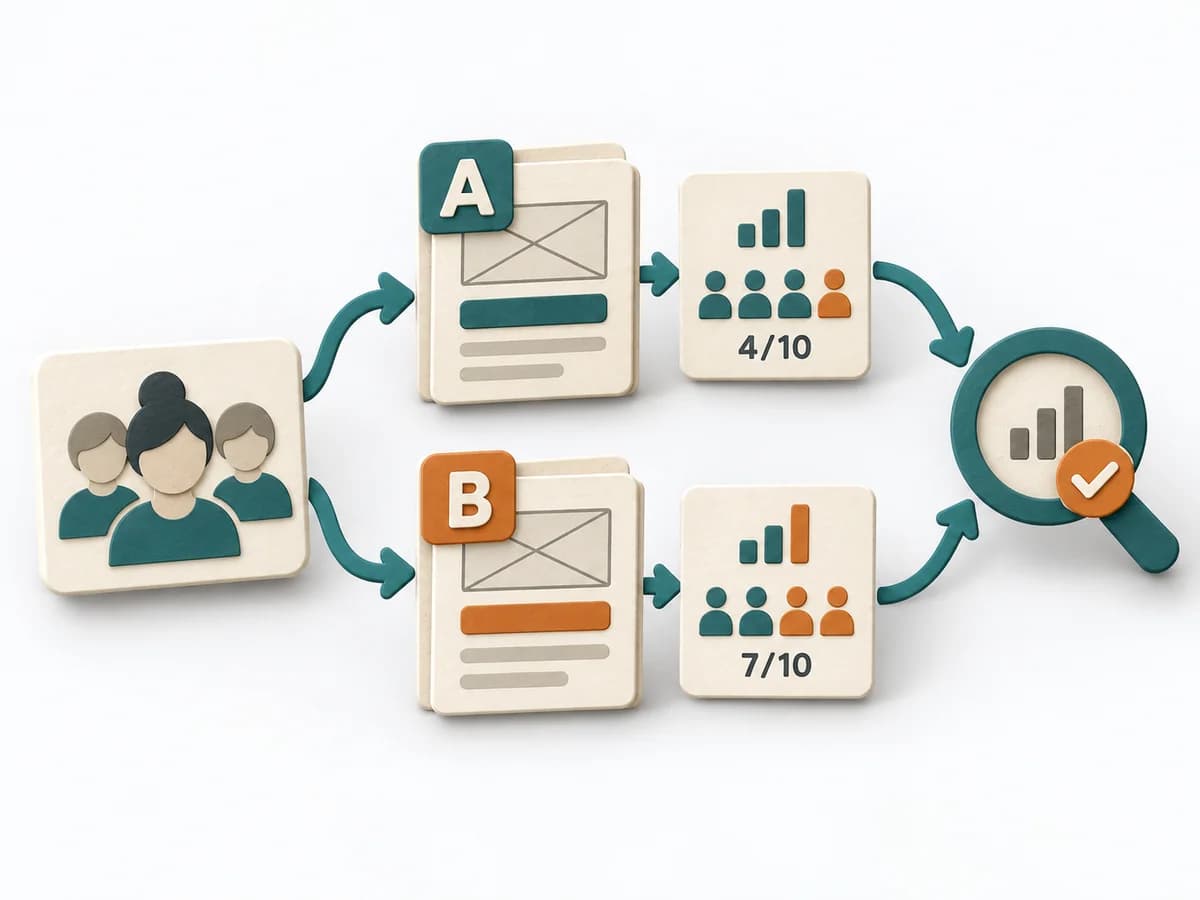 Growth A/B Testing | 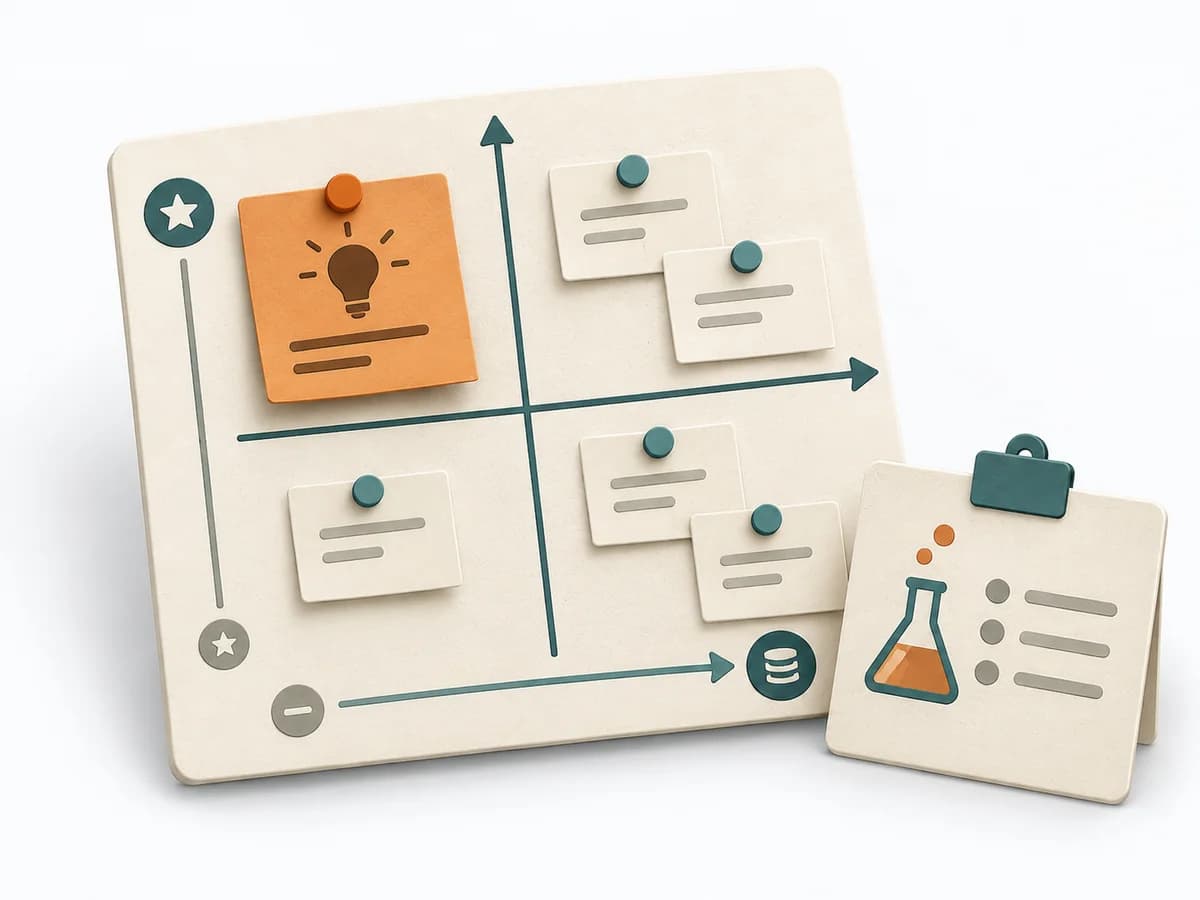 Product Discovery Assumption Mapping | 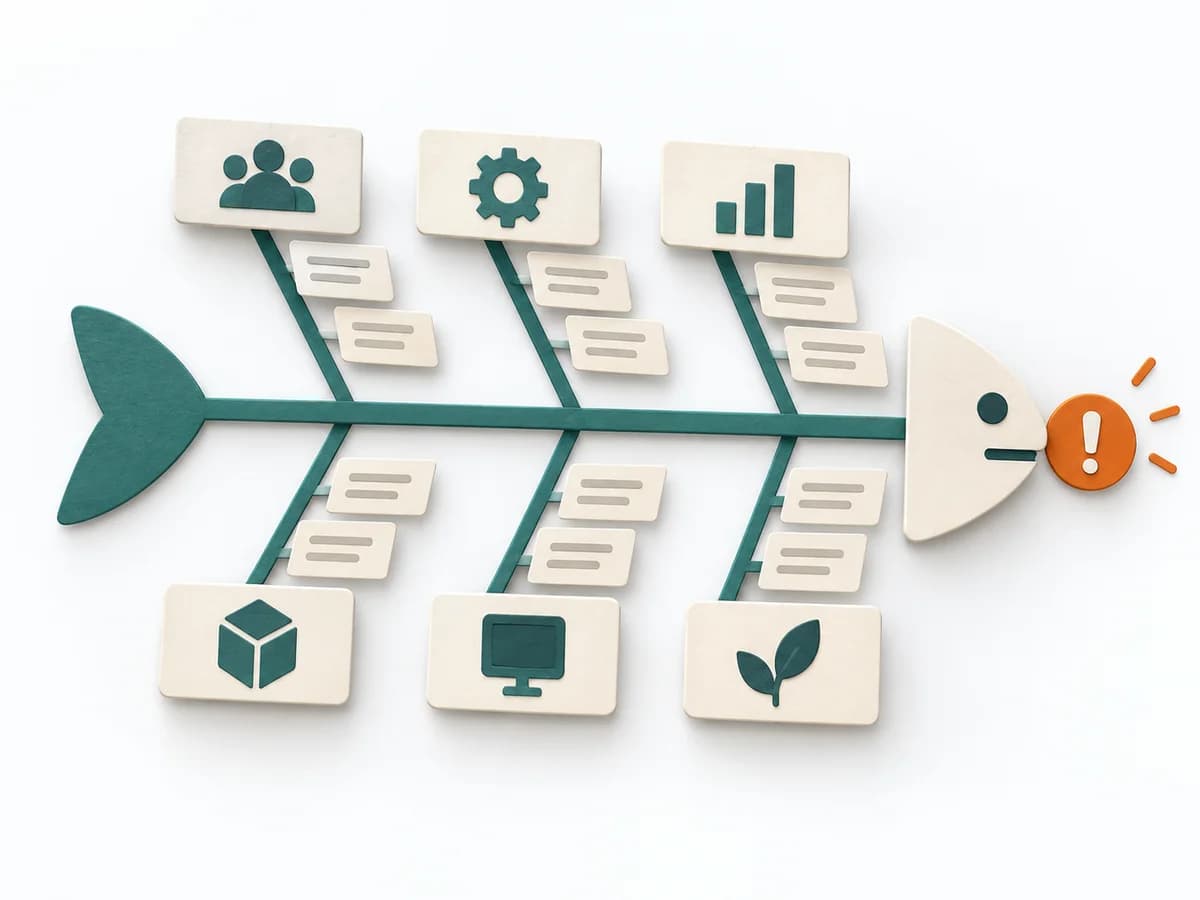 Operations Fishbone Diagram |
|---|---|---|---|---|
Purposedifferent | For a process, product, or service with noticeable failure risks, the method assesses possible failure modes in advance. It directs attention to combinations of occurrence, effect, and detectability. | When two variants compete, discussions quickly decide by taste rather than effect. A/B Testing checks behavior under controlled conditions and separates real improvement from chance or expectation effects. | When assumptions still sit unordered in the room, it weighs uncertainty against leverage. It makes visible which hypotheses should be checked first. | When a problem has several possible contributing factors, the method sorts causes by cause areas. It prevents an initial hunch from blocking the view of other plausible drivers. |
Complexitydifferent | High | High | Medium | Low |
Timedifferent | 2-6 h | 1-4 Wochen | 45-60 min | 30-60 min |
Participantsdifferent | 3-10 | 1-6 | 2-8 | 2-8 |
Formatdifferent | Workshop | Async | Workshop + async | Workshop |
Outputdifferent | FMEA Table, Risk Priority, Mitigation Actions | Experiment results, Decision log, Learning summary | Assumption map, Test backlog, Risk ranking | Fishbone Diagram, Cause Categories, Investigation Backlog |
Tagsno overlap | RiskQualityOperationsRoot cause | ExperimentsGrowthAnalyticsValidation | AssumptionsRiskExperimentsValidation | Root causeQualityOperations |