View methods side by side.
Choose up to four methods. Add them using the search and share the comparison by copying its link.
| Criterion | 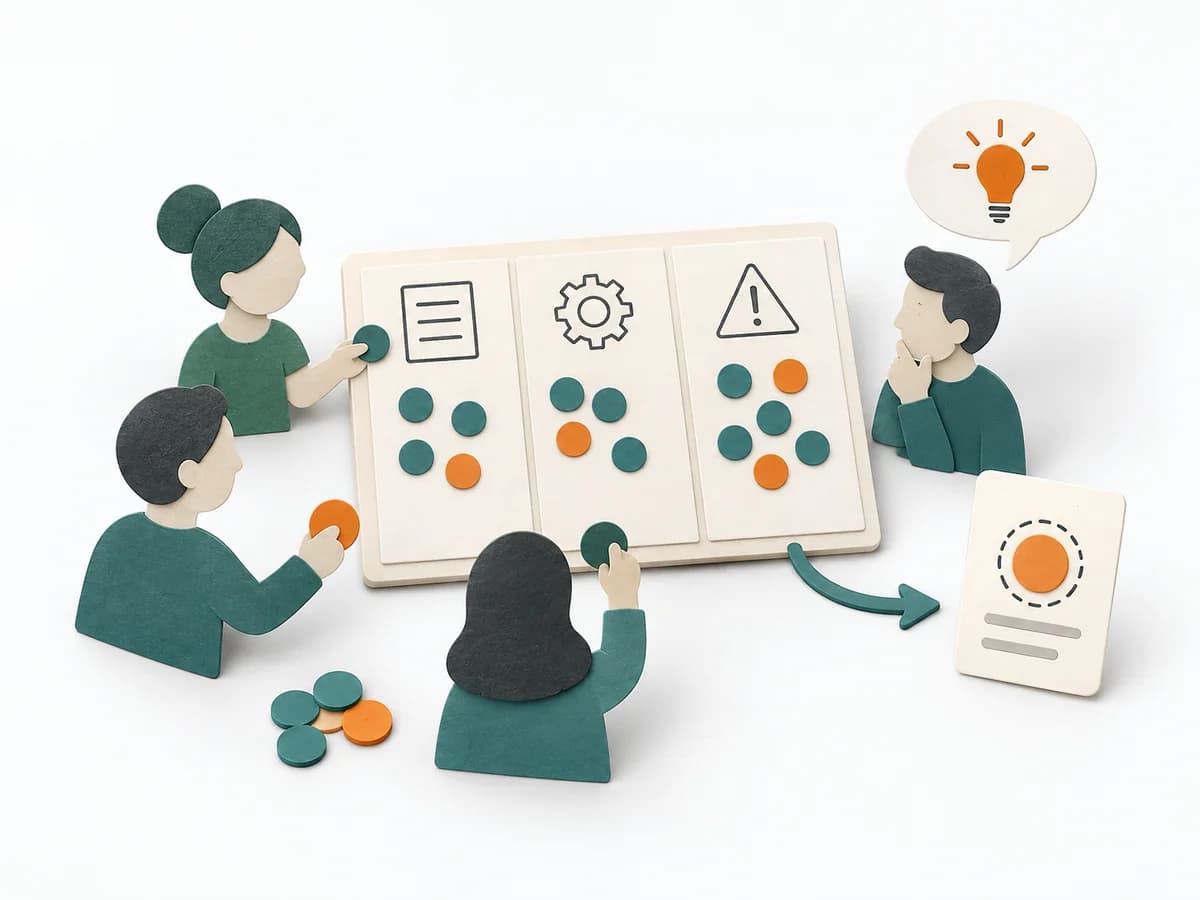 Facilitation Dot Estimation | 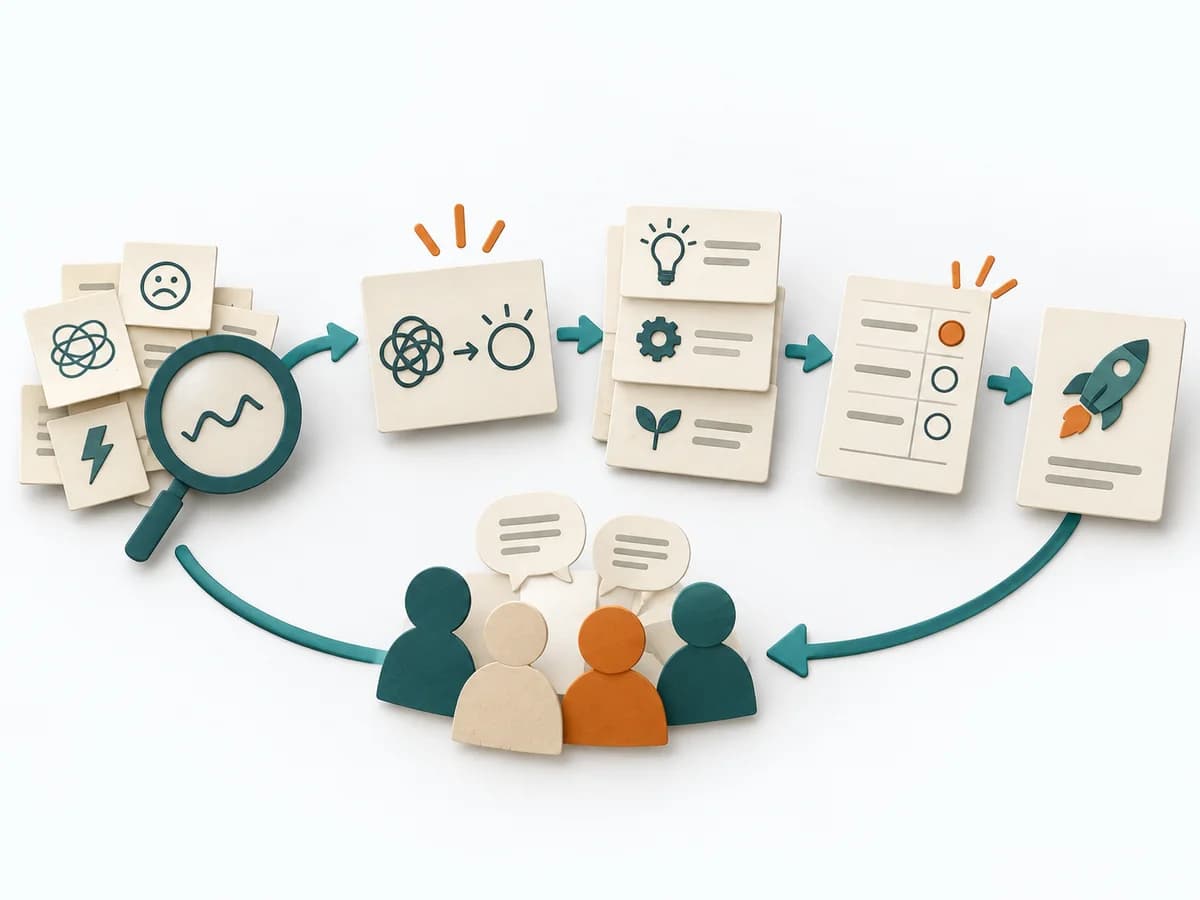 Facilitation Decision Jam | 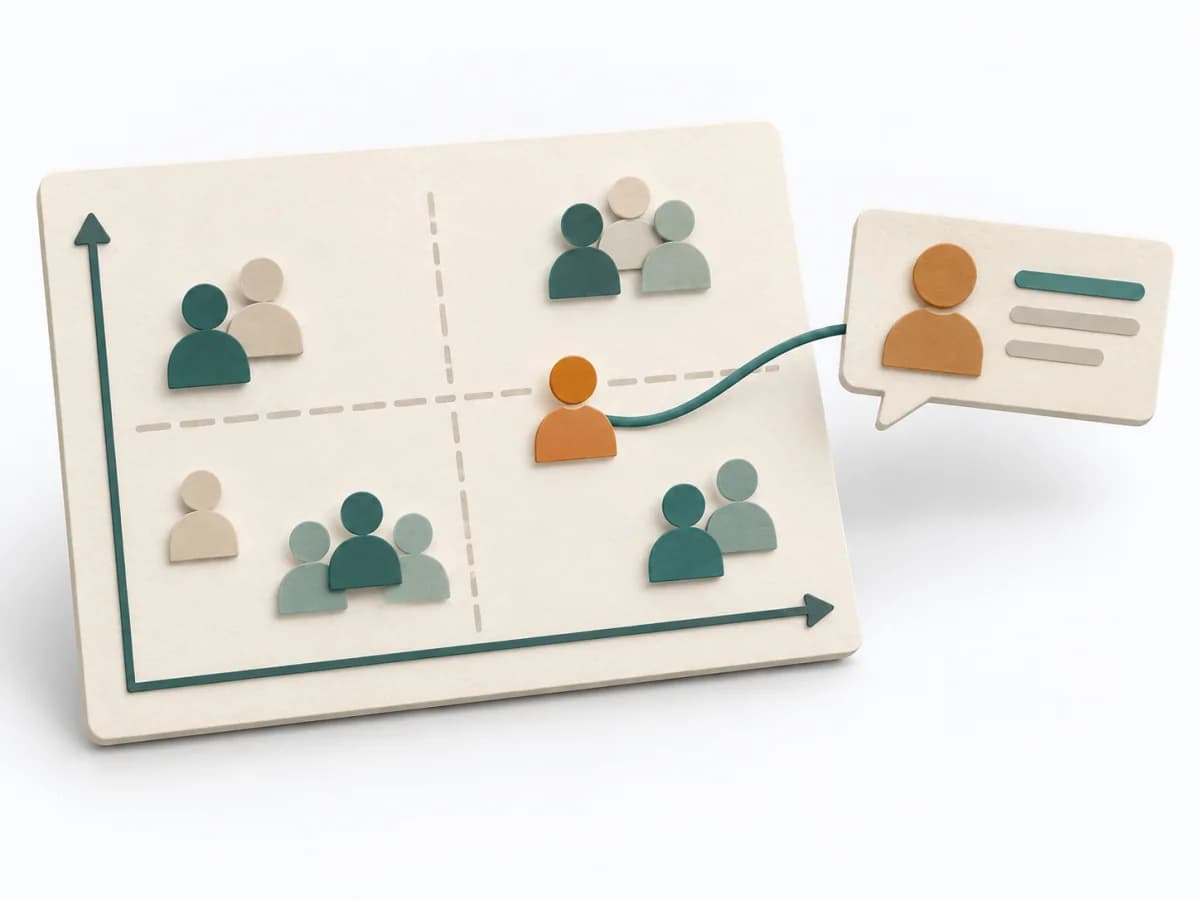 Facilitation Stakeholder Mapping | 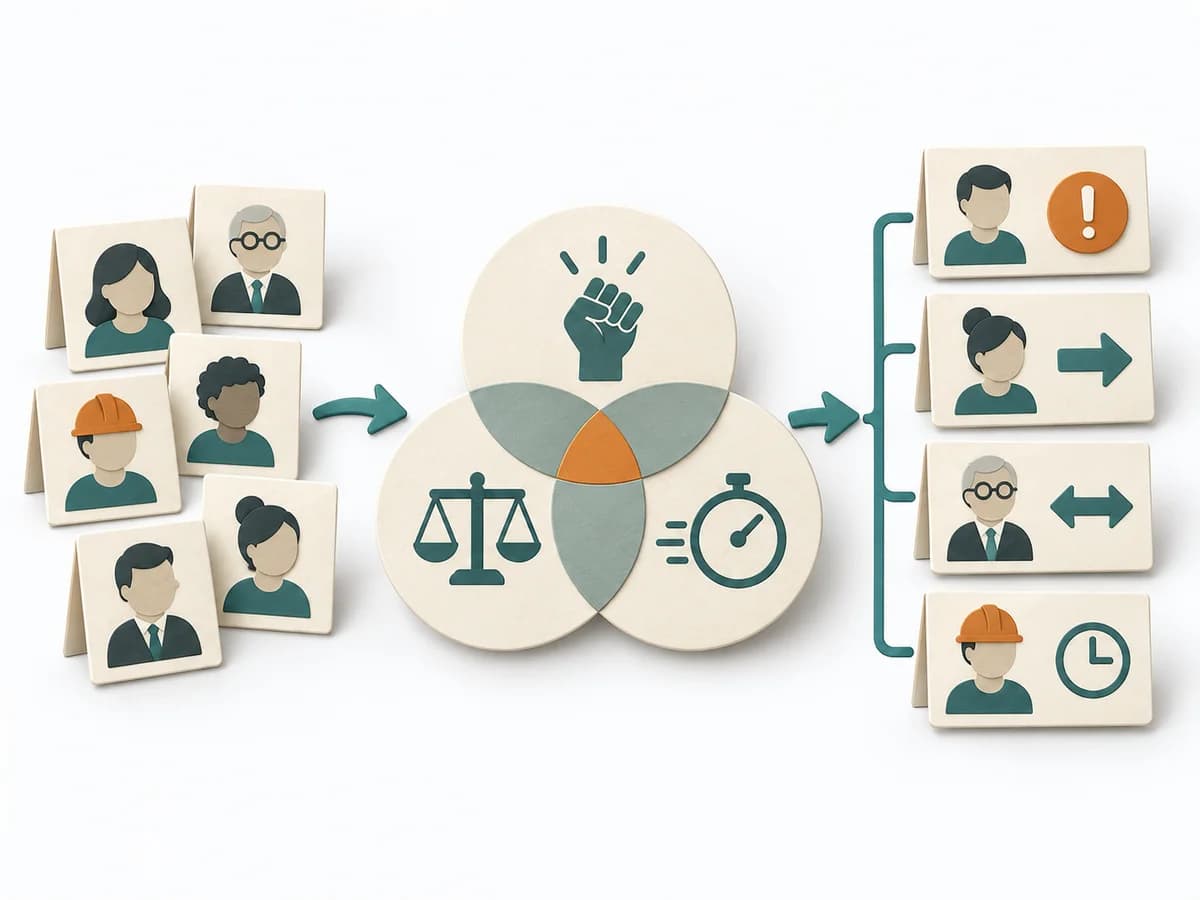 Facilitation Stakeholder Salience Model |
|---|---|---|---|---|
Purposedifferent | When size or effort can only be estimated roughly, Dot Estimation condenses the group's experience into a quick range. It turns individual contributions into a visible selection. The result is captured as an Effort Heatmap, Risk Signals, and Discussion Targets. | When a decision is stuck, Decision Jam loosens the knot through structured separation of problem, idea, and selection. The format creates movement without jumping prematurely at the first seemingly elegant answer. | When an initiative depends on many people, interests, and power dynamics, Stakeholder Mapping systematically orders the environment. It shows who influences, who is affected, and where relationship management or safeguarding matters first. | When stakeholders appear to matter very differently, the Stakeholder Salience Model rates their actual priority through power, legitimacy, and urgency. It turns individual contributions into a visible selection. The result is captured as a Salience diagram and a class-based strategy. |
Complexitydifferent | Low | Low | Low | Medium |
Timedifferent | 5-20 min | 60-90 min | 60–90 min | 60-90 min |
Participantsdifferent | 3-20 | 4-10 | 2-8 | 3-6 |
Formatdifferent | Workshop | Workshop | Workshop + async | Workshop |
Outputdifferent | Effort Heatmap, Risk Signals, Discussion Targets | Problem Cluster, Prioritized Challenge, Experiment | Stakeholder Map, Engagement Plan, Risk Notes | Salience Diagram, Strategy per Class |
Tagsno overlap | EstimationEffortRisk | FacilitationDecisionProblem solvingWorkshop | StakeholdersAlignmentFacilitationChange | StakeholdersFacilitationAlignmentGovernance |