View methods side by side.
Choose up to four methods. Add them using the search and share the comparison by copying its link.
| Criterion | 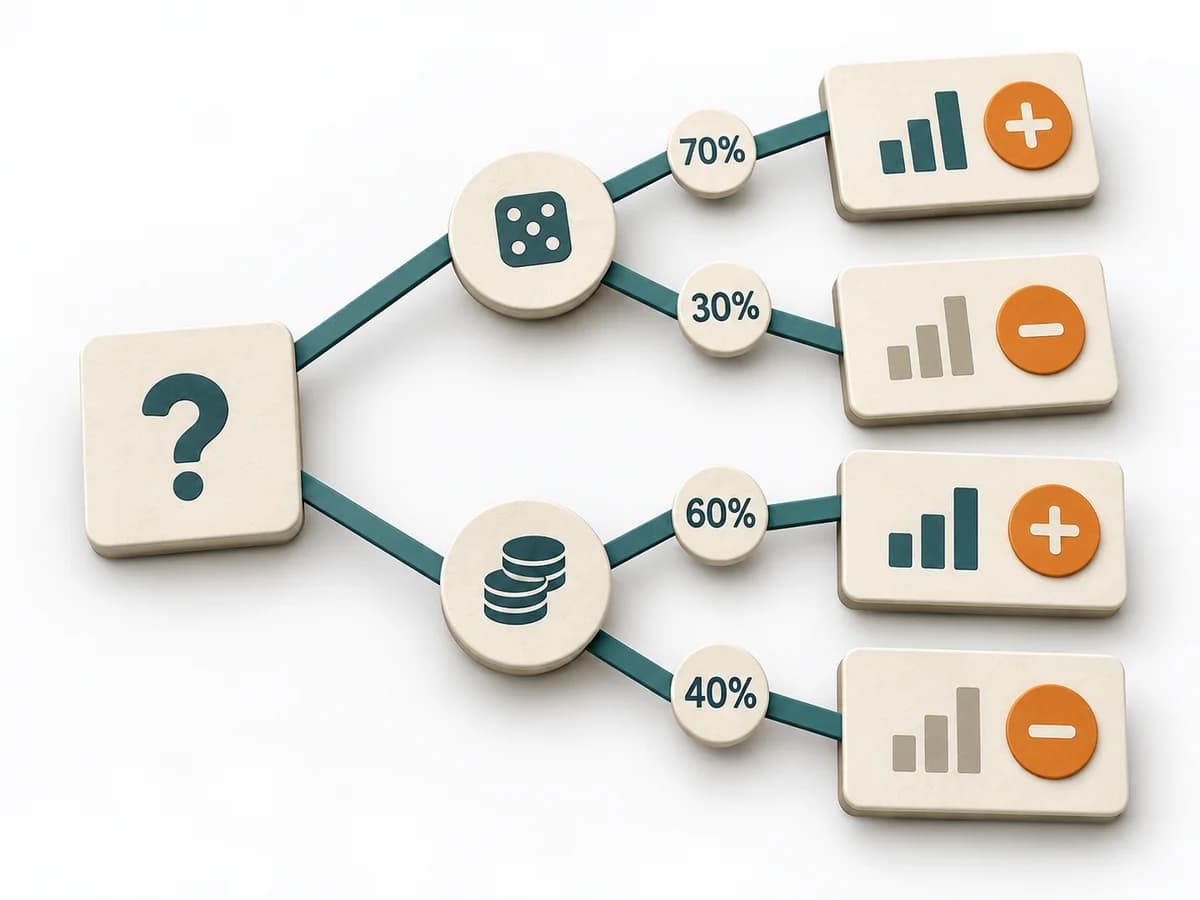 Decision Making Decision Tree |  Facilitation Dot Estimation | 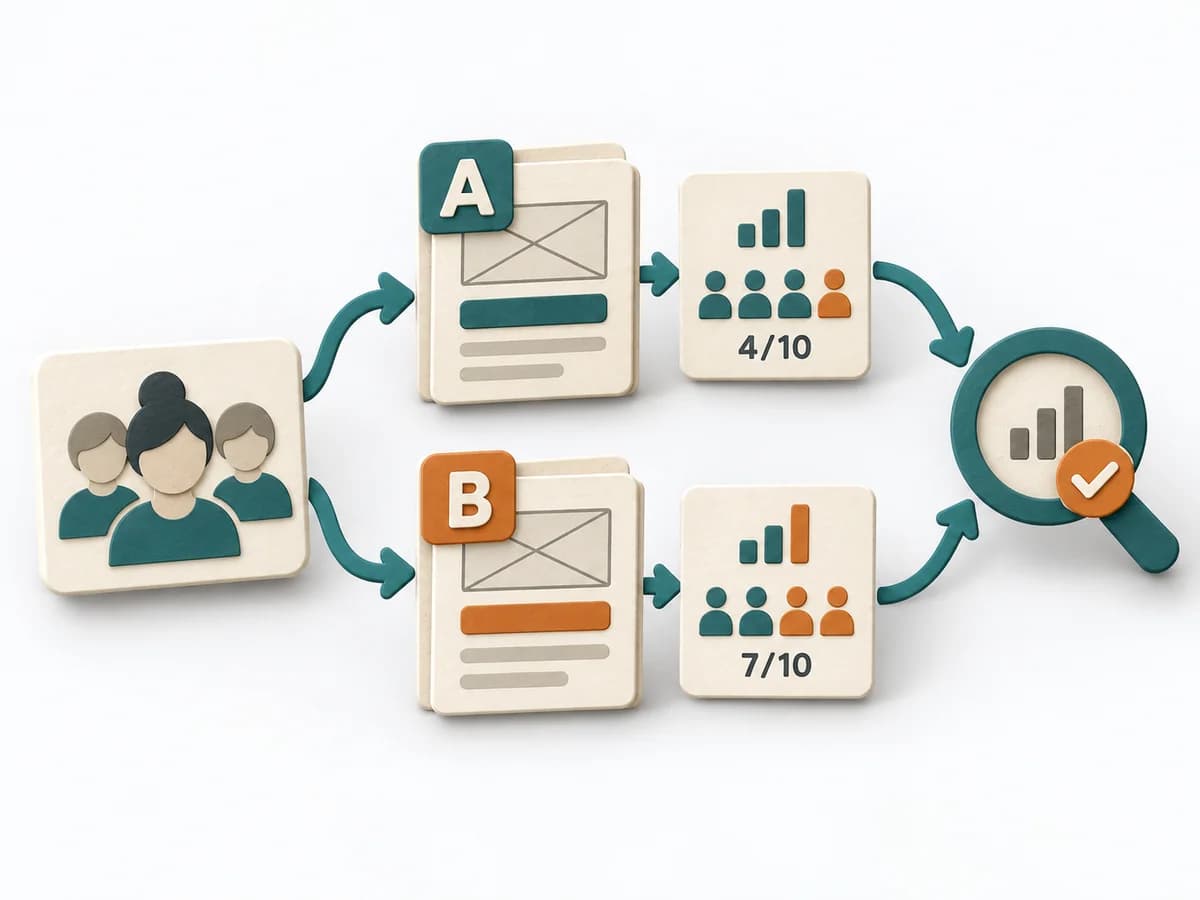 Growth A/B Testing | 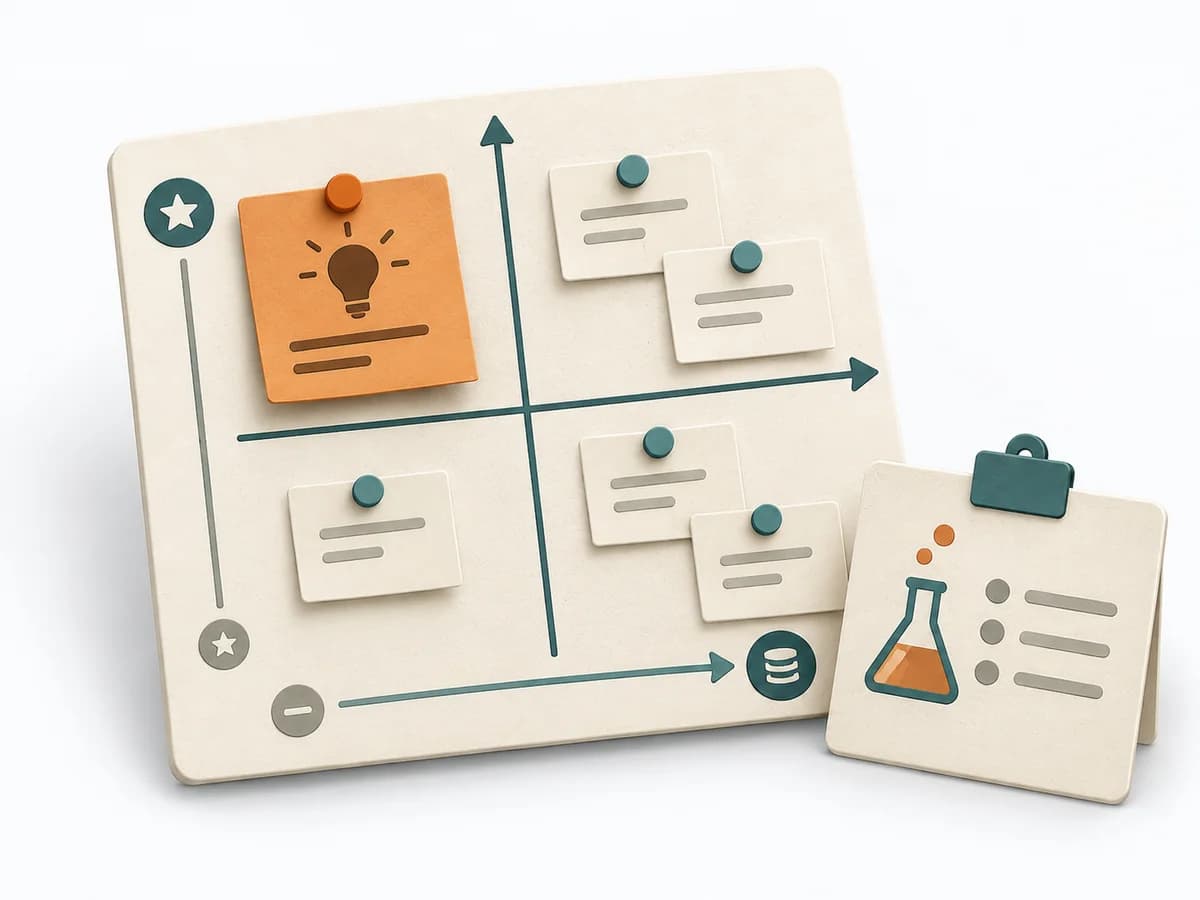 Product Discovery Assumption Mapping |
|---|---|---|---|---|
Purposedifferent | For decisions with follow-on paths and dependencies, a linear comparison is often not enough. A Decision Tree shows how options branch under conditions and which consequences hang on each branch. | When size or effort can only be estimated roughly, Dot Estimation condenses the group's experience into a quick range. It turns individual contributions into a visible selection. The result is captured as an Effort Heatmap, Risk Signals, and Discussion Targets. | When two variants compete, discussions quickly decide by taste rather than effect. A/B Testing checks behavior under controlled conditions and separates real improvement from chance or expectation effects. | When assumptions still sit unordered in the room, it weighs uncertainty against leverage. It makes visible which hypotheses should be checked first. |
Complexitydifferent | Medium | Low | High | Medium |
Timedifferent | 30-90 min | 5-20 min | 1-4 Wochen | 45-60 min |
Participantsdifferent | 1-6 | 3-20 | 1-6 | 2-8 |
Formatdifferent | Workshop + async | Workshop | Async | Workshop + async |
Outputdifferent | Decision Tree, Option Map, Assumption List | Effort Heatmap, Risk Signals, Discussion Targets | Experiment results, Decision log, Learning summary | Assumption map, Test backlog, Risk ranking |
Tagsno overlap | DecisionTreeOptions | EstimationEffortRisk | ExperimentsGrowthAnalyticsValidation | AssumptionsRiskExperimentsValidation |