View methods side by side.
Choose up to four methods. Add them using the search and share the comparison by copying its link.
| Criterion | 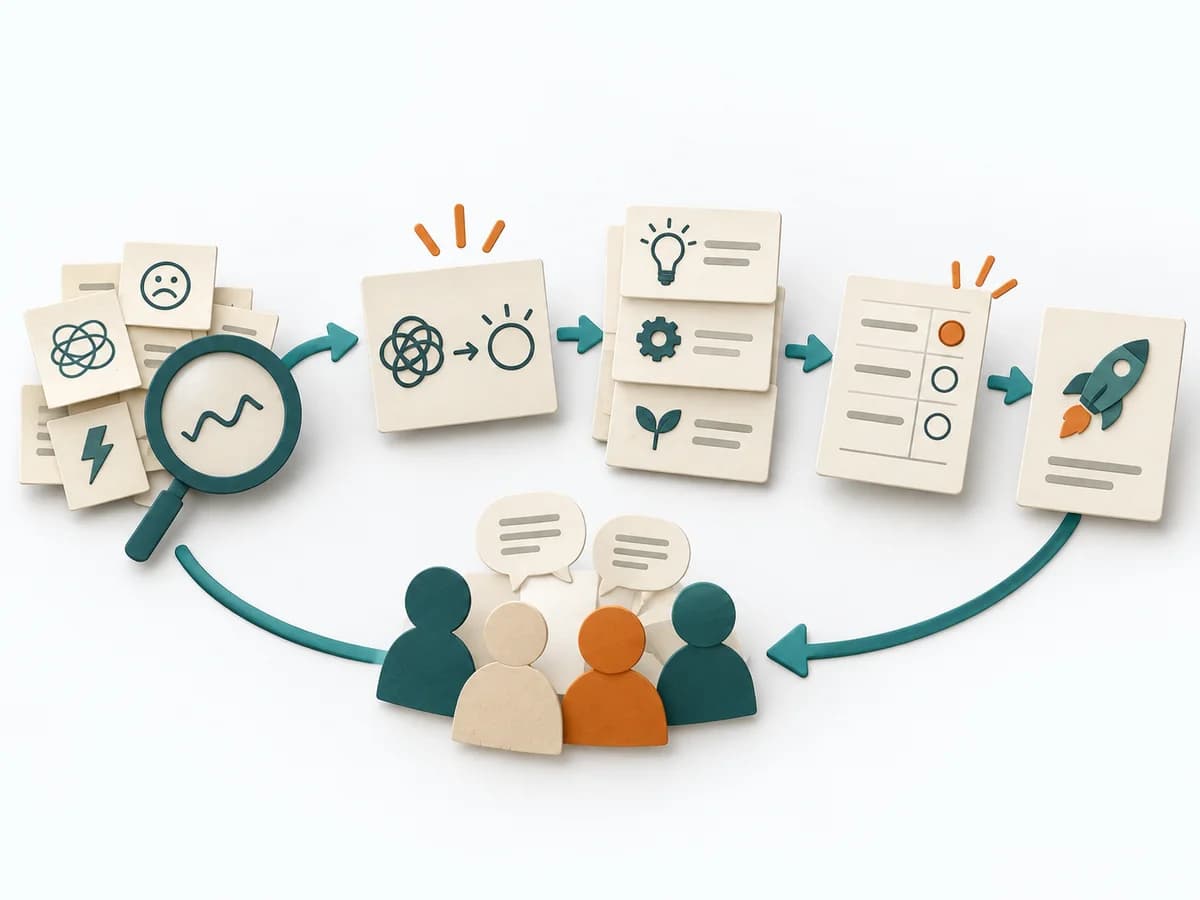 Facilitation Decision Jam |  Decision Making OODA Loop | 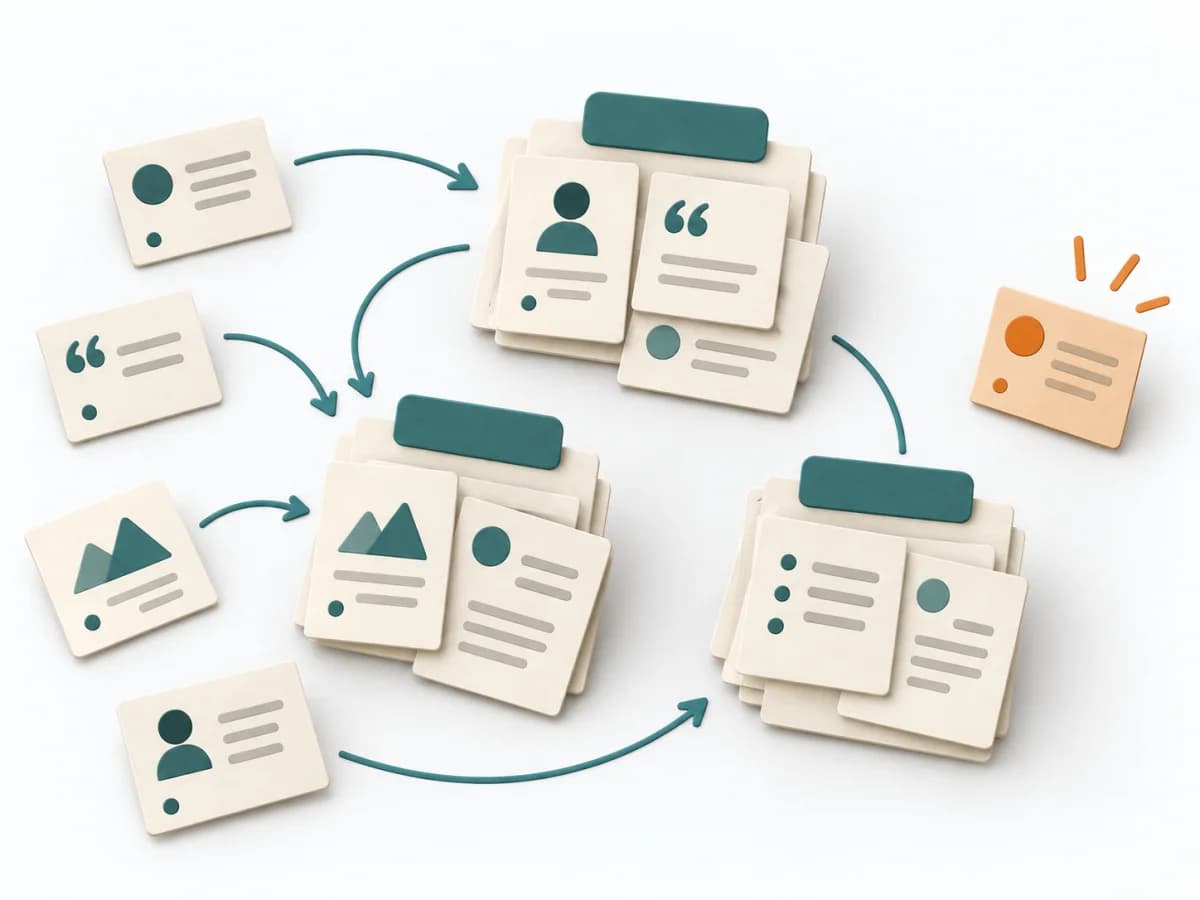 UX Research Affinity Diagramming | 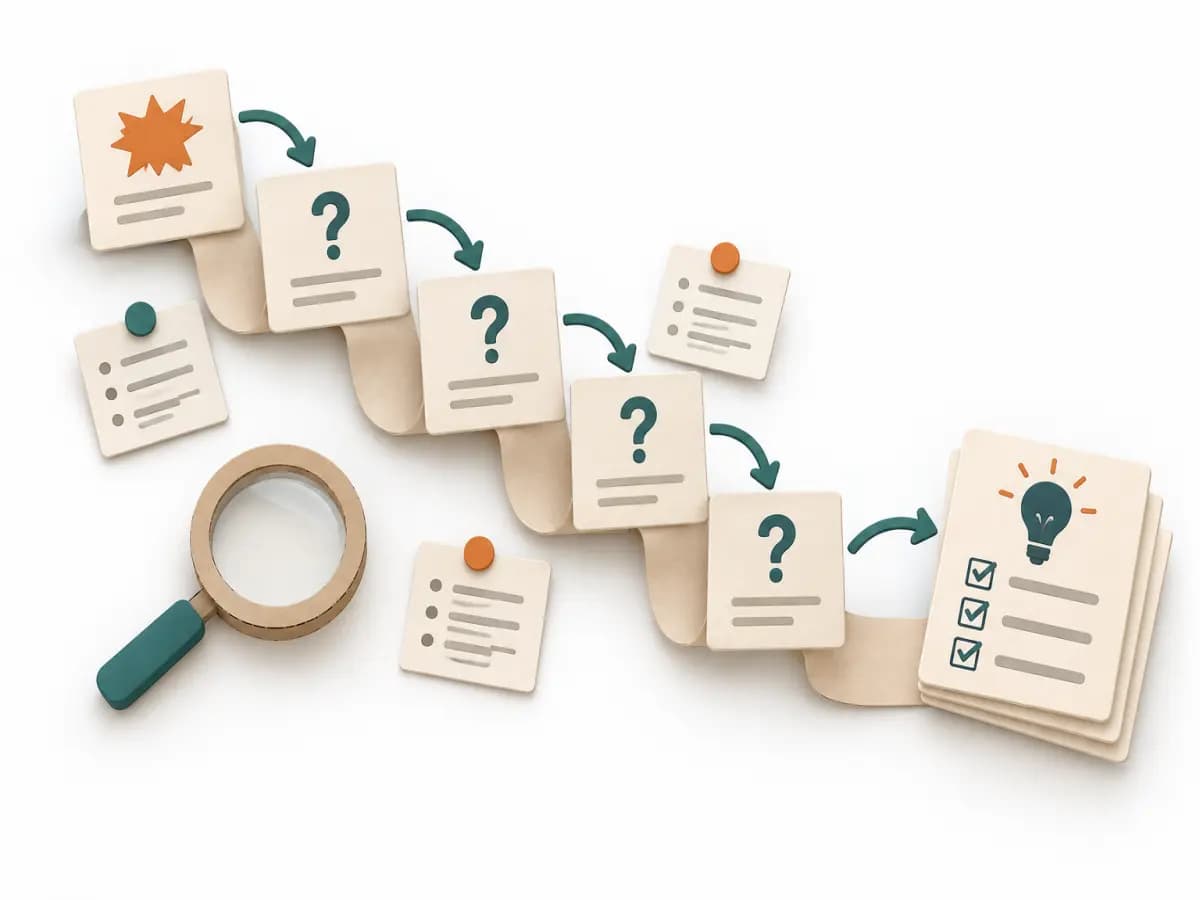 Operations 5 Whys |
|---|---|---|---|---|
Purposedifferent | When a decision is stuck, Decision Jam loosens the knot through structured separation of problem, idea, and selection. The format creates movement without jumping prematurely at the first seemingly elegant answer. | In dynamic situations, decisions become outdated faster than they can be prepared. The OODA Loop holds observing, orienting, deciding, and acting together as a recurring rhythm so reaction does not slide into inertia. | When research notes, feedback, or observations sit unconnected side by side, affinity diagramming sorts the raw material into solid themes. Many individual points turn into patterns that make decisions and opportunities clearer. | For a single, hard-to-explain deviation, the method exposes the causal chain behind the visible symptom. It keeps the cause open until a controllable condition emerges instead of a mere description. |
Complexitydifferent | Low | Medium | Low | Low |
Timedifferent | 60-90 min | 15-60 min je Zyklus | 45–90 min | 15-30 min |
Participantsdifferent | 4-10 | 1-8 | 3-10 | 2-6 |
Formatdifferent | Workshop | Workshop + async | Workshop | Workshop |
Outputdifferent | Problem Cluster, Prioritized Challenge, Experiment | Situation Assessment, Decision Loop, Action Updates | Theme clusters, Insight statements, Opportunity areas | Root cause notes, Countermeasures |
Tagsno overlap | FacilitationDecisionProblem solvingWorkshop | DecisionChangeLearningStrategy | SynthesisQualitativeRoot cause | Root causeIncidentLeanProblem solving |