View methods side by side.
Choose up to four methods. Add them using the search and share the comparison by copying its link.
| Criterion | 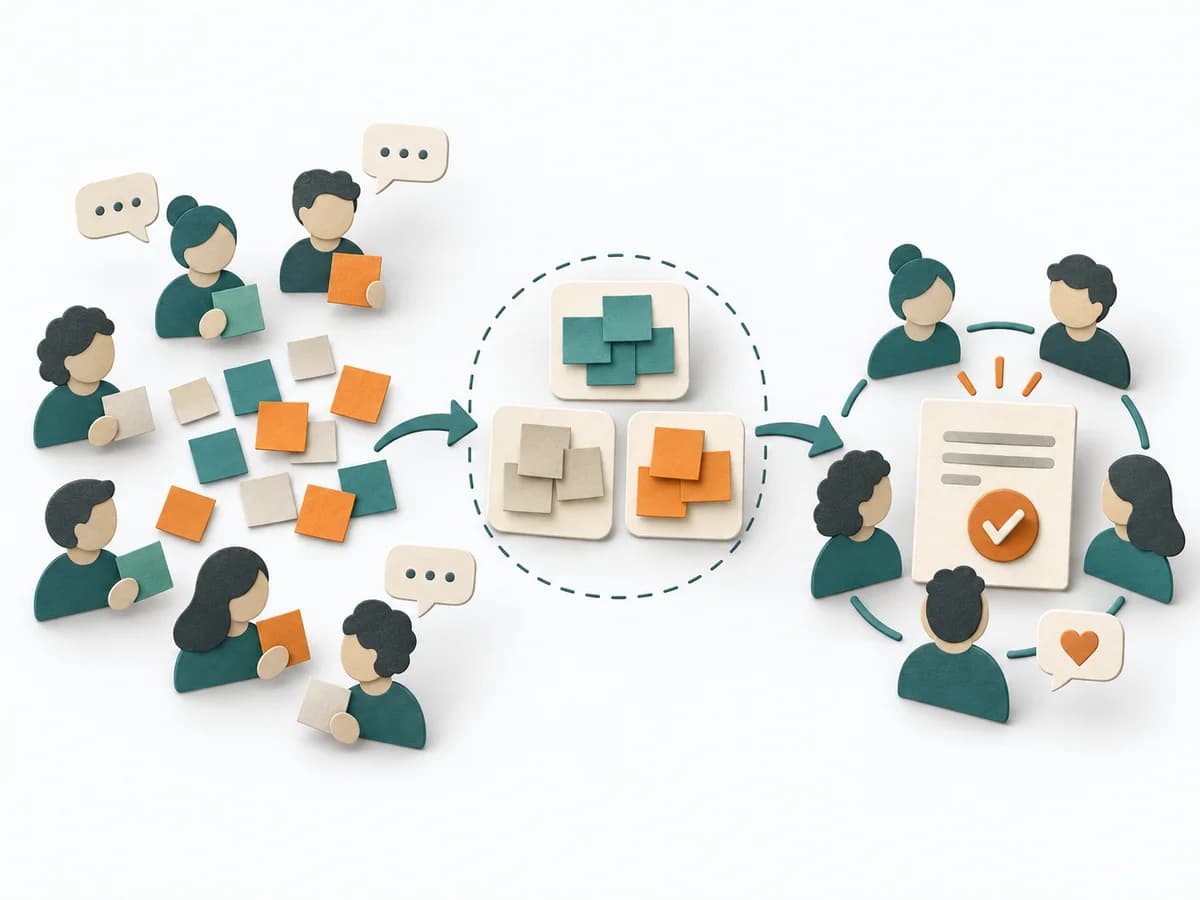 Facilitation Consensus Workshop | 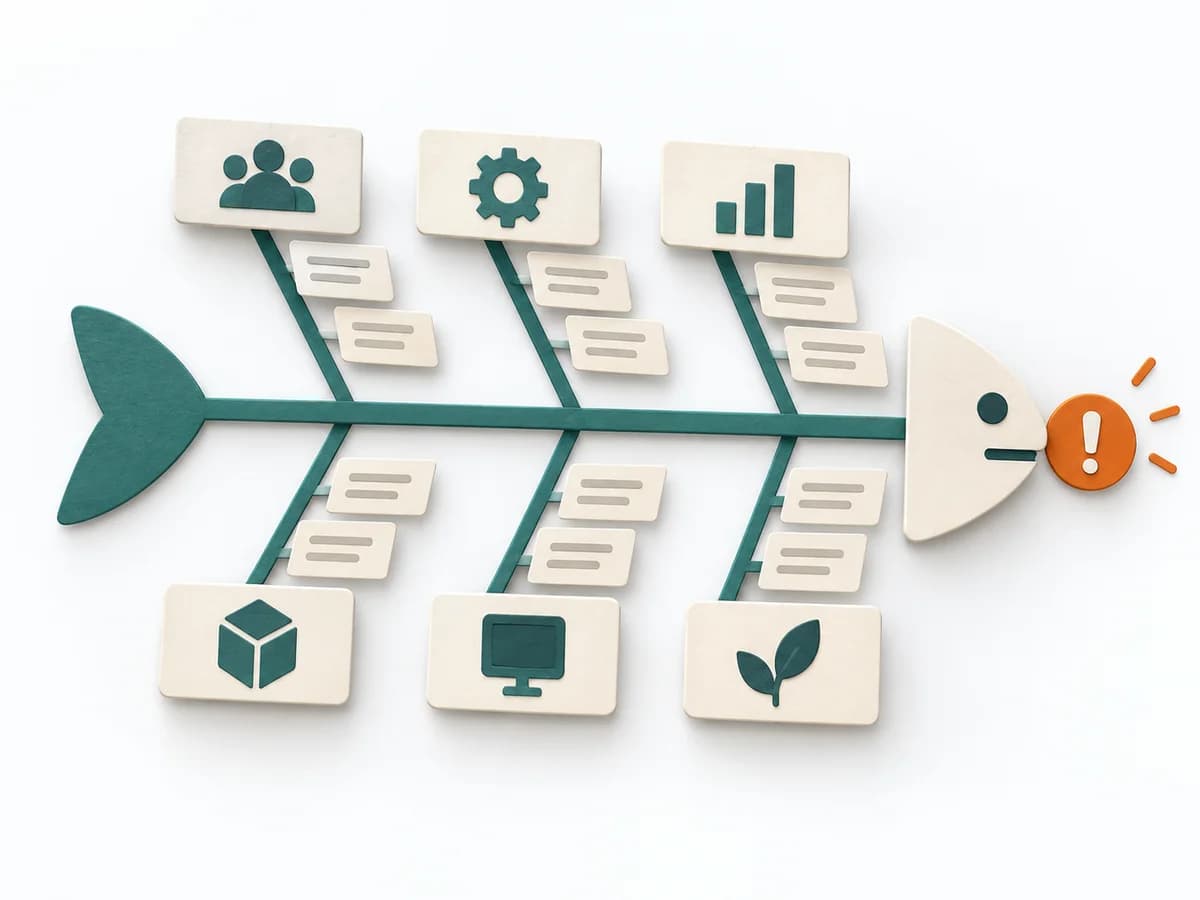 Operations Fishbone Diagram | 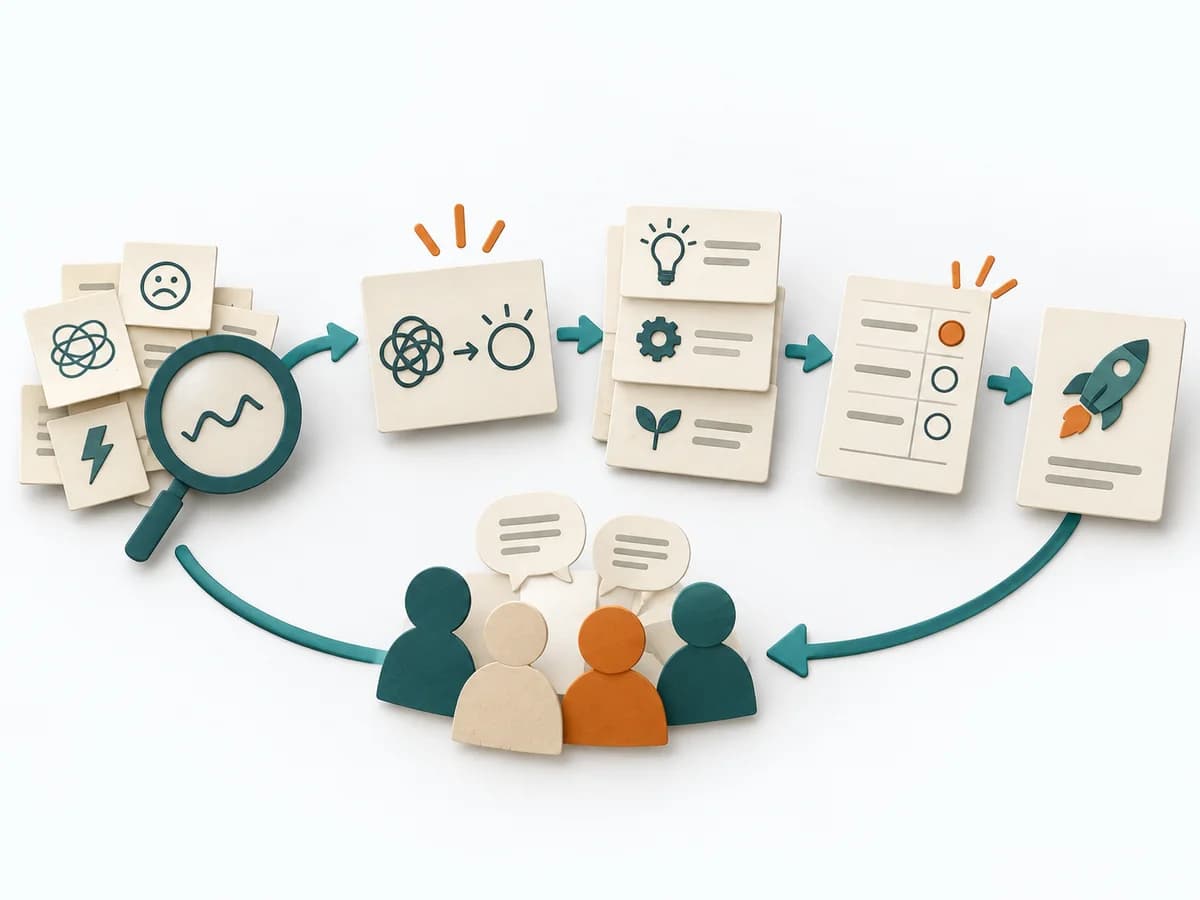 Facilitation Decision Jam | 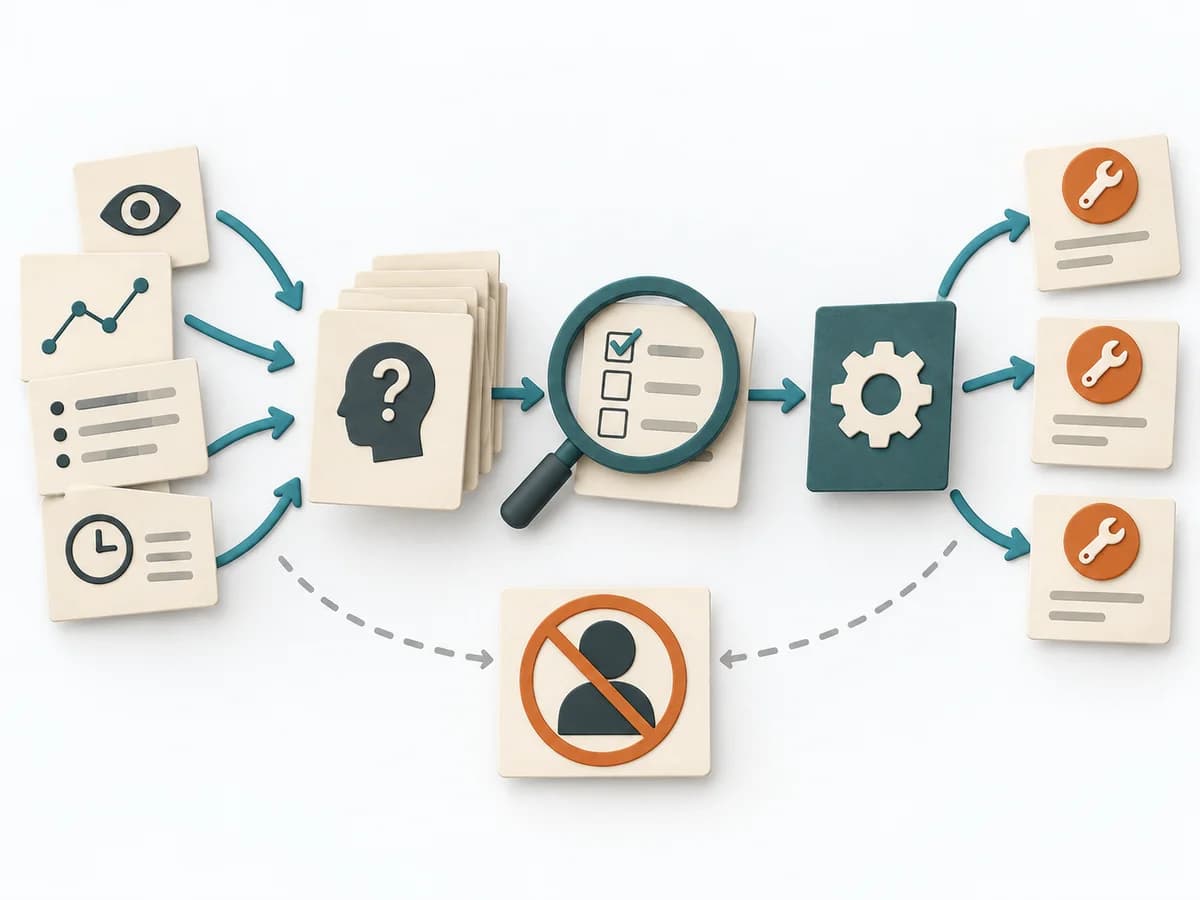 Operations Root Cause Analysis |
|---|---|---|---|---|
Purposedifferent | When a group needs a solid decision without outvoting individual factions, a Consensus Workshop creates a negotiable common ground. It makes agreement, reservations, and open tensions discussable at the same time. | When a problem has several possible contributing factors, the method sorts causes by cause areas. It prevents an initial hunch from blocking the view of other plausible drivers. | When a decision is stuck, Decision Jam loosens the knot through structured separation of problem, idea, and selection. The format creates movement without jumping prematurely at the first seemingly elegant answer. | When a problem keeps recurring and the cause stays unclear, the method exposes the underlying mechanism. It separates symptom, guess, and robust explanation from one another. |
Complexitydifferent | Medium | Low | Low | Medium |
Timedifferent | 1-3 h | 30-60 min | 60-90 min | 1-4 h |
Participantsdifferent | 5-30 | 2-8 | 4-10 | 3-8 |
Formatdifferent | Workshop | Workshop | Workshop | Workshop + async |
Outputdifferent | Consensus Clusters, Theme Titles, Priority Areas | Fishbone Diagram, Cause Categories, Investigation Backlog | Problem Cluster, Prioritized Challenge, Experiment | Problem Statement, Cause Hypotheses, Confirmed Causes, Action Plan |
Tagsno overlap | FacilitationConsensusWorkshopAlignment | Root causeQualityOperations | FacilitationDecisionProblem solvingWorkshop | Root causeProblem solvingQualityIncident |