View methods side by side.
Choose up to four methods. Add them using the search and share the comparison by copying its link.
| Criterion | 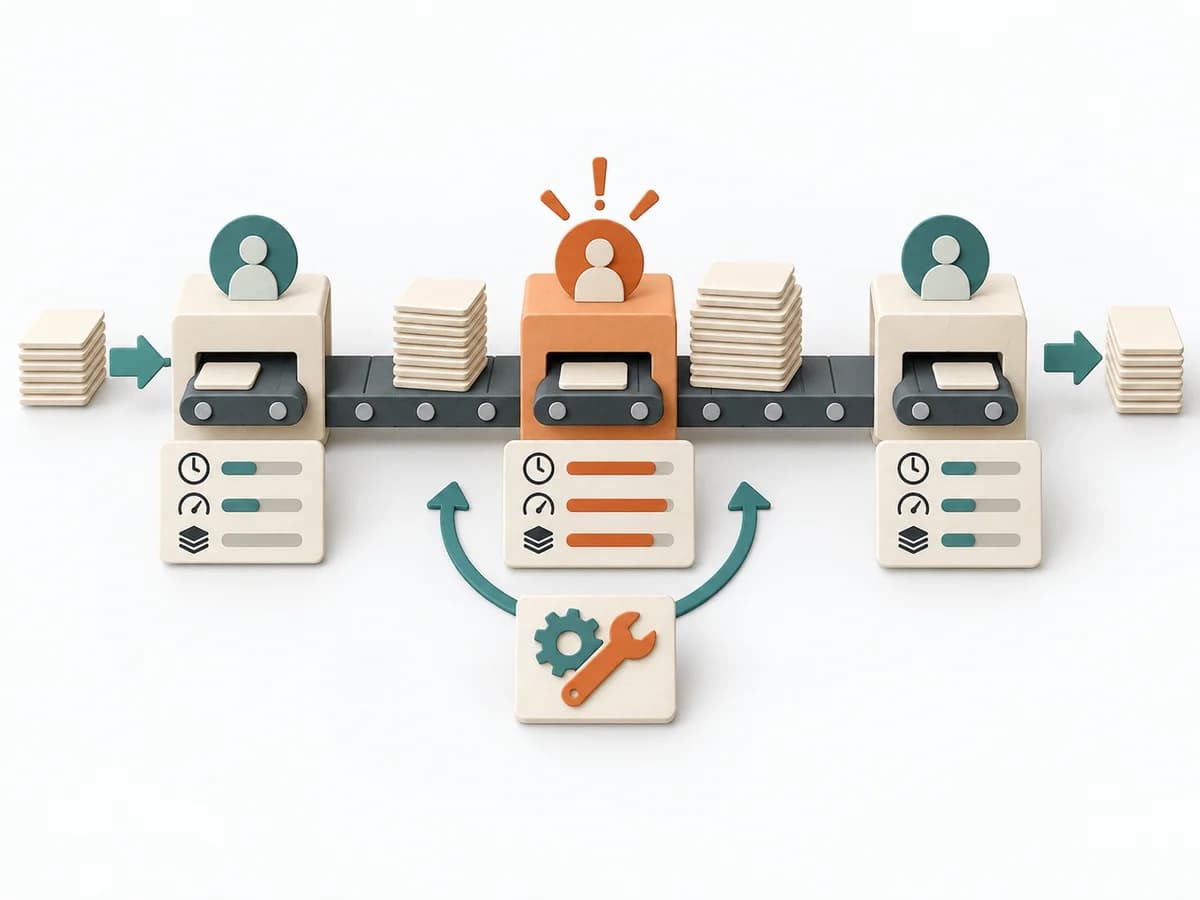 Operations Bottleneck Analysis | 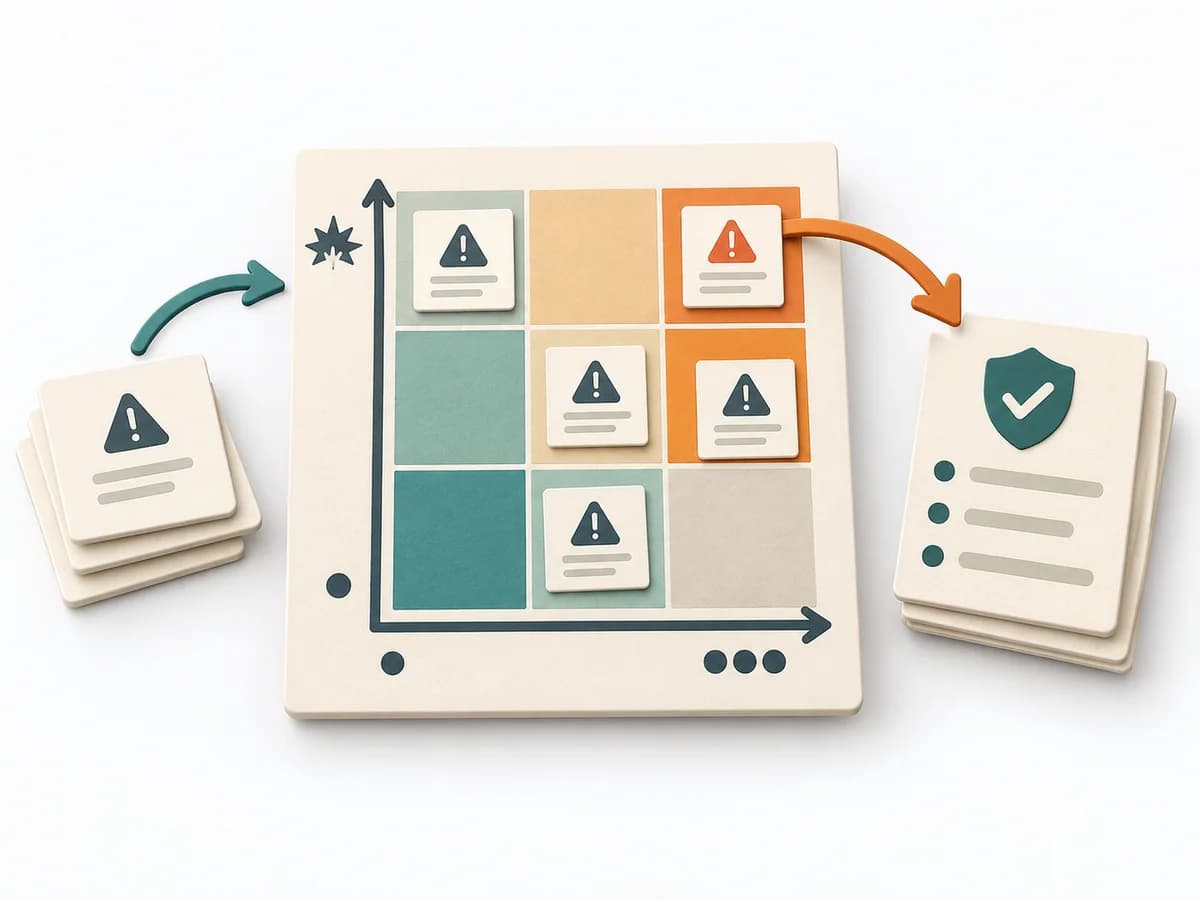 Decision Making Risk Matrix | 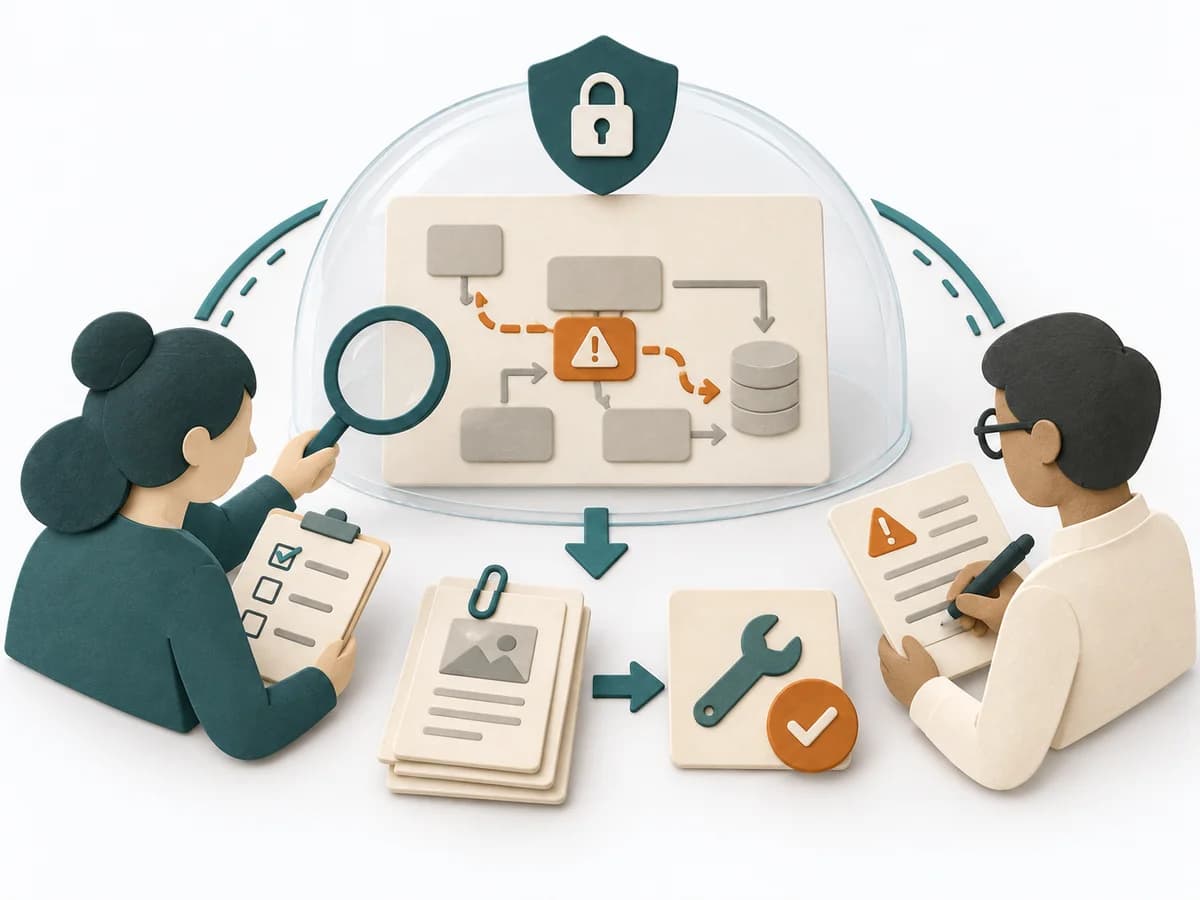 Decision Making Red Teaming | 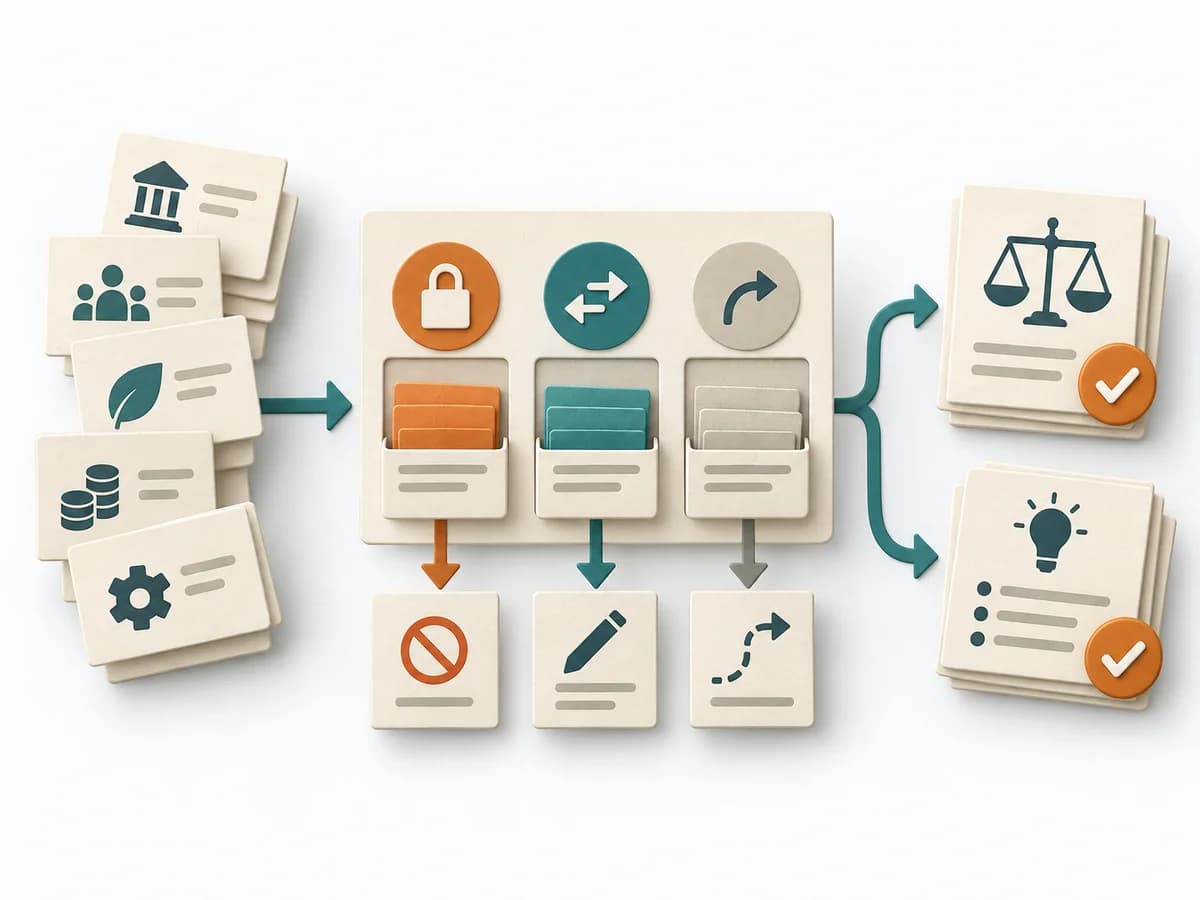 Decision Making Constraint Analysis |
|---|---|---|---|---|
Purposedifferent | For a flow that backs up at one point, the method looks for the capacity limit with the greatest leverage. It explains why extra effort elsewhere barely improves throughput. | When a project faces many possible disruptions, it quickly becomes unclear which risks deserve attention first. It separates options, evaluation criteria, and open risks. The result is captured as a Risk Matrix and a Top Risk List. | For strategic decisions with high reach, agreement and gut feeling are often not enough. Red teaming brings deliberate opposition into the situation and tests where a plan breaks under real counterarguments. | When an initiative stalls, the limit often lies not in the idea but in hard or soft boundary conditions. Constraint Analysis separates these limits and shows which of them can actually be shaped. |
Complexitydifferent | Medium | Low | High | Low |
Timedifferent | 1-3 h | 30-60 min | 1-4 h | 30-90 min |
Participantsdifferent | 3-8 | 3-10 | 3-8 | 2-8 |
Formatdifferent | Workshop + async | Workshop + async | Workshop | Workshop + async |
Outputdifferent | Bottleneck Map, Flow Metrics, Improvement Options, Follow-up Measures | Risk Matrix, Top Risk List | Challenge Findings, Risk Register, Mitigation Plan | Constraint List, Hard/Soft Classification, Option Impact Notes, Decision Boundaries |
Tagsno overlap | FlowMeasurementConstraints | RiskDecisionPrioritizationAssessment | RiskDecisionSensemaking | ConstraintsDecisionPlanningOptions |