View methods side by side.
Choose up to four methods. Add them using the search and share the comparison by copying its link.
| Criterion | 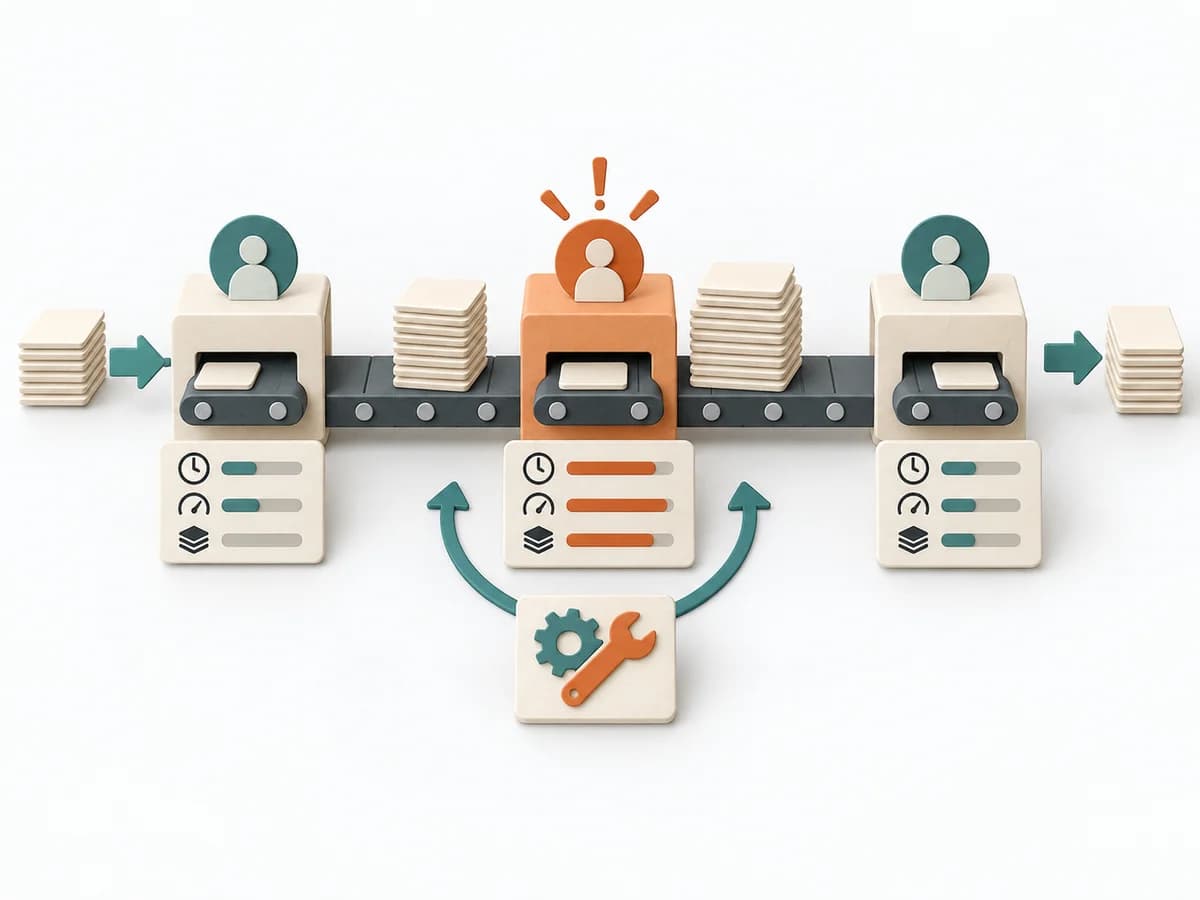 Operations Bottleneck Analysis | 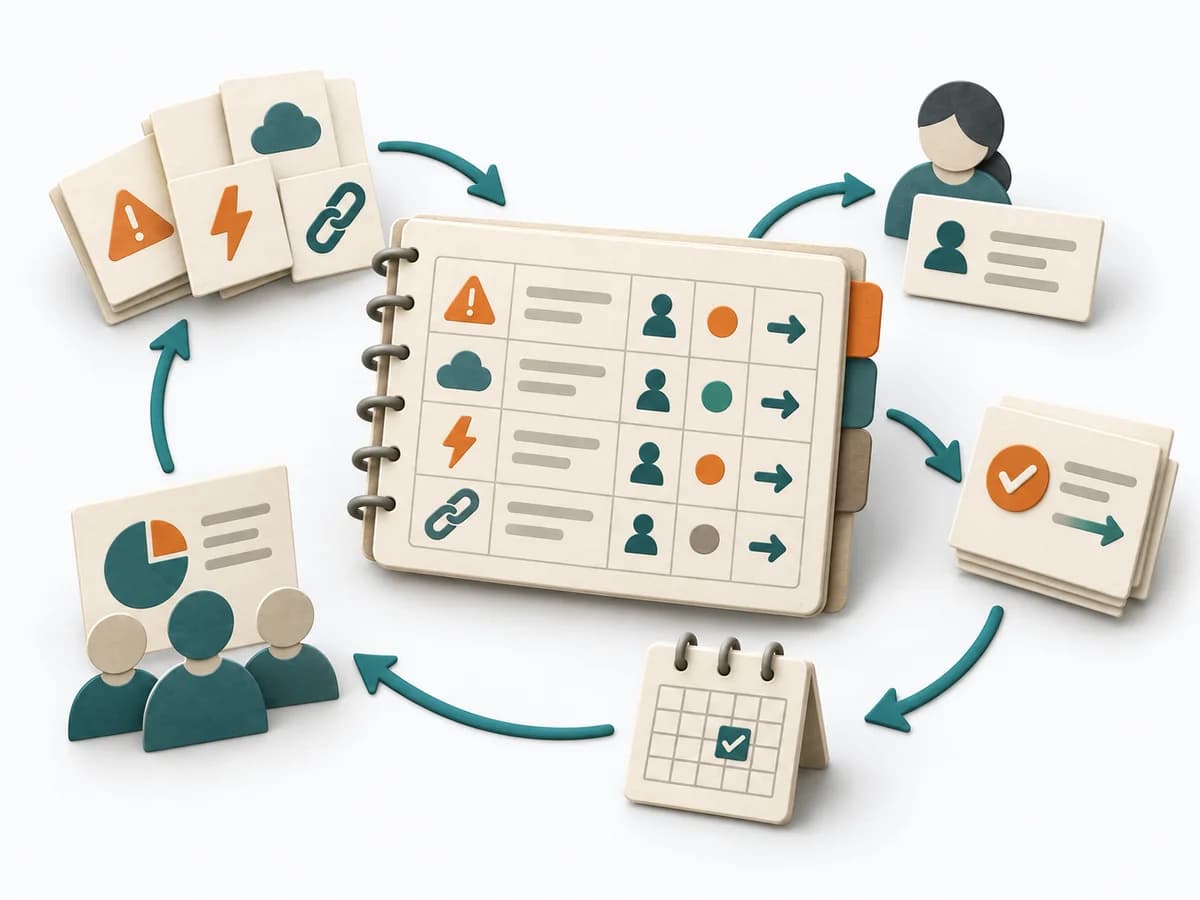 Delivery RAID Log | 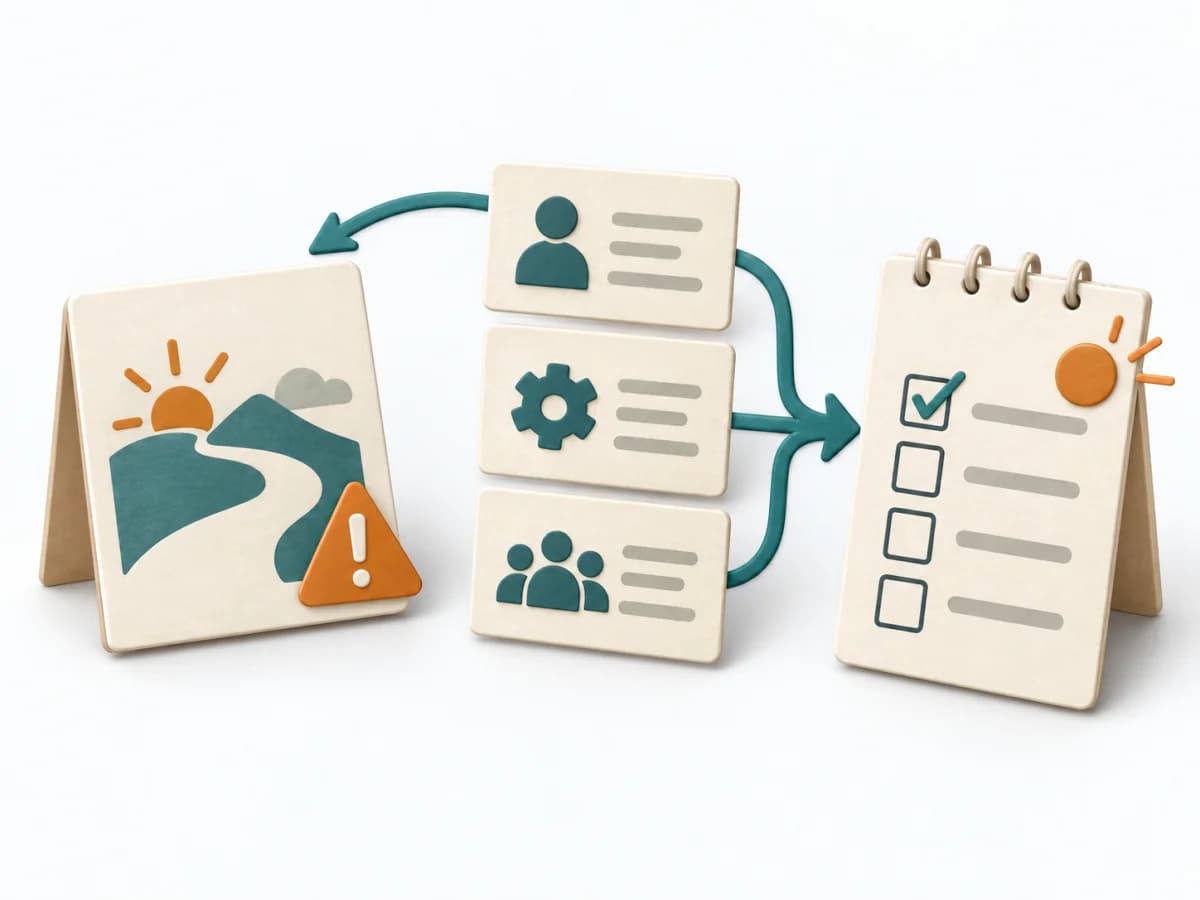 Decision Making Pre-Mortem |  Delivery Communication Plan |
|---|---|---|---|---|
Purposedifferent | For a flow that backs up at one point, the method looks for the capacity limit with the greatest leverage. It explains why extra effort elsewhere barely improves throughput. | Helps clarify scope, sequence, and delivery flow in concrete terms. It makes work, boundaries, and order steerable. The result is captured as a RAID Log and a source for status reporting. | In early initiatives with many uncertainties, planning quickly turns too optimistic. A pre-mortem makes the expected failure visible in advance and sharpens the view of causes, gaps, and countermeasures. | When many people need to be informed in parallel and messages would otherwise arrive unevenly or too late, a Communication Plan orders communication reliably. Channels, audiences, and cadences interlock so important information doesn't get lost. |
Complexitydifferent | Medium | Low | Low | Low |
Timedifferent | 1-3 h | 30 min Setup, dann laufend | 20–45 min | 45-90 min |
Participantsdifferent | 3-8 | 1-3 maintaining, briefing for everyone | Small cross-functional group | 2-6 |
Formatdifferent | Workshop + async | Async | Workshop | Workshop + async |
Outputdifferent | Bottleneck Map, Flow Metrics, Improvement Options, Follow-up Measures | RAID Log, Status Report Source | Risk list, Mitigation plan, Assumption log | Communication Plan, Channel Matrix, Message Cadence |
Tagsno overlap | FlowMeasurementConstraints | RiskTrackingStakeholdersGovernance | RiskDecisionFailurePlanning | CommunicationStakeholdersDeliveryPlanning |