View methods side by side.
Choose up to four methods. Add them using the search and share the comparison by copying its link.
| Criterion | 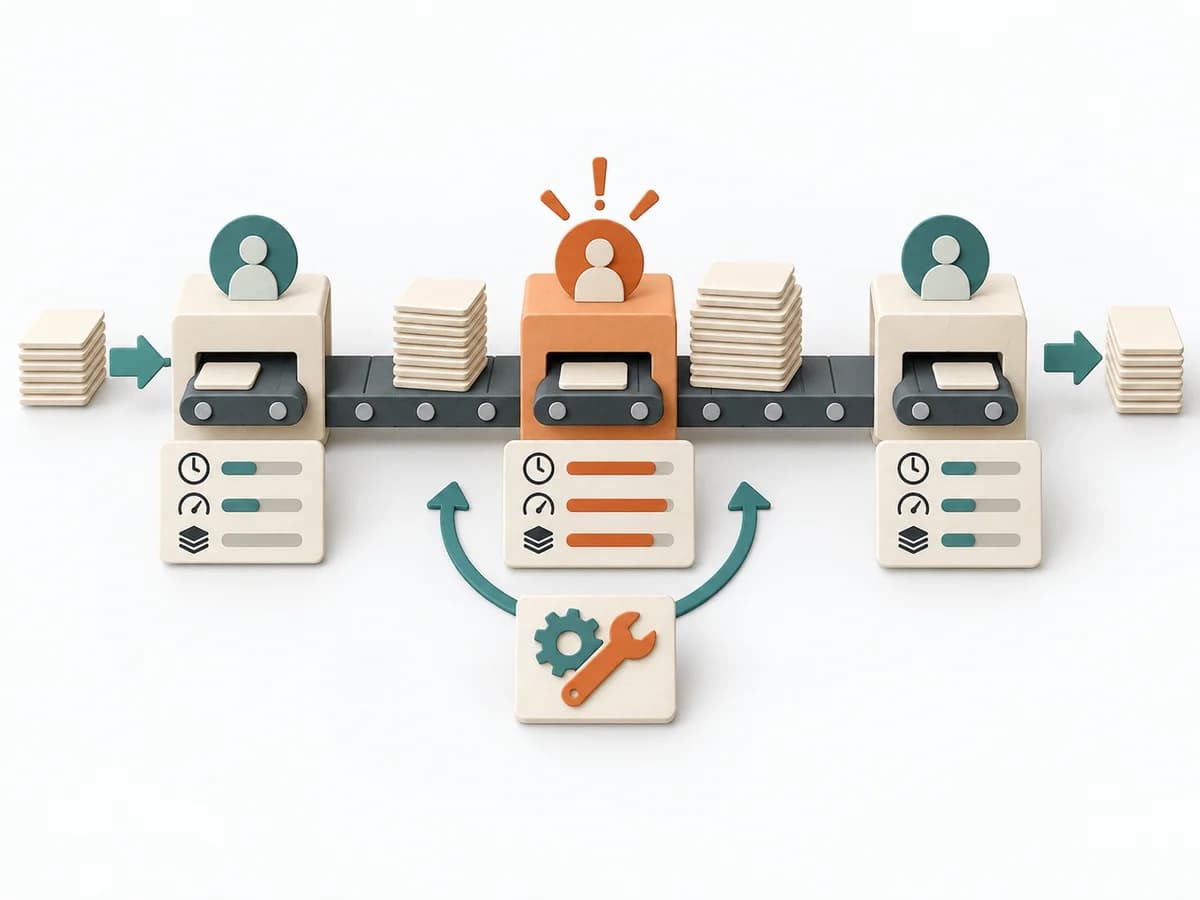 Operations Bottleneck Analysis |  Decision Making OODA Loop | 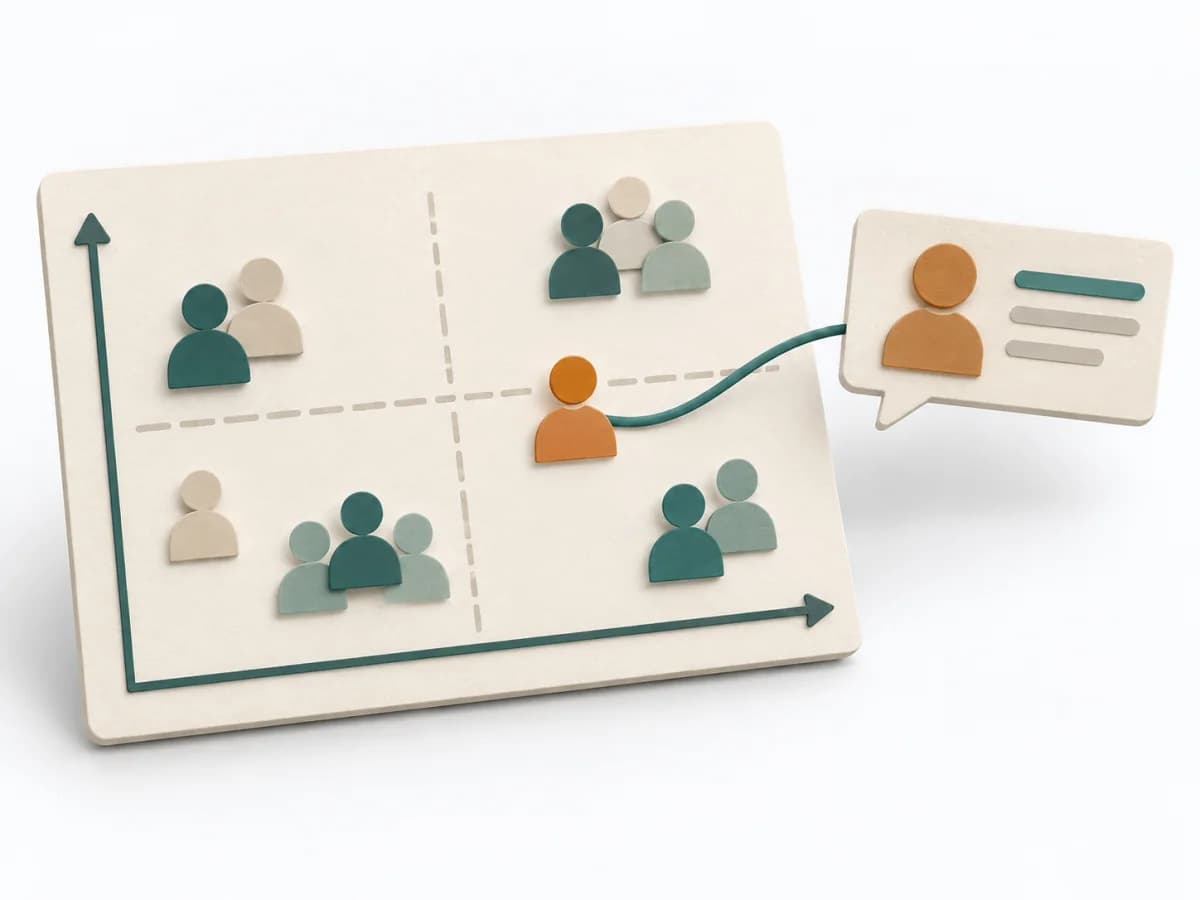 Facilitation Stakeholder Mapping | 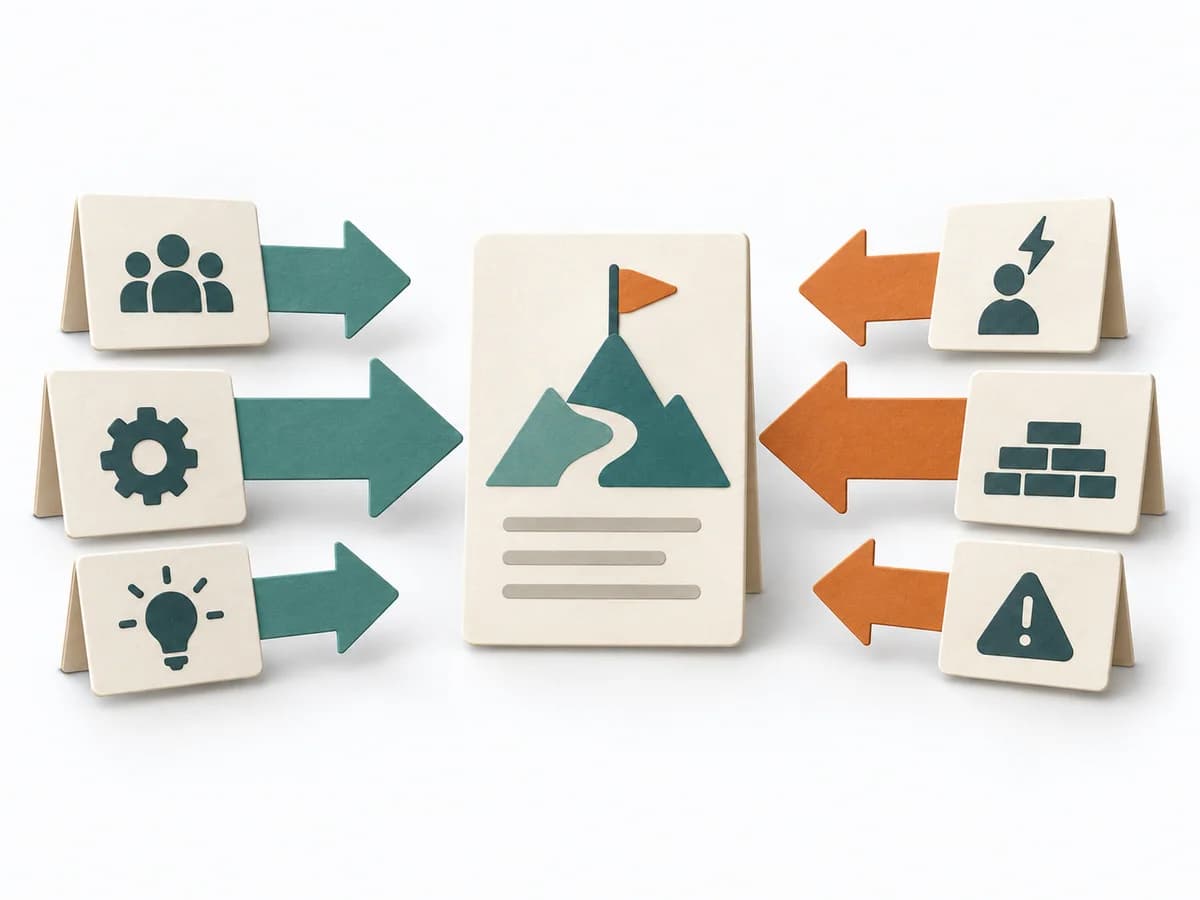 Decision Making Force Field Analysis |
|---|---|---|---|---|
Purposedifferent | For a flow that backs up at one point, the method looks for the capacity limit with the greatest leverage. It explains why extra effort elsewhere barely improves throughput. | In dynamic situations, decisions become outdated faster than they can be prepared. The OODA Loop holds observing, orienting, deciding, and acting together as a recurring rhythm so reaction does not slide into inertia. | When an initiative depends on many people, interests, and power dynamics, Stakeholder Mapping systematically orders the environment. It shows who influences, who is affected, and where relationship management or safeguarding matters first. | In change initiatives, supporting and restraining forces sit at the table at the same time. Force Field Analysis makes these tensions explicit and shows where change can be pushed forward by strengthening or relieving. |
Complexitydifferent | Medium | Medium | Low | Low |
Timedifferent | 1-3 h | 15-60 min je Zyklus | 60–90 min | 45-90 min |
Participantsdifferent | 3-8 | 1-8 | 2-8 | 3-12 |
Formatdifferent | Workshop + async | Workshop + async | Workshop + async | Workshop |
Outputdifferent | Bottleneck Map, Flow Metrics, Improvement Options, Follow-up Measures | Situation Assessment, Decision Loop, Action Updates | Stakeholder Map, Engagement Plan, Risk Notes | Force Field Map, Change Levers, Risk Notes |
Tagsno overlap | FlowMeasurementConstraints | DecisionChangeLearningStrategy | StakeholdersAlignmentFacilitationChange | ChangeDecisionStrategy |