View methods side by side.
Choose up to four methods. Add them using the search and share the comparison by copying its link.
| Criterion | 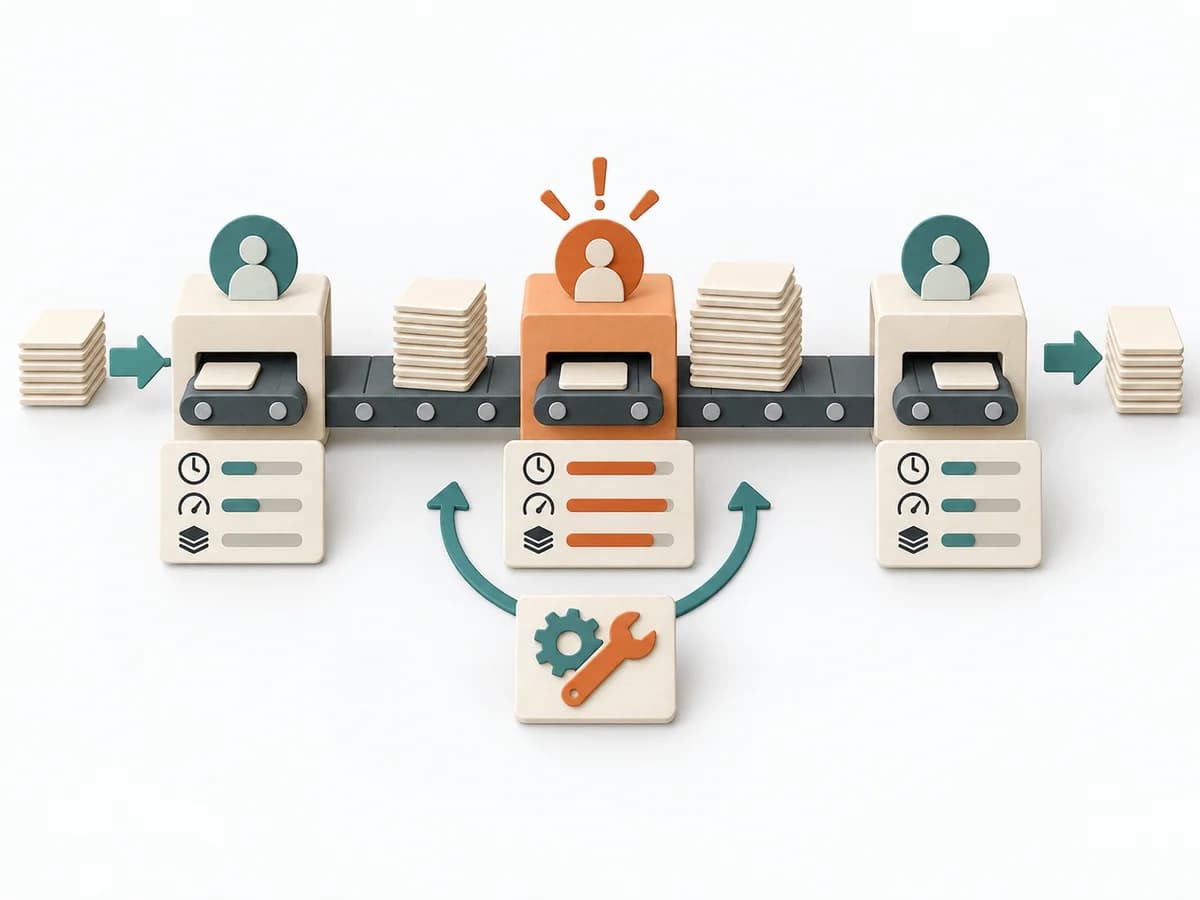 Operations Bottleneck Analysis | 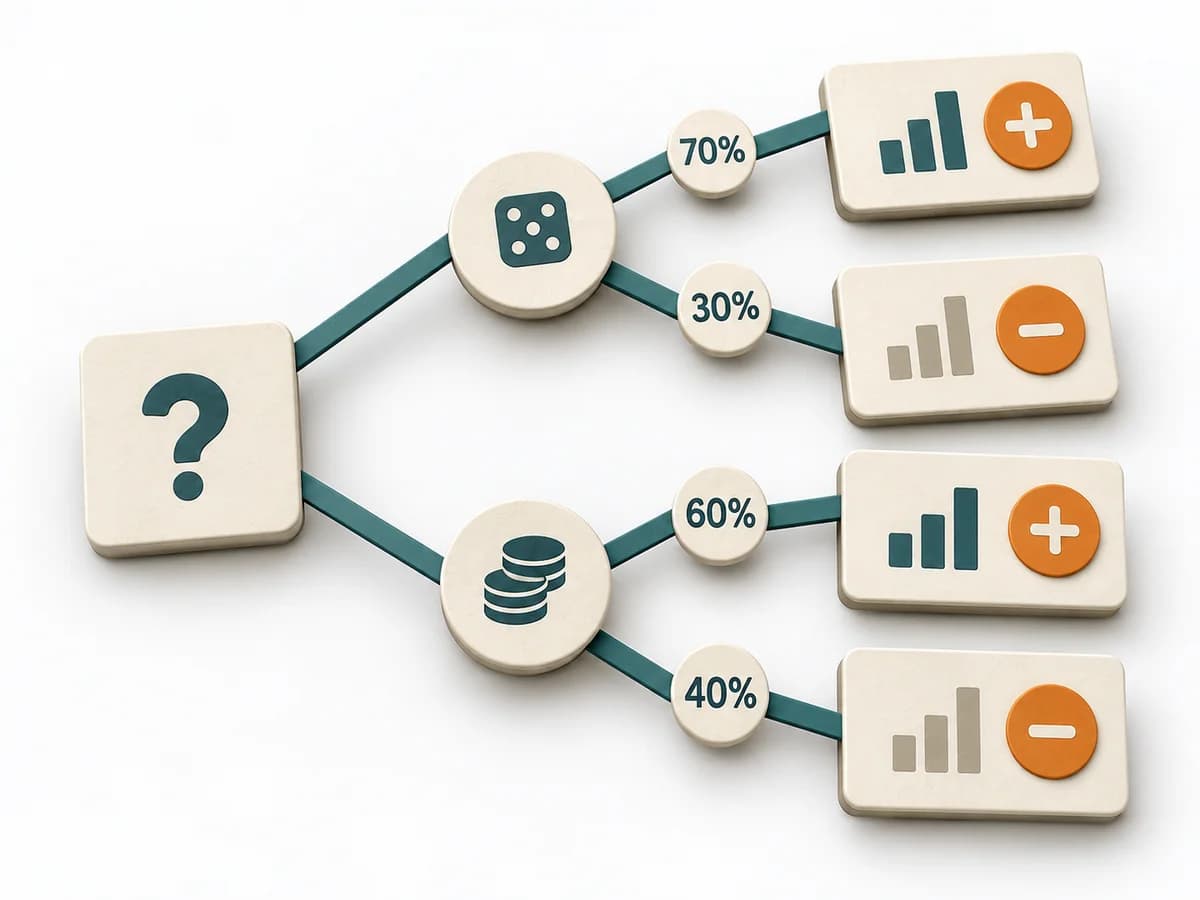 Decision Making Decision Tree | 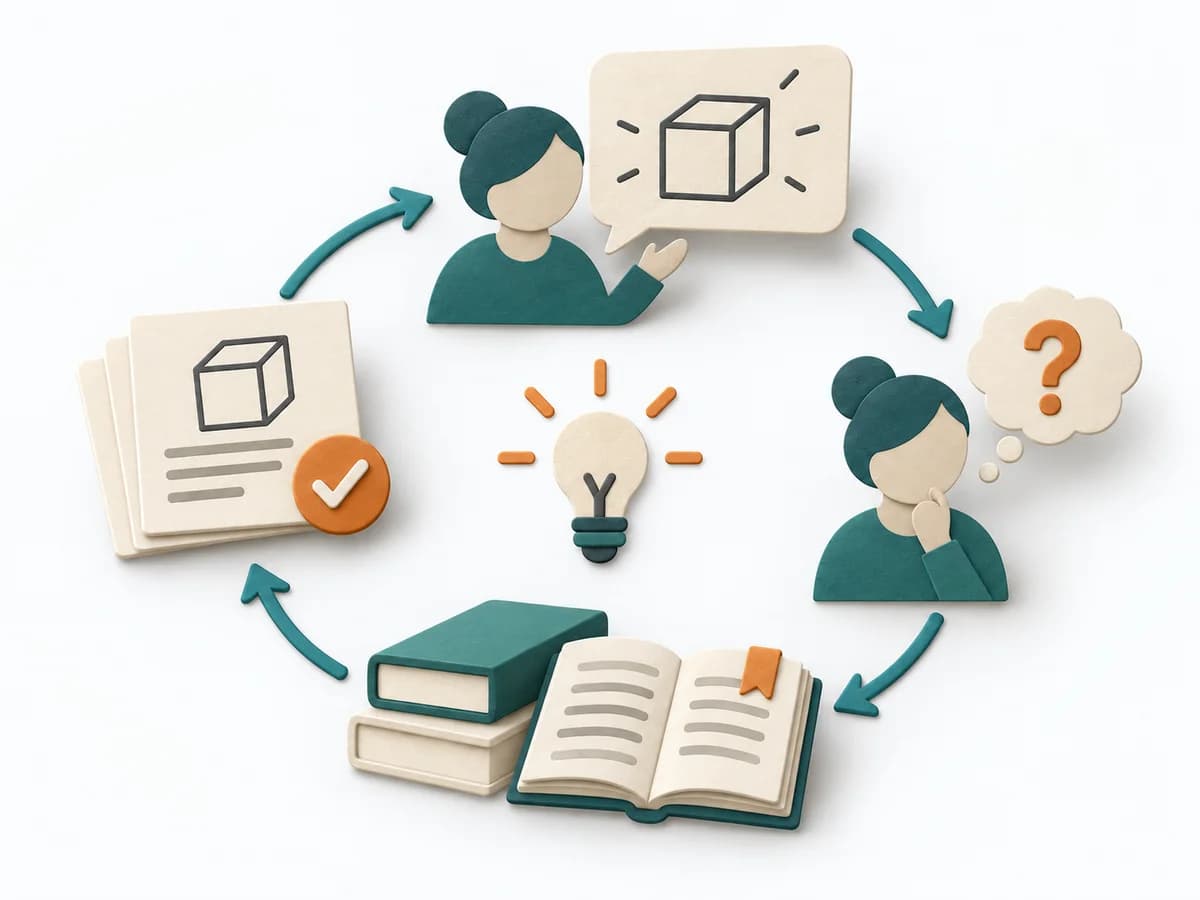 Knowledge Modeling Feynman Technique | 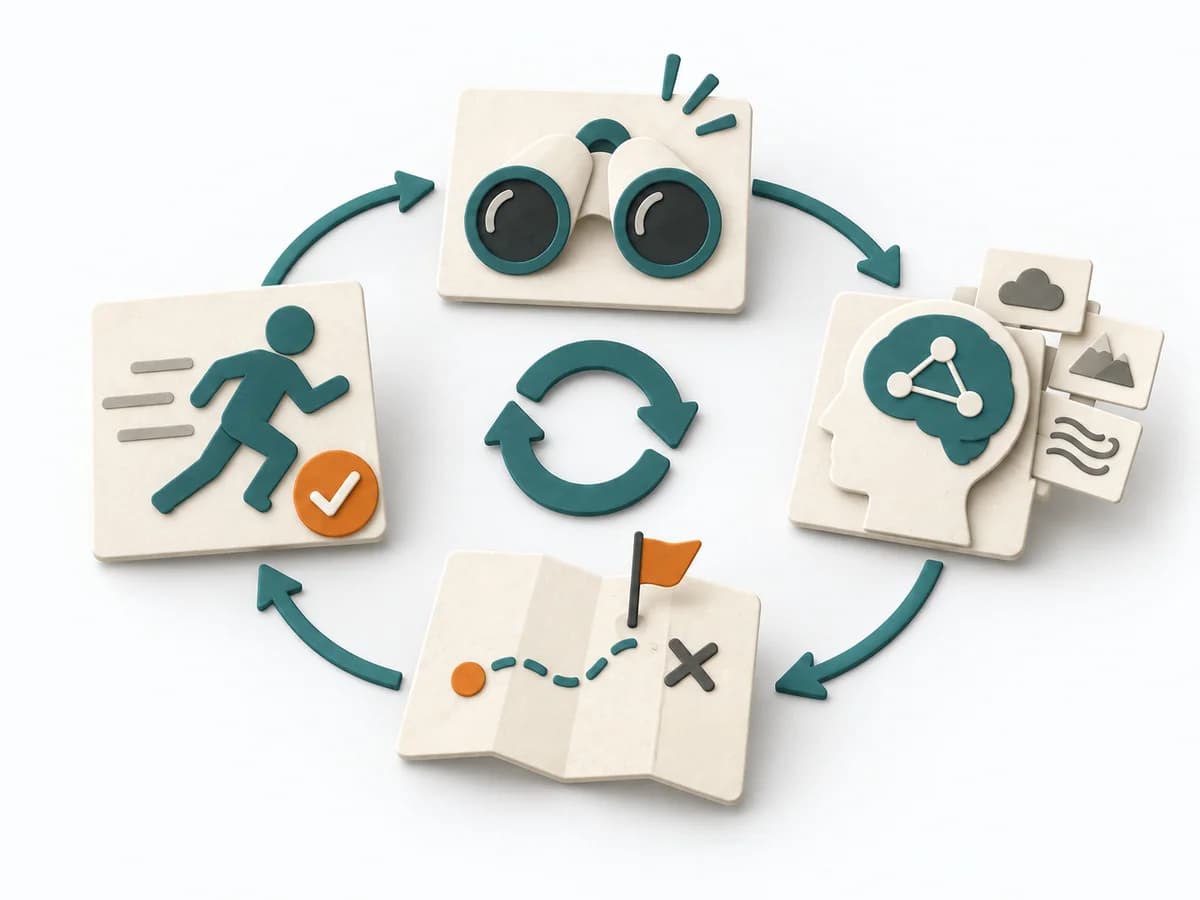 Decision Making OODA Loop |
|---|---|---|---|---|
Purposedifferent | For a flow that backs up at one point, the method looks for the capacity limit with the greatest leverage. It explains why extra effort elsewhere barely improves throughput. | For decisions with follow-on paths and dependencies, a linear comparison is often not enough. A Decision Tree shows how options branch under conditions and which consequences hang on each branch. | The Feynman Technique checks understanding by explaining a topic so that it stays easy for others to understand. It makes knowledge gaps visible before they become costly in everyday work. | In dynamic situations, decisions become outdated faster than they can be prepared. The OODA Loop holds observing, orienting, deciding, and acting together as a recurring rhythm so reaction does not slide into inertia. |
Complexitydifferent | Medium | Medium | Low | Medium |
Timedifferent | 1-3 h | 30-90 min | 20-60 min | 15-60 min je Zyklus |
Participantsdifferent | 3-8 | 1-6 | 1 | 1-8 |
Formatdifferent | Workshop + async | Workshop + async | Async | Workshop + async |
Outputdifferent | Bottleneck Map, Flow Metrics, Improvement Options, Follow-up Measures | Decision Tree, Option Map, Assumption List | Plain-language Explanation, Knowledge Gaps, Study Notes | Situation Assessment, Decision Loop, Action Updates |
Tagsno overlap | FlowMeasurementConstraints | DecisionTreeOptions | LearningKnowledgeUnderstanding | DecisionChangeLearningStrategy |