View methods side by side.
Choose up to four methods. Add them using the search and share the comparison by copying its link.
| Criterion | 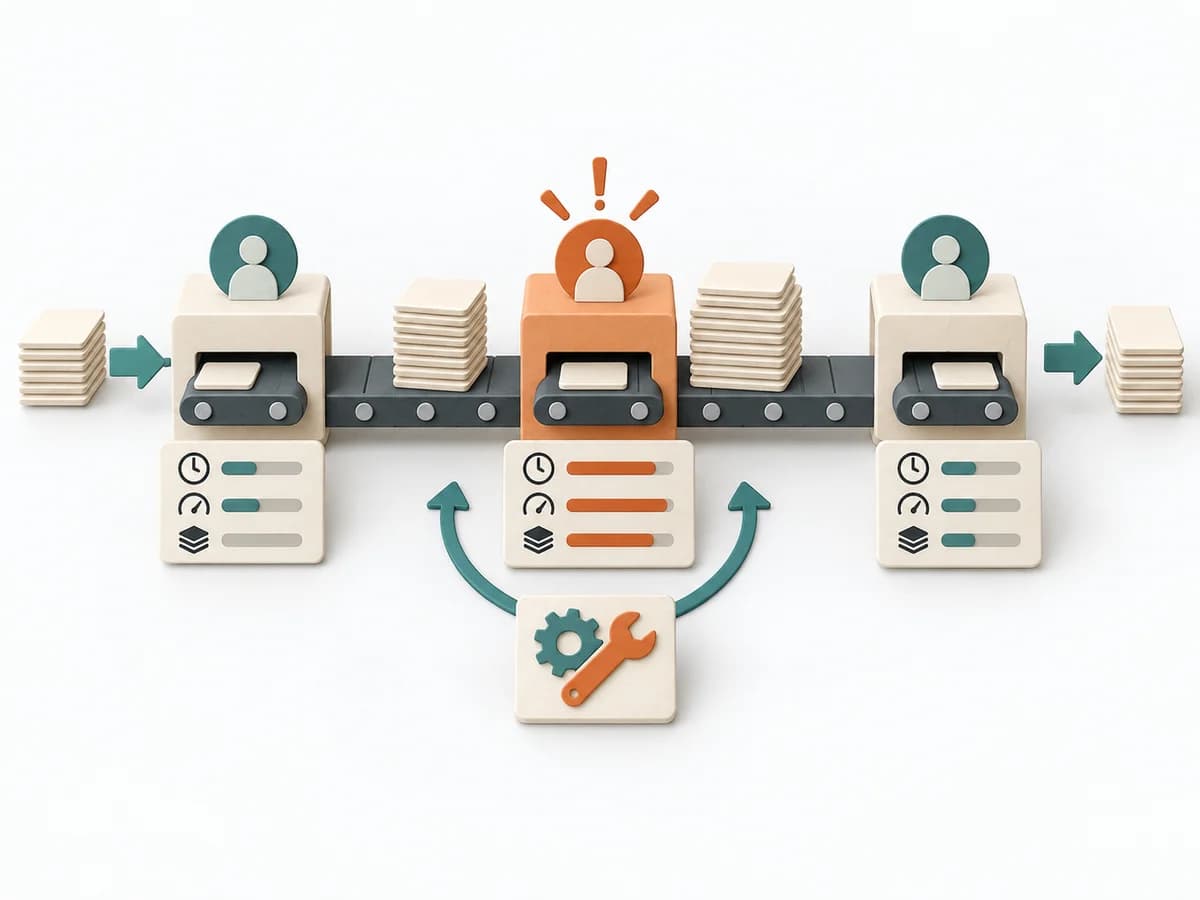 Operations Bottleneck Analysis | 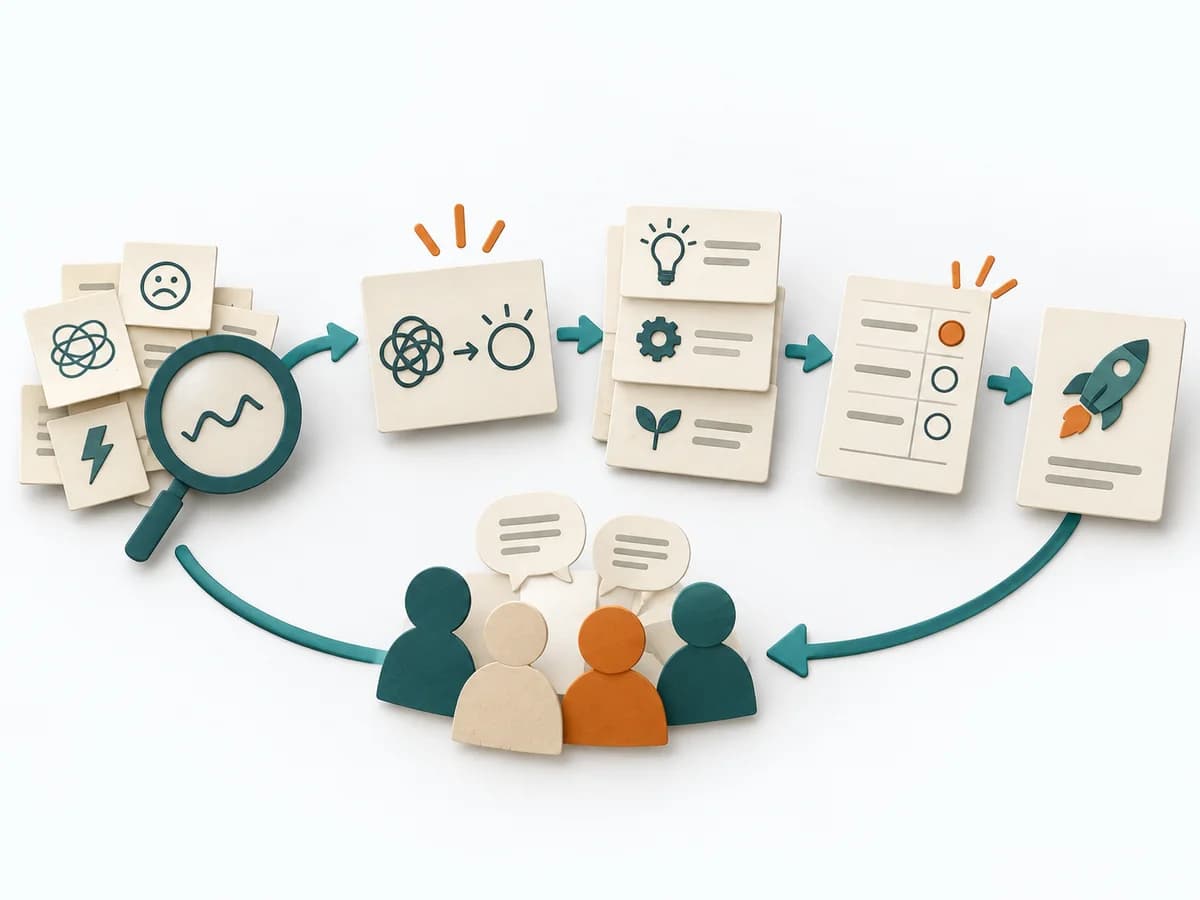 Facilitation Decision Jam | 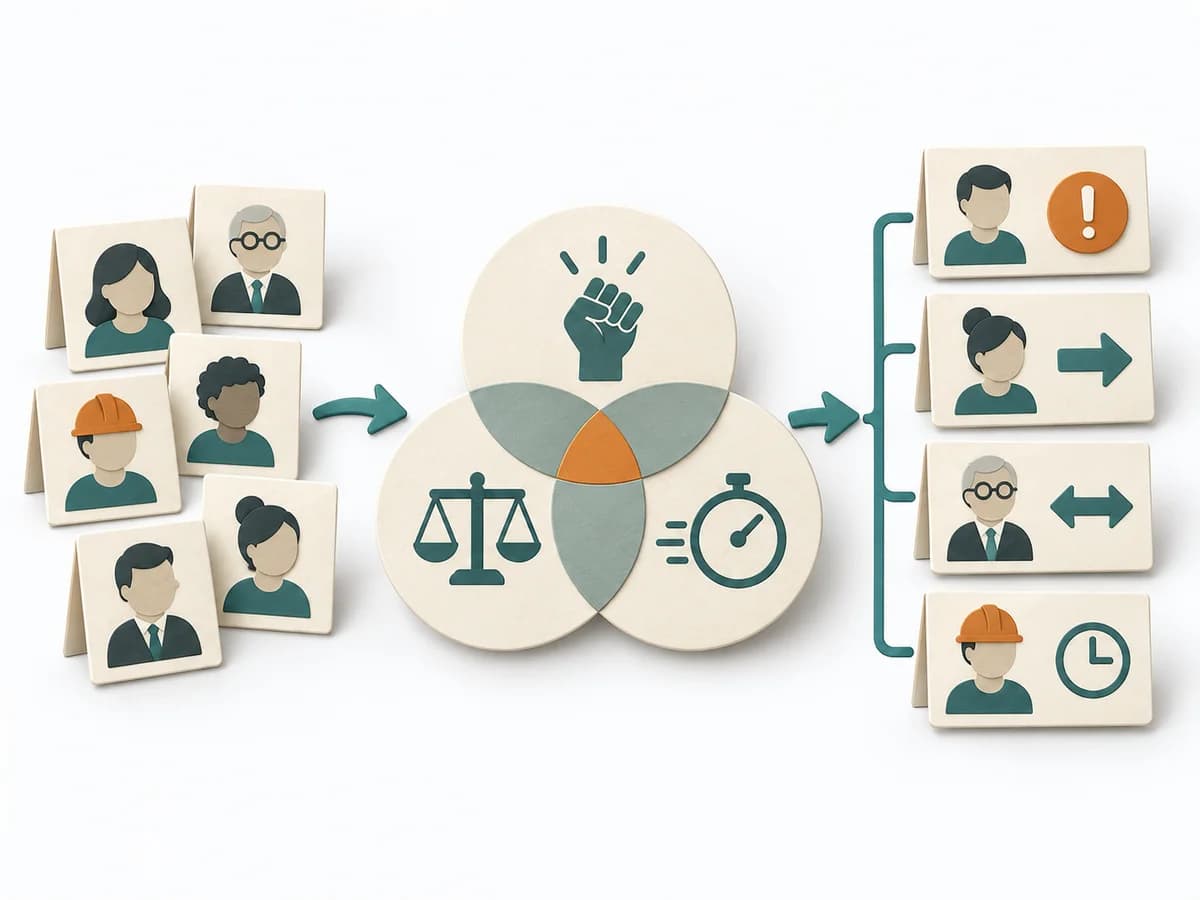 Facilitation Stakeholder Salience Model | 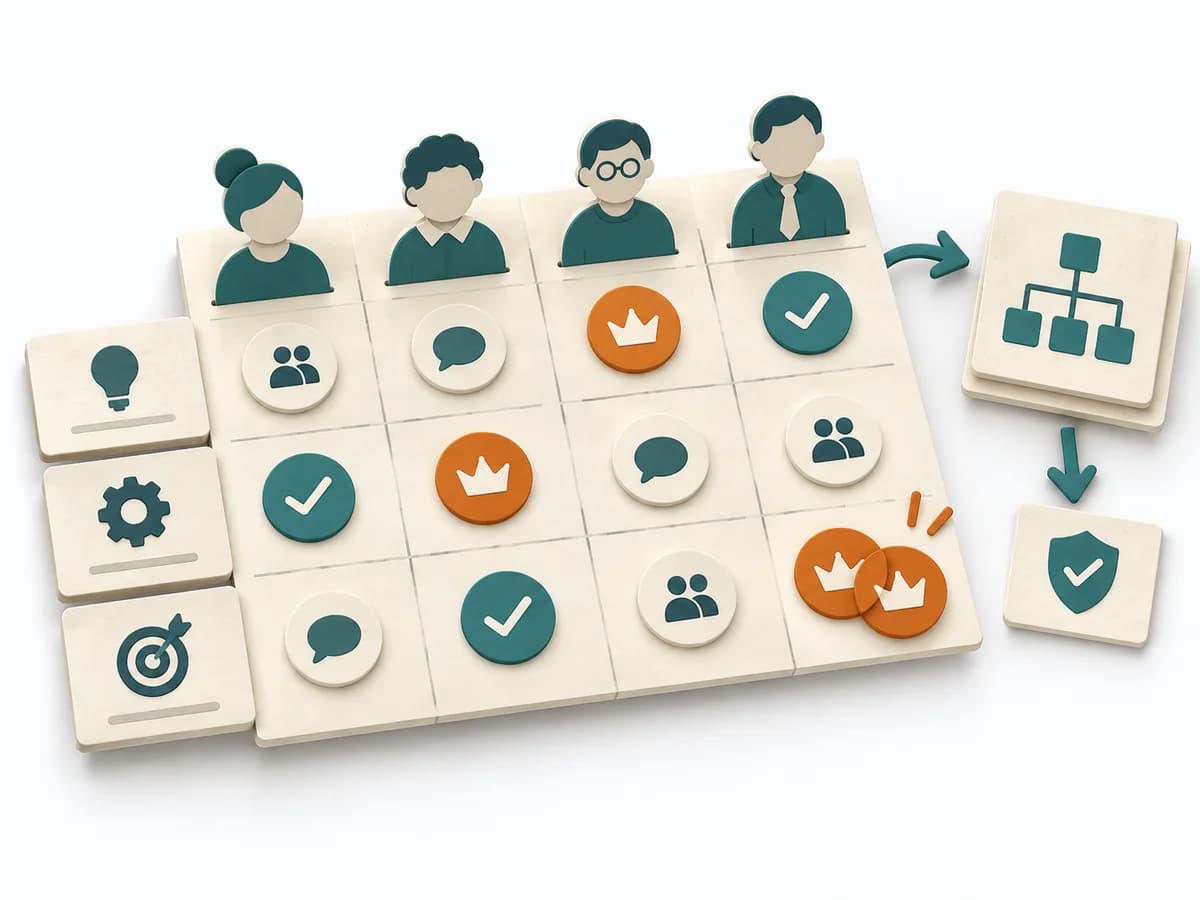 Decision Making Decision Rights Mapping |
|---|---|---|---|---|
Purposedifferent | For a flow that backs up at one point, the method looks for the capacity limit with the greatest leverage. It explains why extra effort elsewhere barely improves throughput. | When a decision is stuck, Decision Jam loosens the knot through structured separation of problem, idea, and selection. The format creates movement without jumping prematurely at the first seemingly elegant answer. | When stakeholders appear to matter very differently, the Stakeholder Salience Model rates their actual priority through power, legitimacy, and urgency. It turns individual contributions into a visible selection. The result is captured as a Salience diagram and a class-based strategy. | In organizations with many stakeholders, it often blurs who actually decides and who is merely consulted. It separates options, evaluation criteria, and open risks. The result is captured as a Decision Rights matrix and an agreement. |
Complexitydifferent | Medium | Low | Medium | Medium |
Timedifferent | 1-3 h | 60-90 min | 60-90 min | 90-180 min |
Participantsdifferent | 3-8 | 4-10 | 3-6 | 4-12 |
Formatdifferent | Workshop + async | Workshop | Workshop | Workshop |
Outputdifferent | Bottleneck Map, Flow Metrics, Improvement Options, Follow-up Measures | Problem Cluster, Prioritized Challenge, Experiment | Salience Diagram, Strategy per Class | Decision Rights Matrix, Agreement |
Tagsno overlap | FlowMeasurementConstraints | FacilitationDecisionProblem solvingWorkshop | StakeholdersFacilitationAlignmentGovernance | DecisionGovernanceAlignmentResponsibility |