View methods side by side.
Choose up to four methods. Add them using the search and share the comparison by copying its link.
| Criterion |  Operations Bottleneck Analysis | 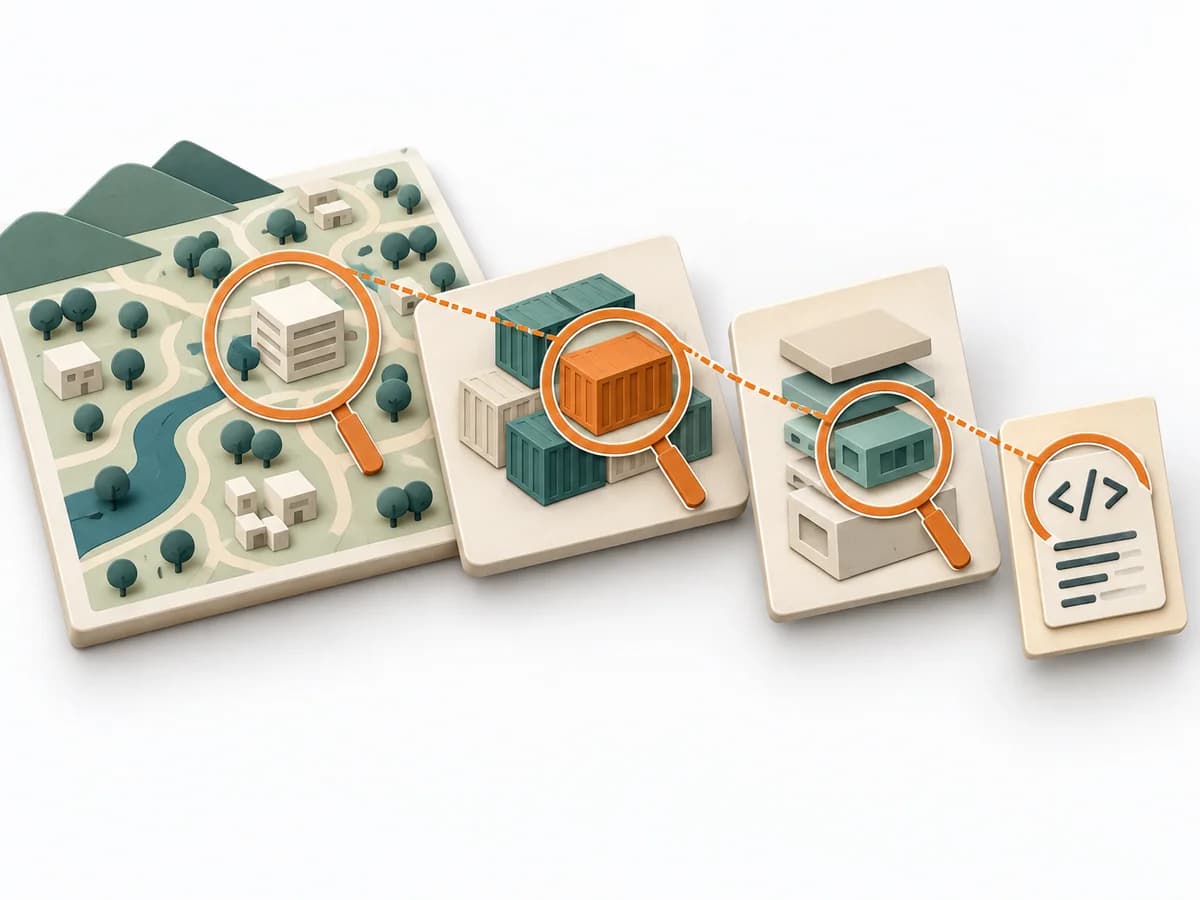 Architecture C4 Model | 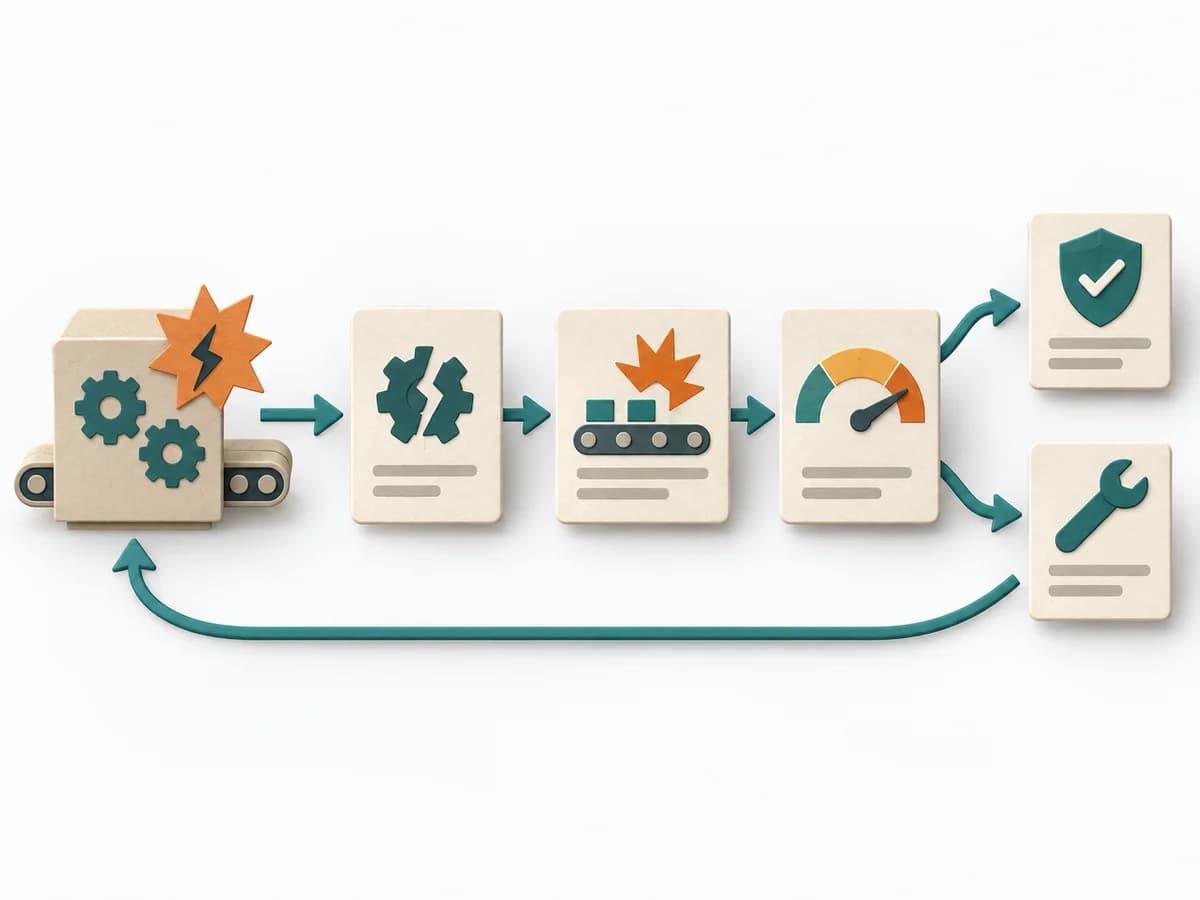 Operations Failure Mode and Effects Analysis | 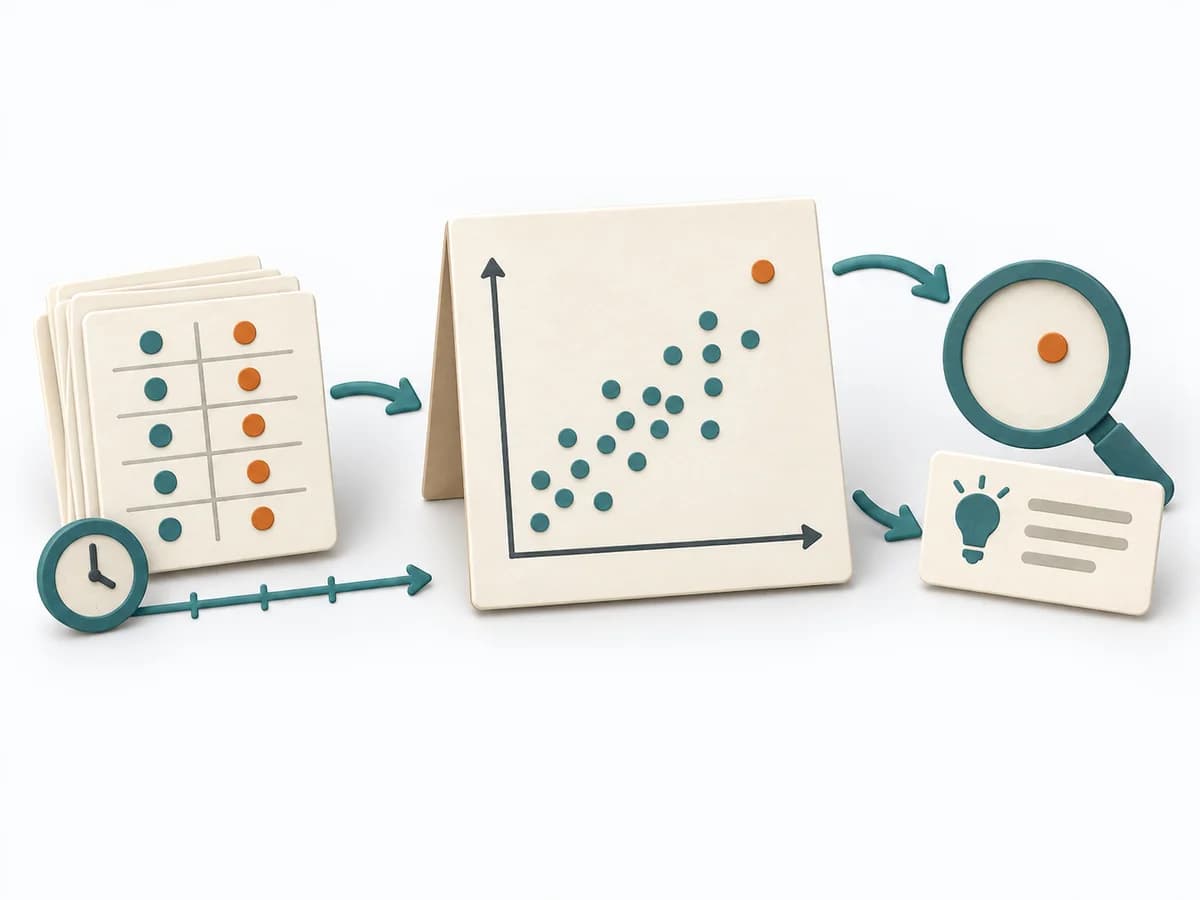 Operations Scatter Diagram |
|---|---|---|---|---|
Purposedifferent | For a flow that backs up at one point, the method looks for the capacity limit with the greatest leverage. It explains why extra effort elsewhere barely improves throughput. | The C4 Model makes a system legible across several resolution levels, from context down to code. It suits situations where different audiences need to understand the same architecture from different altitudes. | For a process, product, or service with noticeable failure risks, the method assesses possible failure modes in advance. It directs attention to combinations of occurrence, effect, and detectability. | When the question is whether two measures are related, the method makes patterns in the data picture visible. It separates felt correlations from relationships that actually show up in the data. |
Complexitydifferent | Medium | Low | High | Low |
Timedifferent | 1-3 h | 1-4 h | 2-6 h | 30-90 min |
Participantsdifferent | 3-8 | 1-5 | 3-10 | 1-4 |
Formatdifferent | Workshop + async | Workshop + async | Workshop | Workshop + async |
Outputdifferent | Bottleneck Map, Flow Metrics, Improvement Options, Follow-up Measures | Context Diagram, Container Diagram, Component Diagram | FMEA Table, Risk Priority, Mitigation Actions | Scatter Plot, Korrelationsnotiz, Hypothesenliste |
Tagsno overlap | FlowMeasurementConstraints | ArchitectureCommunicationVisualization | RiskQualityOperationsRoot cause | Root causeQualityVisualization |