View methods side by side.
Choose up to four methods. Add them using the search and share the comparison by copying its link.
| Criterion |  Operations Bottleneck Analysis | 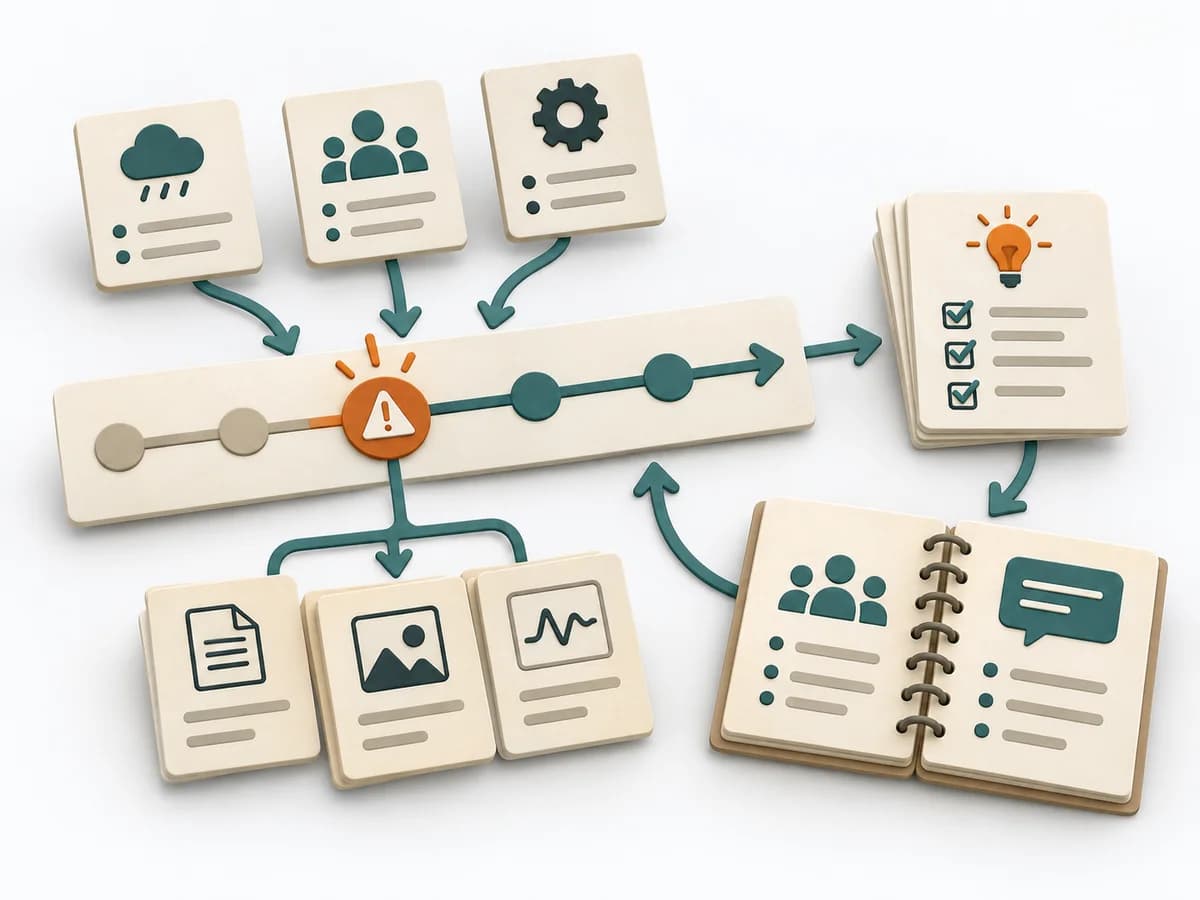 DevOps Blameless Postmortem | 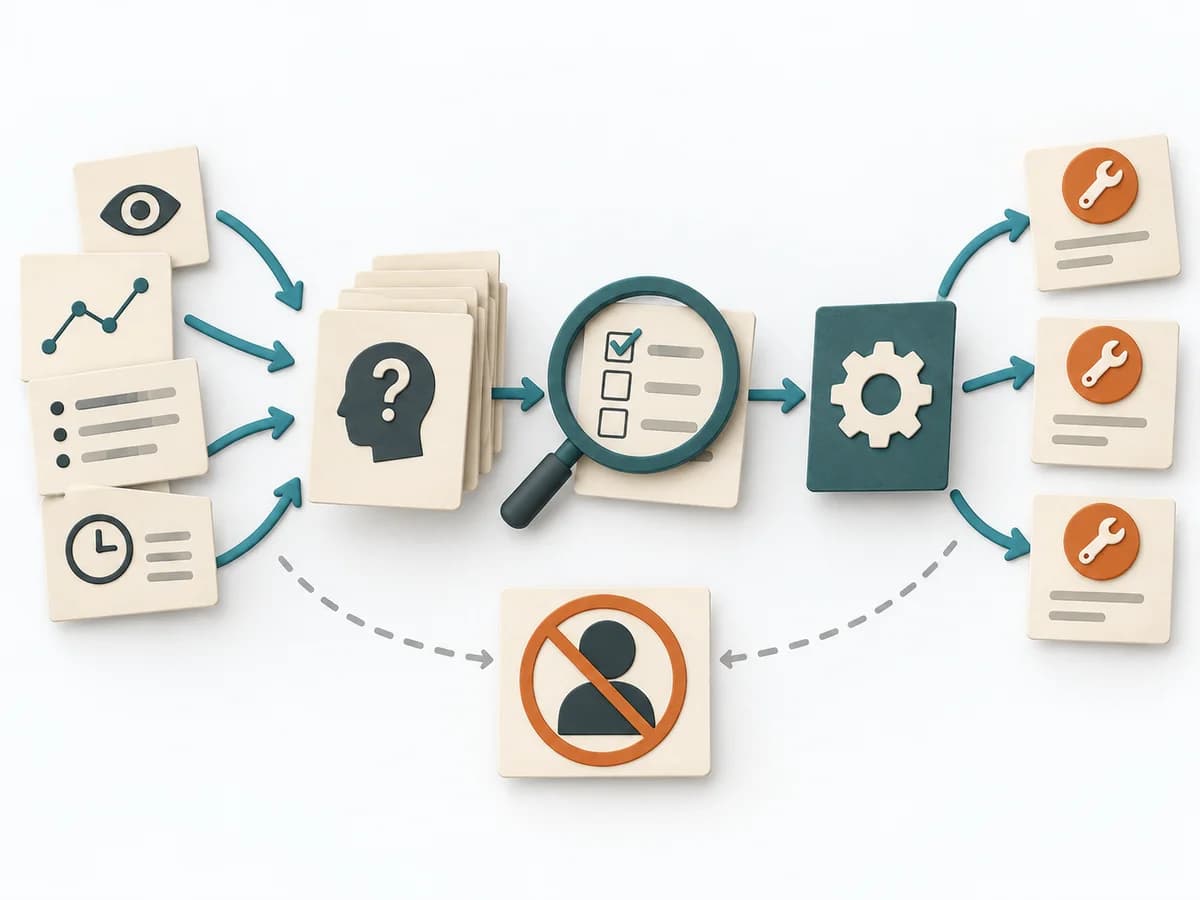 Operations Root Cause Analysis | 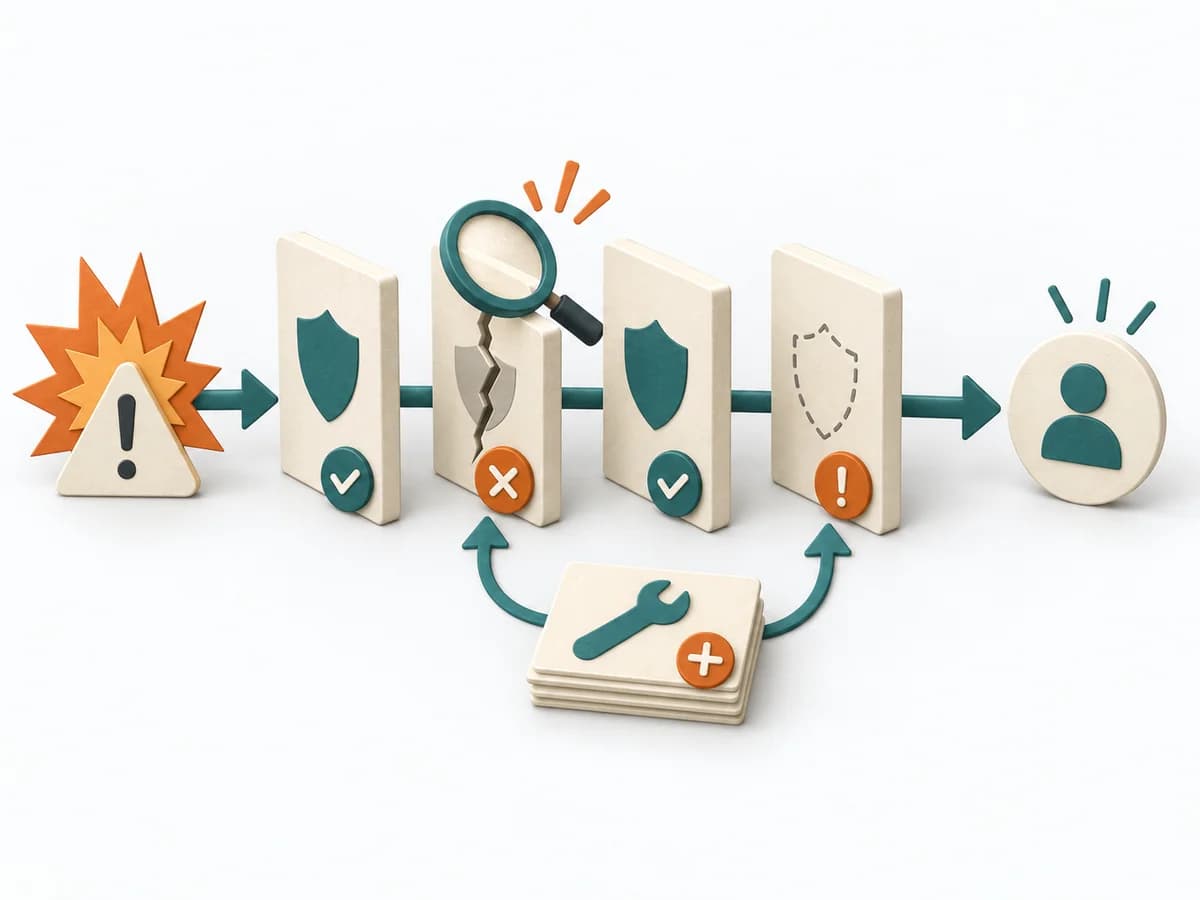 Operations Barrier Analysis |
|---|---|---|---|---|
Purposedifferent | For a flow that backs up at one point, the method looks for the capacity limit with the greatest leverage. It explains why extra effort elsewhere barely improves throughput. | After an incident with damage or a near miss, the method creates a sober field for learning without assigning blame. It directs attention to the course of events, conditions, and effective countermeasures. | When a problem keeps recurring and the cause stays unclear, the method exposes the underlying mechanism. It separates symptom, guess, and robust explanation from one another. | For a risk that can only be managed through multiple layers of protection, the method examines the effectiveness of each barrier. It shows where safeguards are missing, too weak, or fail under real conditions. |
Complexitysame | Medium | Medium | Medium | Medium |
Timedifferent | 1-3 h | 30-90 min | 1-4 h | 2-4 h |
Participantsdifferent | 3-8 | 3-12 | 3-8 | 2-6 |
Formatsame | Workshop + async | Workshop + async | Workshop + async | Workshop + async |
Outputdifferent | Bottleneck Map, Flow Metrics, Improvement Options, Follow-up Measures | Postmortem Doc, Action Items, Timeline | Problem Statement, Cause Hypotheses, Confirmed Causes, Action Plan | Barrier Inventory, Failure Analysis per Barrier, Action Backlog |
Tagsno overlap | FlowMeasurementConstraints | Site Reliability EngineeringIncidentLearningReliability | Root causeProblem solvingQualityIncident | Root causeSafetyIncident |