View methods side by side.
Choose up to four methods. Add them using the search and share the comparison by copying its link.
| Criterion | 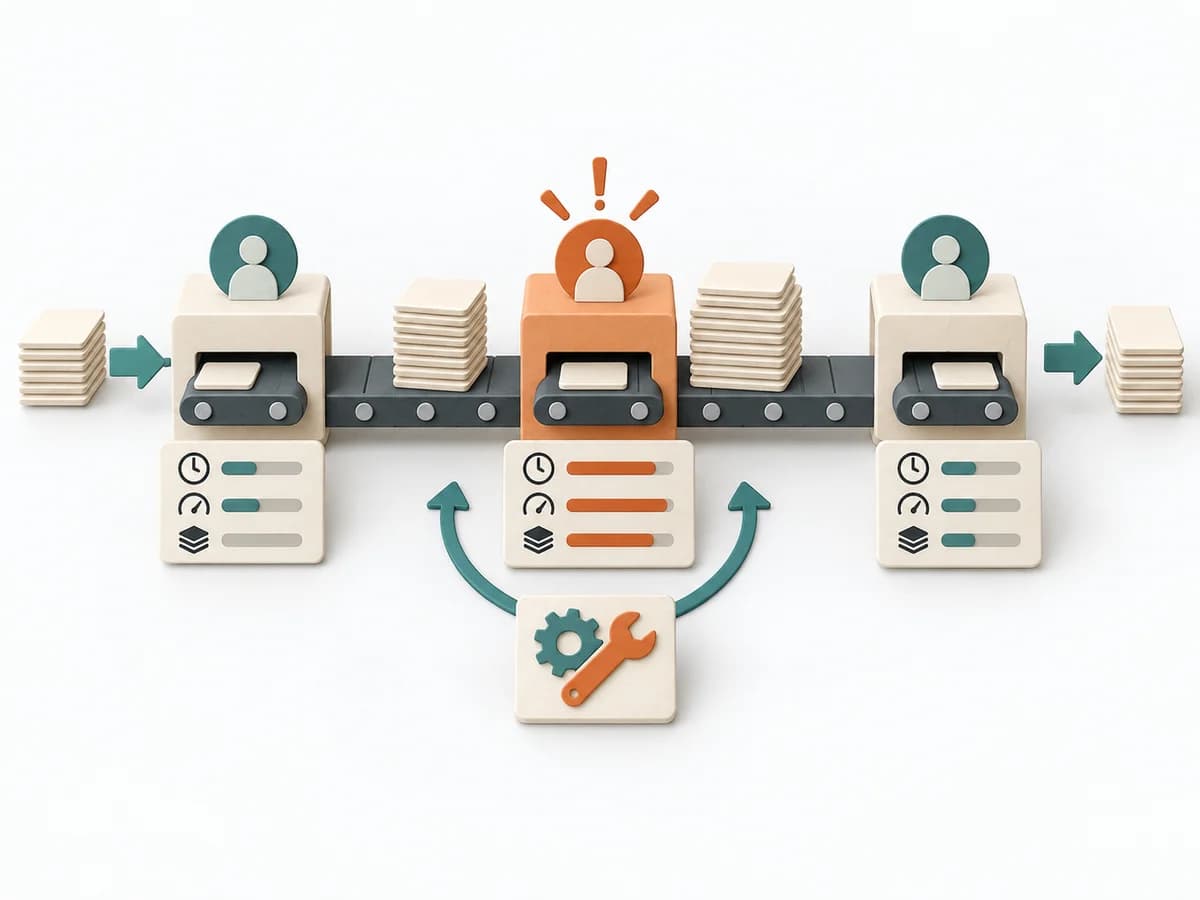 Operations Bottleneck Analysis | 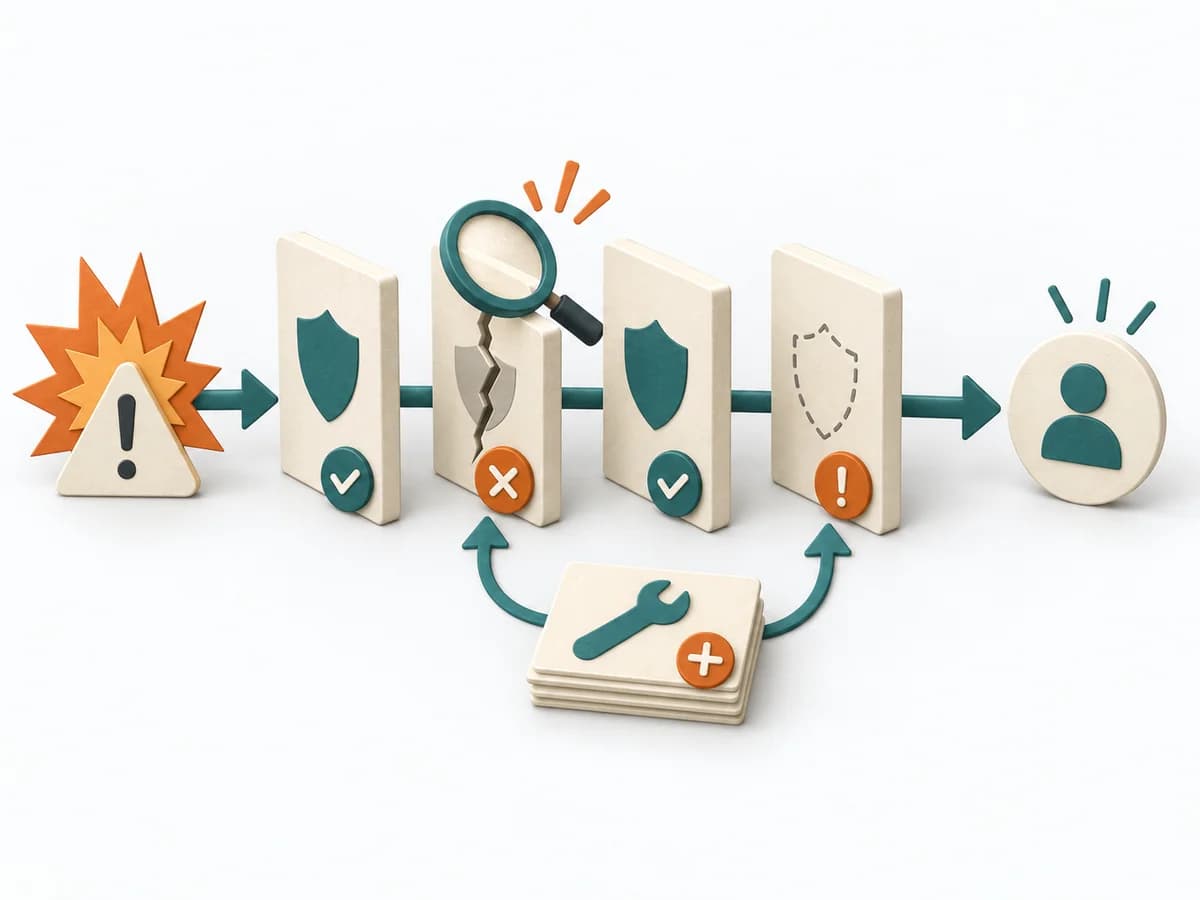 Operations Barrier Analysis | 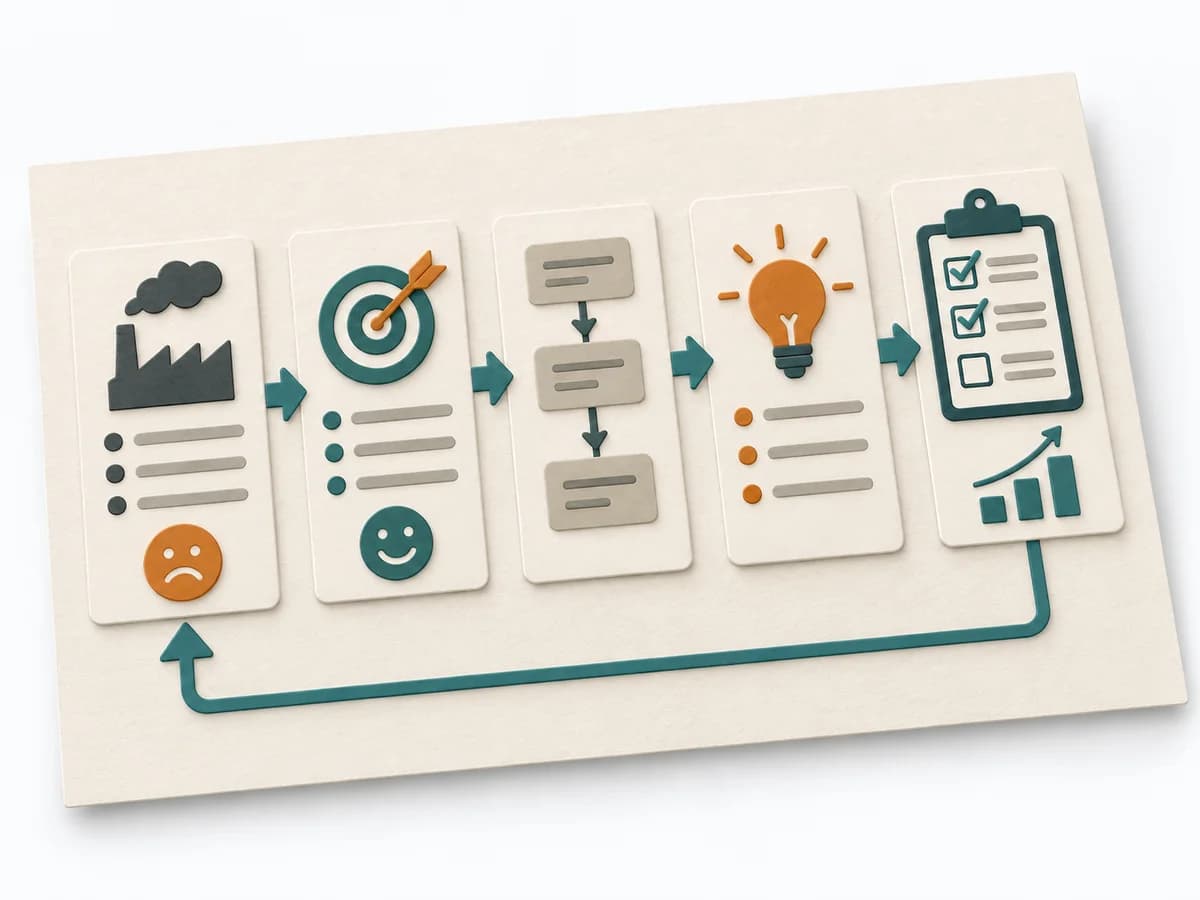 Operations A3 Problem Solving | 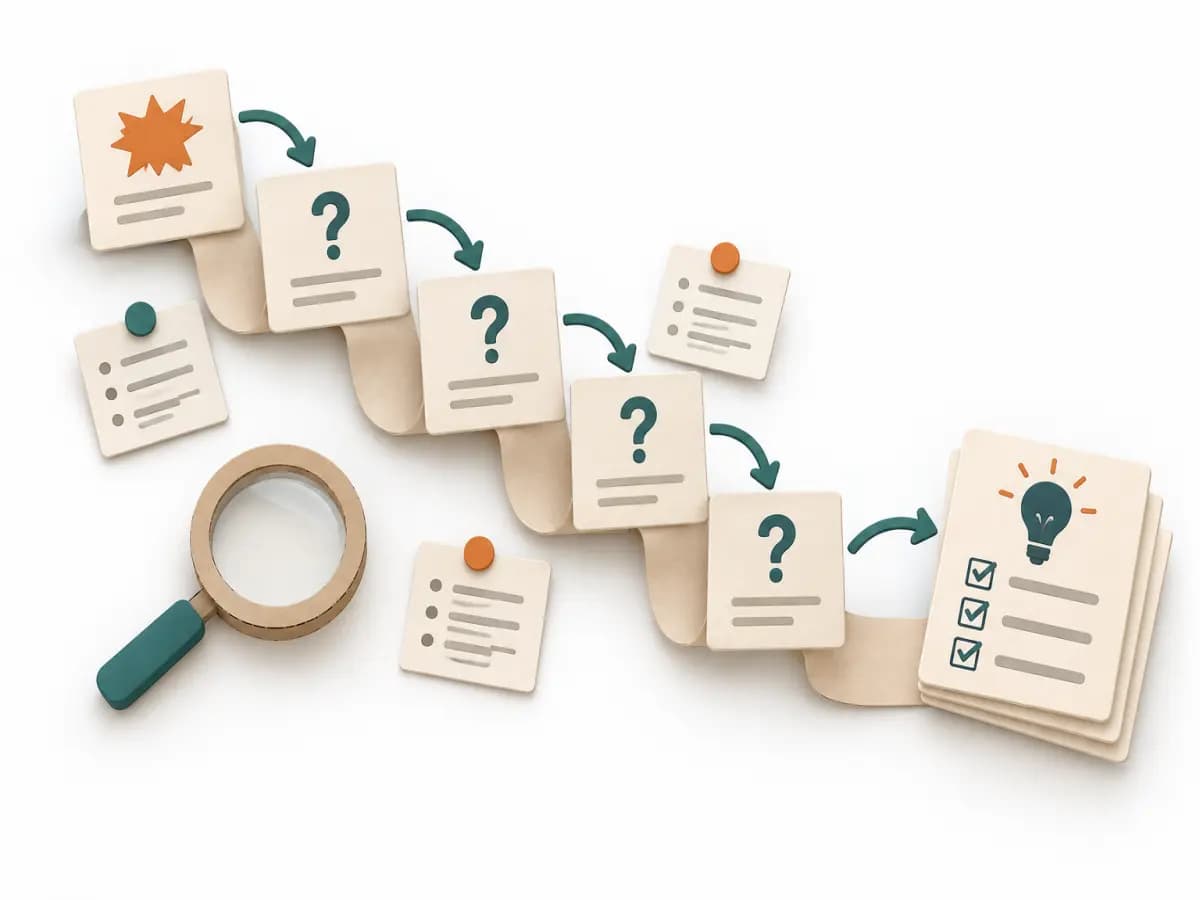 Operations 5 Whys |
|---|---|---|---|---|
Purposedifferent | For a flow that backs up at one point, the method looks for the capacity limit with the greatest leverage. It explains why extra effort elsewhere barely improves throughput. | For a risk that can only be managed through multiple layers of protection, the method examines the effectiveness of each barrier. It shows where safeguards are missing, too weak, or fail under real conditions. | For a complex deviation with several people involved, the method bundles problem, analysis, and decision onto one page. It creates a shared working space where causes, countermeasures, and follow-up fit together. | For a single, hard-to-explain deviation, the method exposes the causal chain behind the visible symptom. It keeps the cause open until a controllable condition emerges instead of a mere description. |
Complexitydifferent | Medium | Medium | Medium | Low |
Timedifferent | 1-3 h | 2-4 h | 45-90 min | 15-30 min |
Participantsdifferent | 3-8 | 2-6 | 2-5 | 2-6 |
Formatdifferent | Workshop + async | Workshop + async | Workshop + async | Workshop |
Outputdifferent | Bottleneck Map, Flow Metrics, Improvement Options, Follow-up Measures | Barrier Inventory, Failure Analysis per Barrier, Action Backlog | A3 Report, Action Plan, Root Cause Analysis | Root cause notes, Countermeasures |
Tagsno overlap | FlowMeasurementConstraints | Root causeSafetyIncident | LeanProblem solvingCoachingOperations | Root causeIncidentLeanProblem solving |