View methods side by side.
Choose up to four methods. Add them using the search and share the comparison by copying its link.
| Criterion |  DevOps Blameless Postmortem |  Decision Making OODA Loop |  Decision Making Decision Matrix | 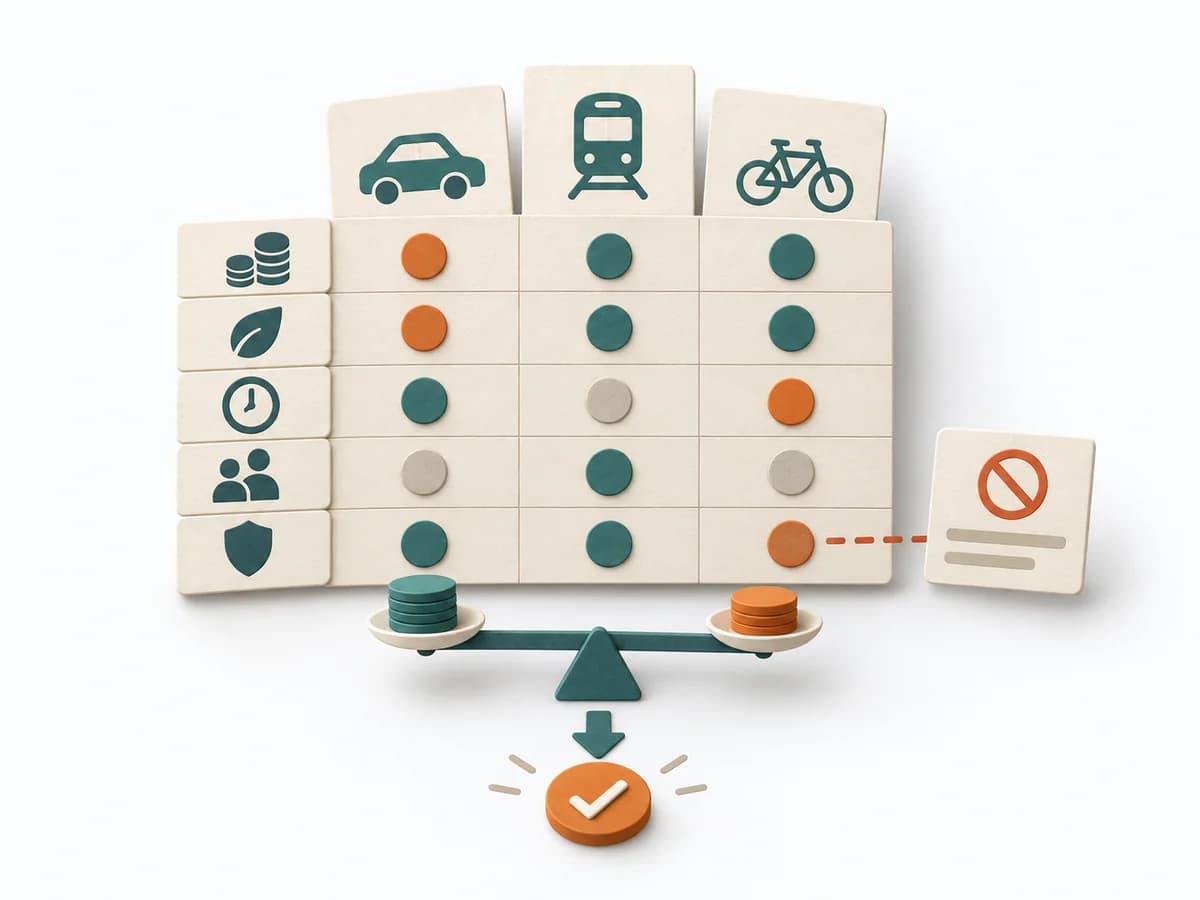 Decision Making Trade-off Analysis |
|---|---|---|---|---|
Purposedifferent | After an incident with damage or a near miss, the method creates a sober field for learning without assigning blame. It directs attention to the course of events, conditions, and effective countermeasures. | In dynamic situations, decisions become outdated faster than they can be prepared. The OODA Loop holds observing, orienting, deciding, and acting together as a recurring rhythm so reaction does not slide into inertia. | When several options collide with several criteria, comparison quickly becomes subjective. A Decision Matrix makes the trade-off visible and brings weighting, criteria, and options into a shared logic. | With limited resources, quality, speed, cost, and risk almost always compete with each other. Trade-off Analysis makes these tensions explicit and prevents decisions from producing hidden side effects. |
Complexitysame | Medium | Medium | Medium | Medium |
Timedifferent | 30-90 min | 15-60 min je Zyklus | 45-90 min | 45-120 min |
Participantsdifferent | 3-12 | 1-8 | 2-8 | 2-8 |
Formatsame | Workshop + async | Workshop + async | Workshop + async | Workshop + async |
Outputdifferent | Postmortem Doc, Action Items, Timeline | Situation Assessment, Decision Loop, Action Updates | Decision Matrix, Scoring Rationale, Selected Option | Trade-off Matrix, Criteria List, Decision Rationale, Accepted Downsides |
Tagsno overlap | Site Reliability EngineeringIncidentLearningReliability | DecisionChangeLearningStrategy | DecisionCriteriaScoringTradeoffs | TradeoffsDecisionCriteriaOptions |