View methods side by side.
Choose up to four methods. Add them using the search and share the comparison by copying its link.
| Criterion | 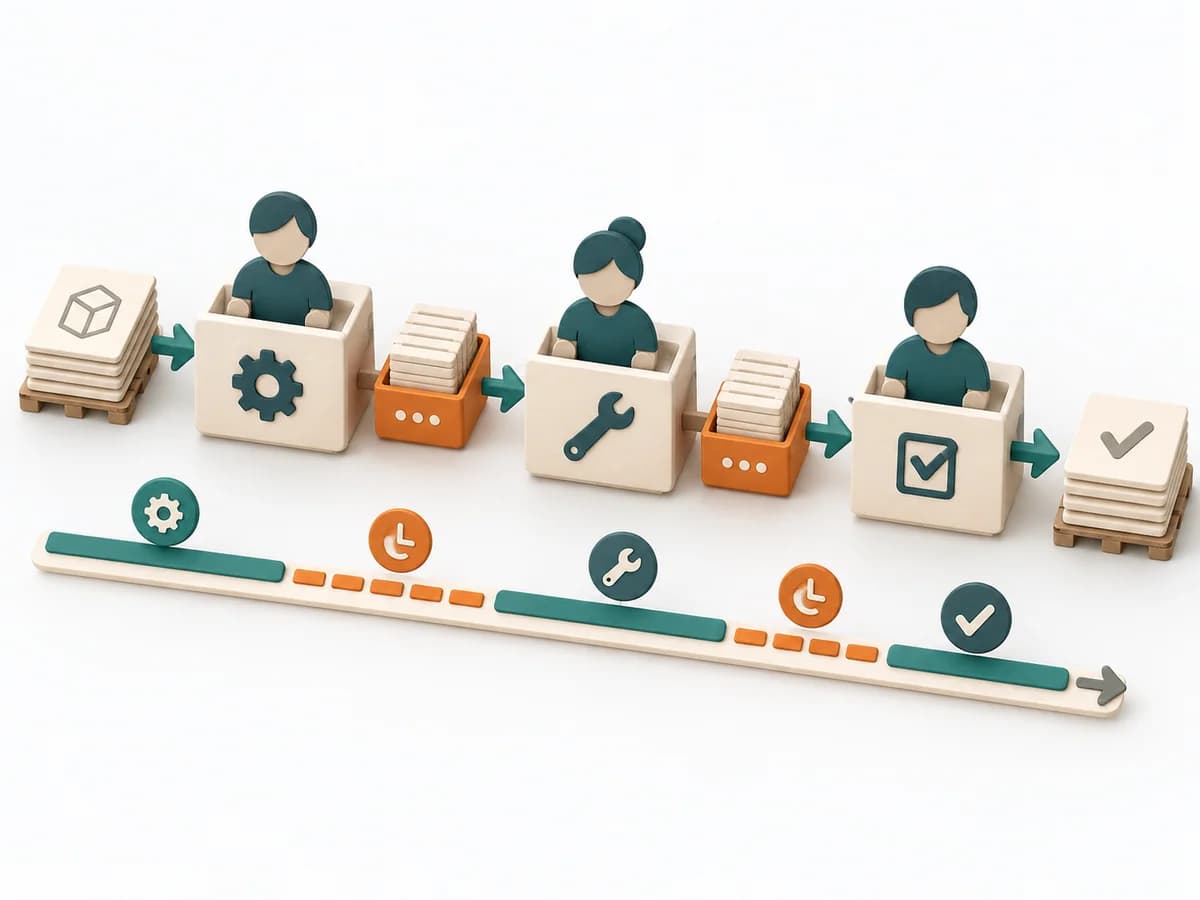 Delivery Value Stream Mapping | 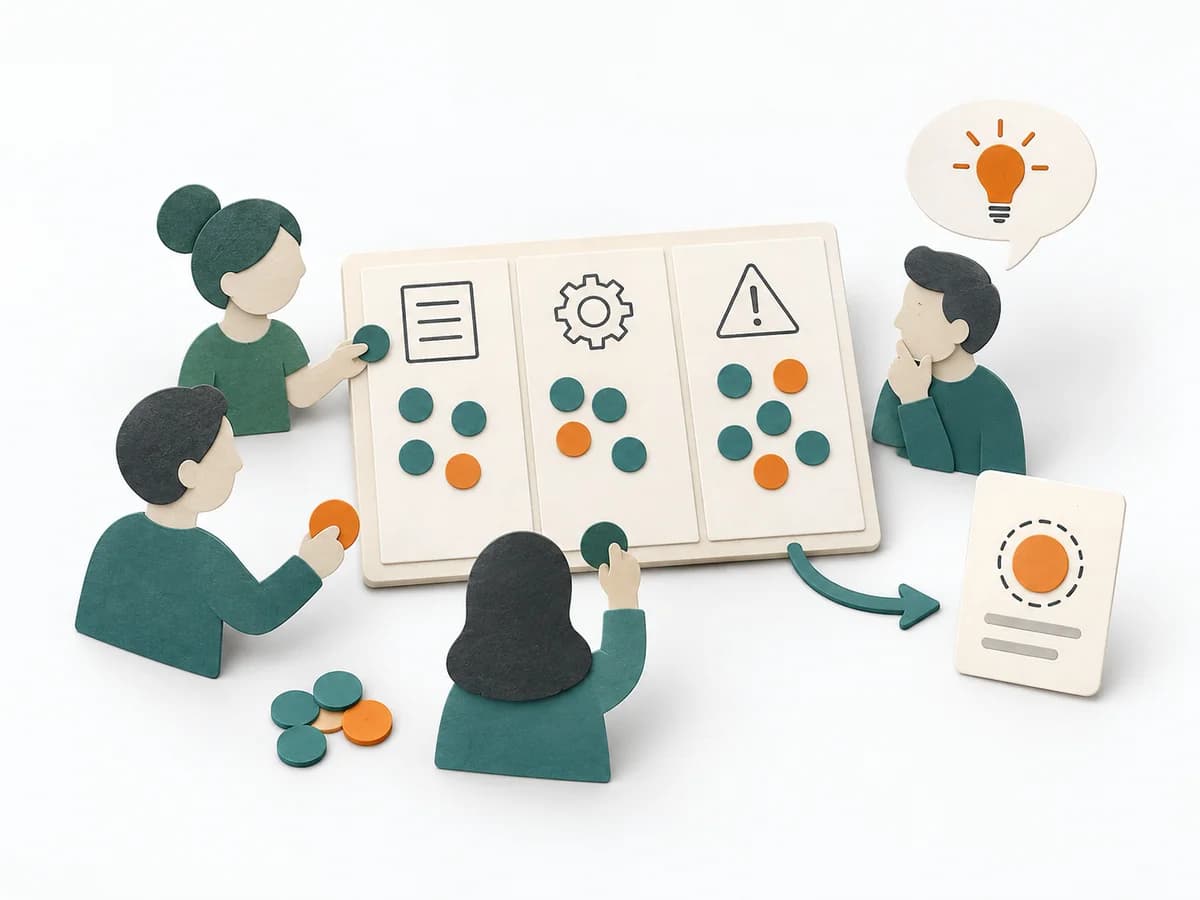 Facilitation Dot Estimation | 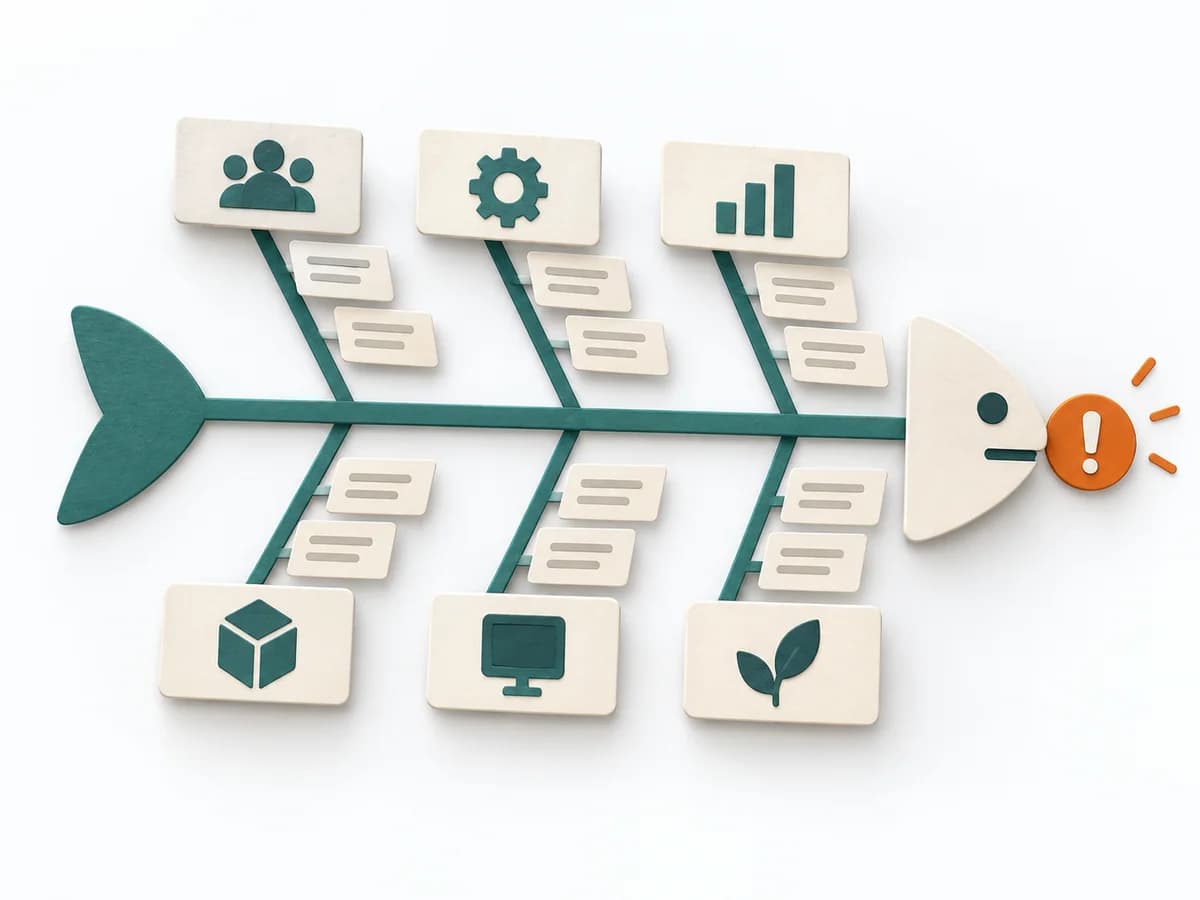 Operations Fishbone Diagram | 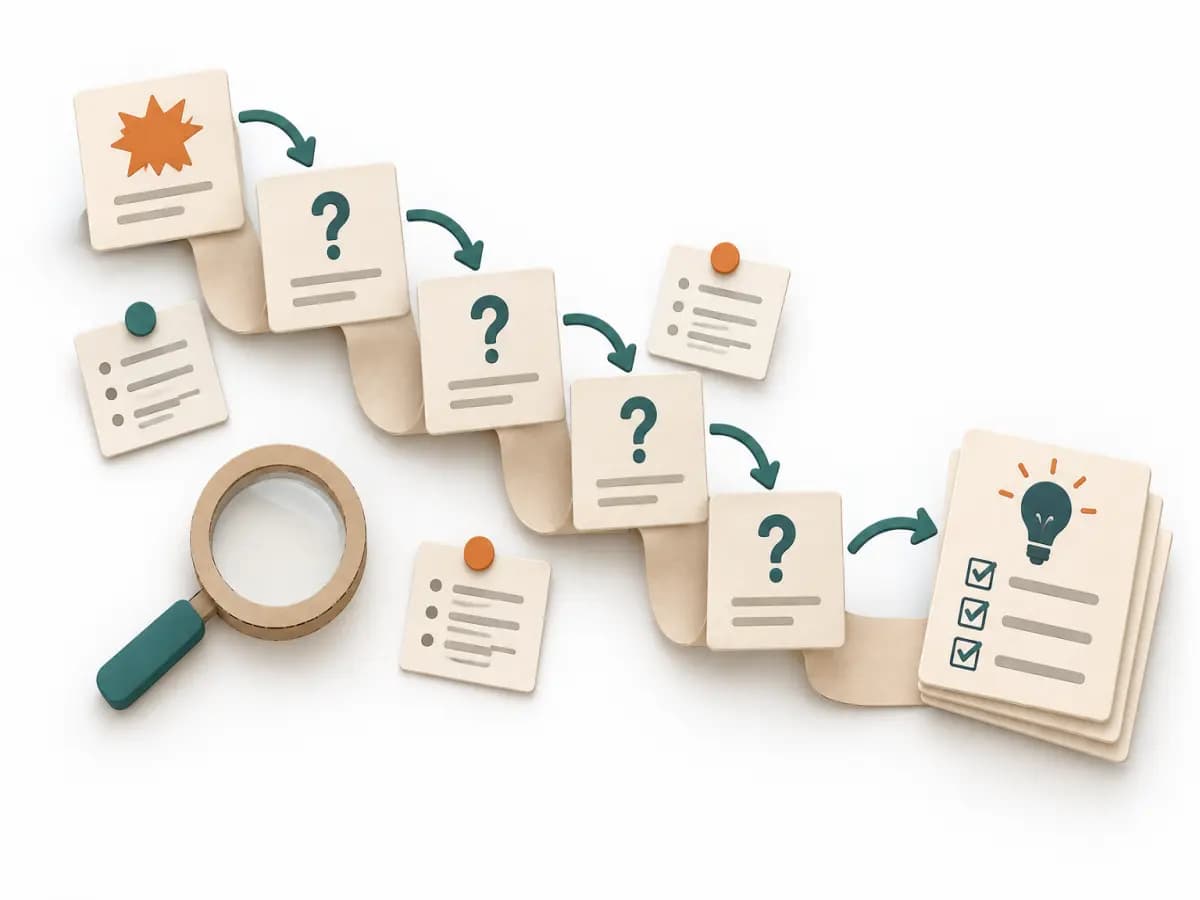 Operations 5 Whys |
|---|---|---|---|---|
Purposedifferent | When delivery work dissolves into wait times, handoffs, and hidden effort, Value Stream Mapping makes the actual flow visible. The method exposes bottlenecks, idle time, and feedback loops so lead time and improvement levers become tangible. | When size or effort can only be estimated roughly, Dot Estimation condenses the group's experience into a quick range. It turns individual contributions into a visible selection. The result is captured as an Effort Heatmap, Risk Signals, and Discussion Targets. | When a problem has several possible contributing factors, the method sorts causes by cause areas. It prevents an initial hunch from blocking the view of other plausible drivers. | For a single, hard-to-explain deviation, the method exposes the causal chain behind the visible symptom. It keeps the cause open until a controllable condition emerges instead of a mere description. |
Complexitydifferent | Medium | Low | Low | Low |
Timedifferent | 1-3 h | 5-20 min | 30-60 min | 15-30 min |
Participantsdifferent | 4-10 | 3-20 | 2-8 | 2-6 |
Formatsame | Workshop | Workshop | Workshop | Workshop |
Outputdifferent | Current-state map, Future-state map, Bottleneck list | Effort Heatmap, Risk Signals, Discussion Targets | Fishbone Diagram, Cause Categories, Investigation Backlog | Root cause notes, Countermeasures |
Tagsno overlap | LeanFlowWasteDelivery | EstimationEffortRisk | Root causeQualityOperations | Root causeIncidentLeanProblem solving |