View methods side by side.
Choose up to four methods. Add them using the search and share the comparison by copying its link.
| Criterion | 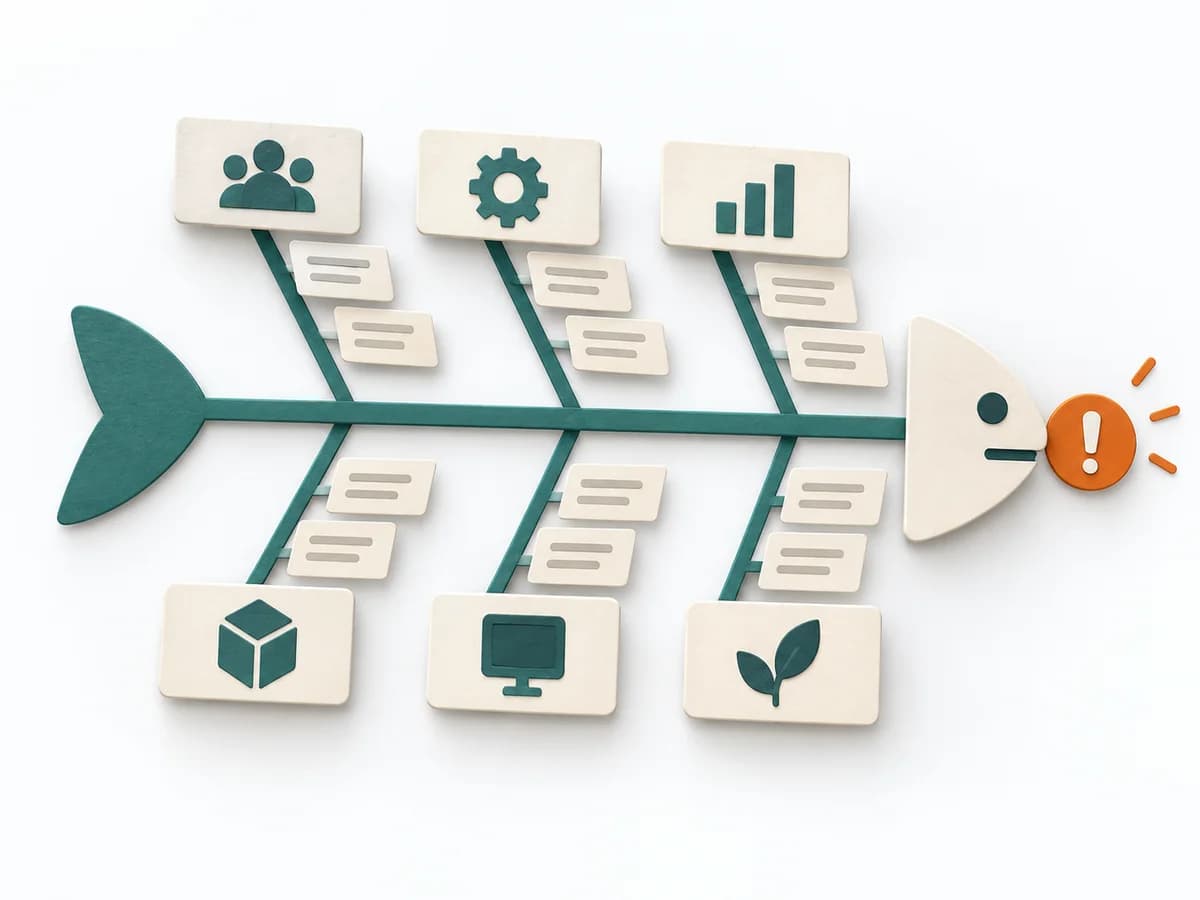 Operations Fishbone Diagram | 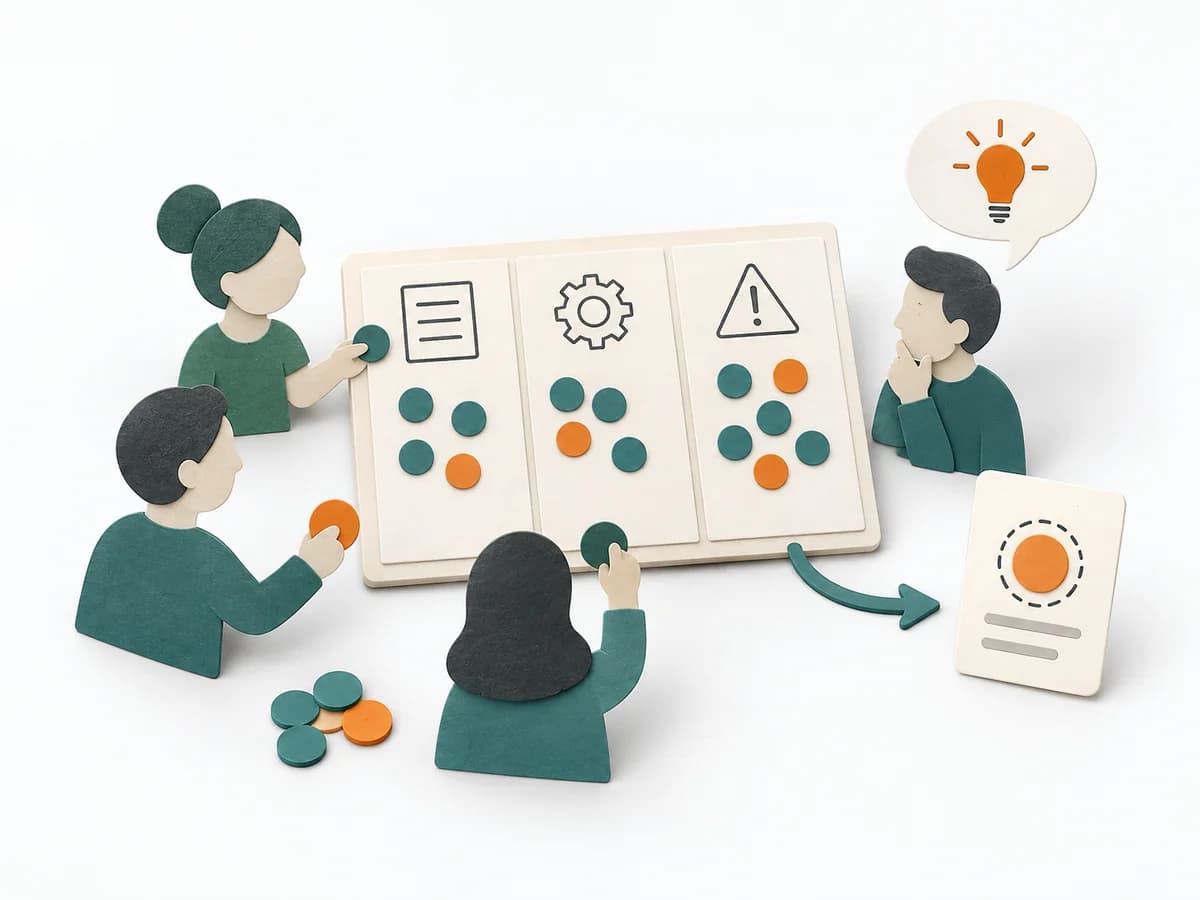 Facilitation Dot Estimation | 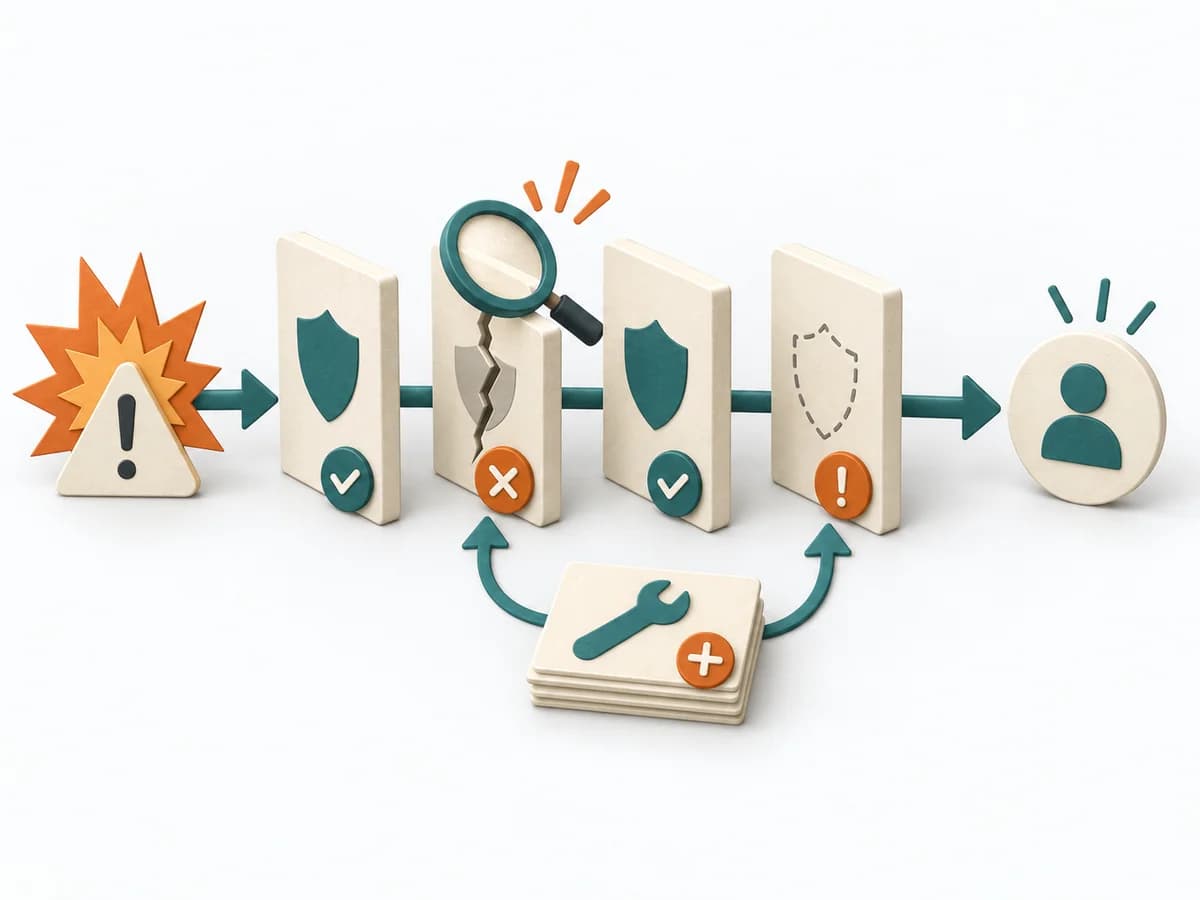 Operations Barrier Analysis | 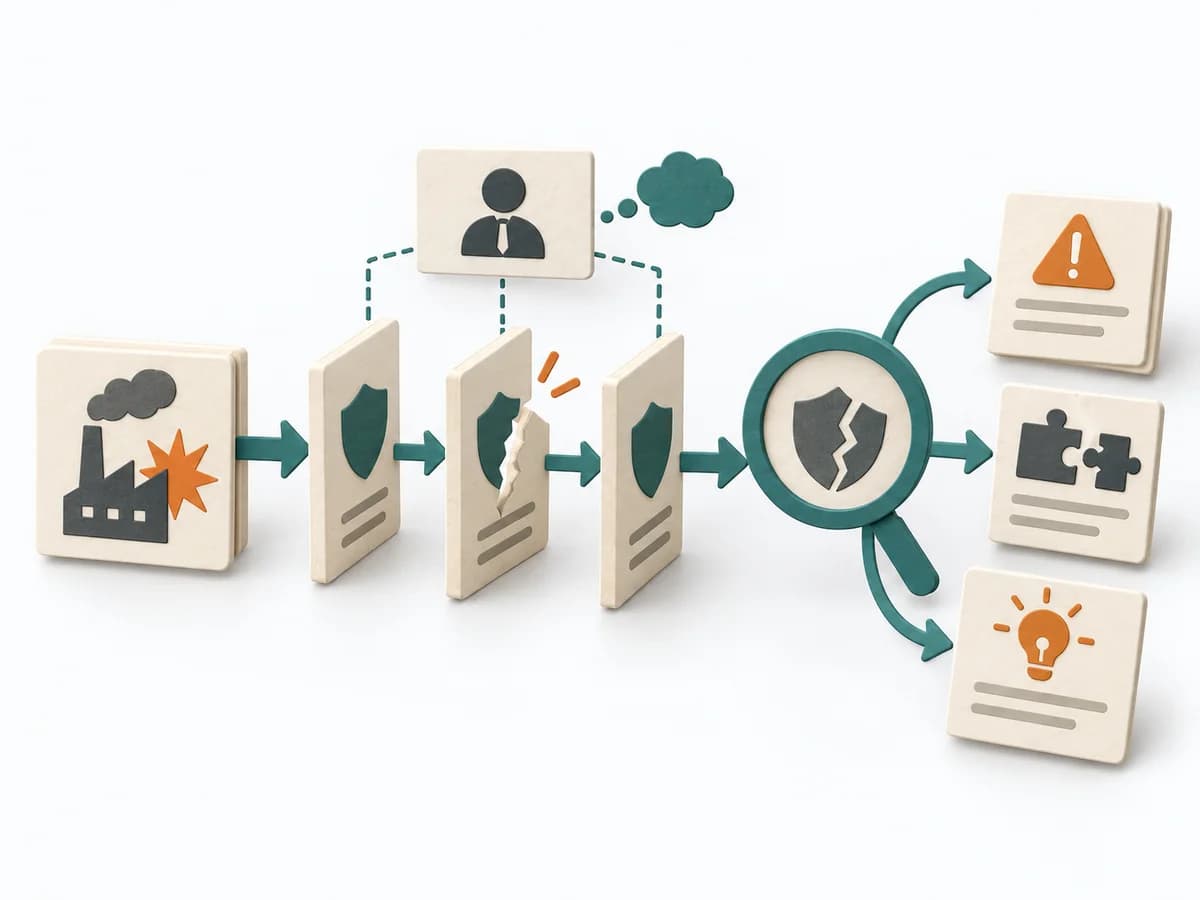 Operations MORT Analysis |
|---|---|---|---|---|
Purposedifferent | When a problem has several possible contributing factors, the method sorts causes by cause areas. It prevents an initial hunch from blocking the view of other plausible drivers. | When size or effort can only be estimated roughly, Dot Estimation condenses the group's experience into a quick range. It turns individual contributions into a visible selection. The result is captured as an Effort Heatmap, Risk Signals, and Discussion Targets. | For a risk that can only be managed through multiple layers of protection, the method examines the effectiveness of each barrier. It shows where safeguards are missing, too weak, or fail under real conditions. | For a safety-relevant event or a system with high protection requirements, the method examines where controls failed. It exposes both technical and organizational gaps. |
Complexitydifferent | Low | Low | Medium | High |
Timedifferent | 30-60 min | 5-20 min | 2-4 h | Mehrere Tage bis Wochen |
Participantsdifferent | 2-8 | 3-20 | 2-6 | 2-6 |
Formatdifferent | Workshop | Workshop | Workshop + async | Workshop + async |
Outputdifferent | Fishbone Diagram, Cause Categories, Investigation Backlog | Effort Heatmap, Risk Signals, Discussion Targets | Barrier Inventory, Failure Analysis per Barrier, Action Backlog | MORT Worksheets, Findings per Branch, Corrective Actions, Systemic Recommendations |
Tagsno overlap | Root causeQualityOperations | EstimationEffortRisk | Root causeSafetyIncident | Root causeSafetySystemicIncident |