View methods side by side.
Choose up to four methods. Add them using the search and share the comparison by copying its link.
| Criterion | 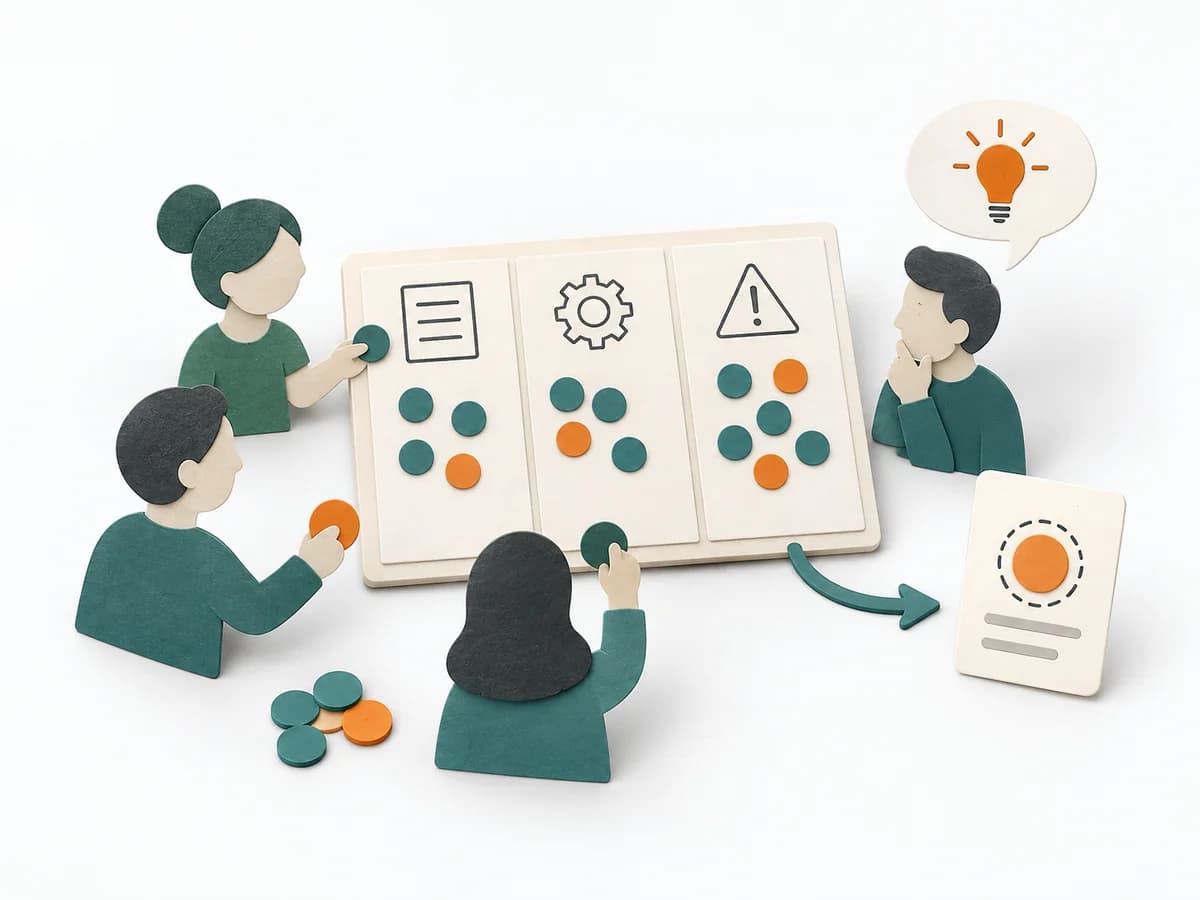 Facilitation Dot Estimation | 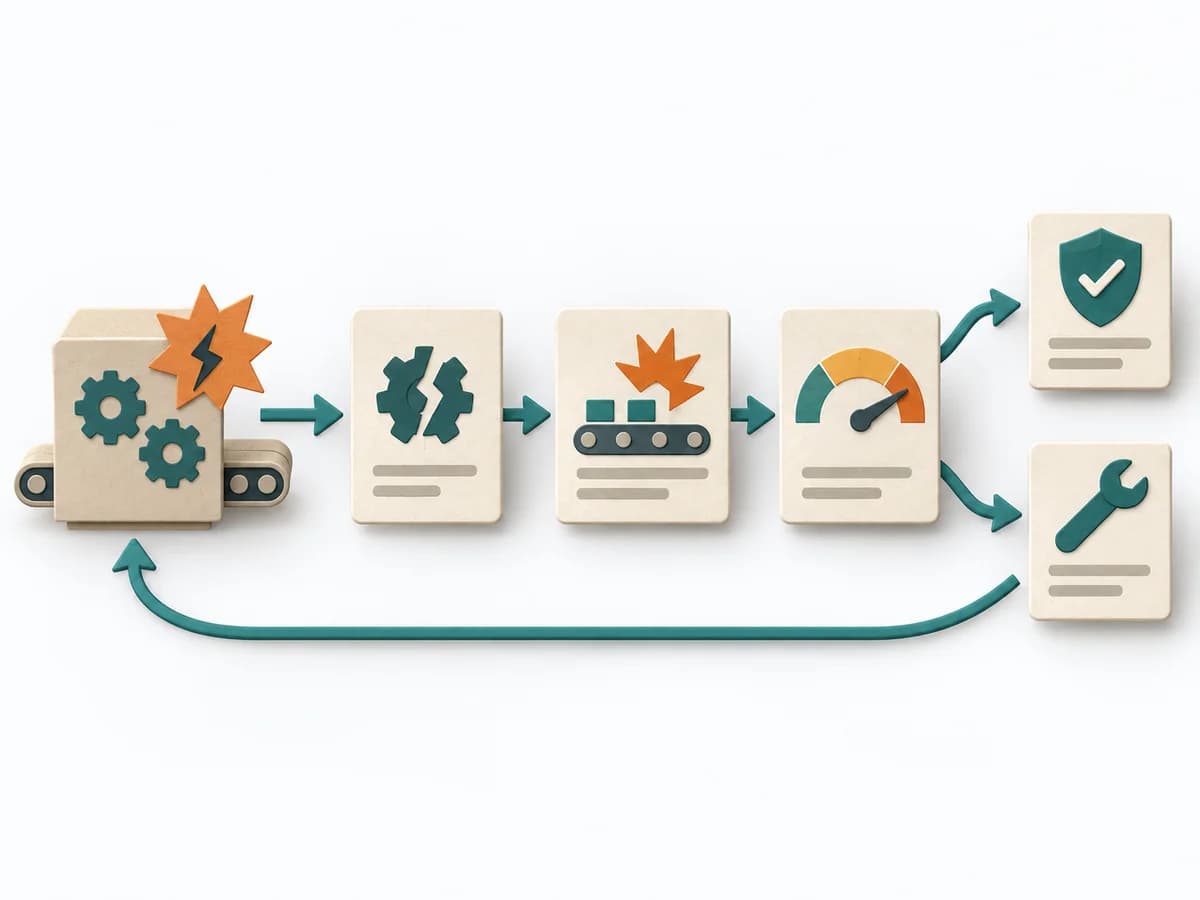 Operations Failure Mode and Effects Analysis | 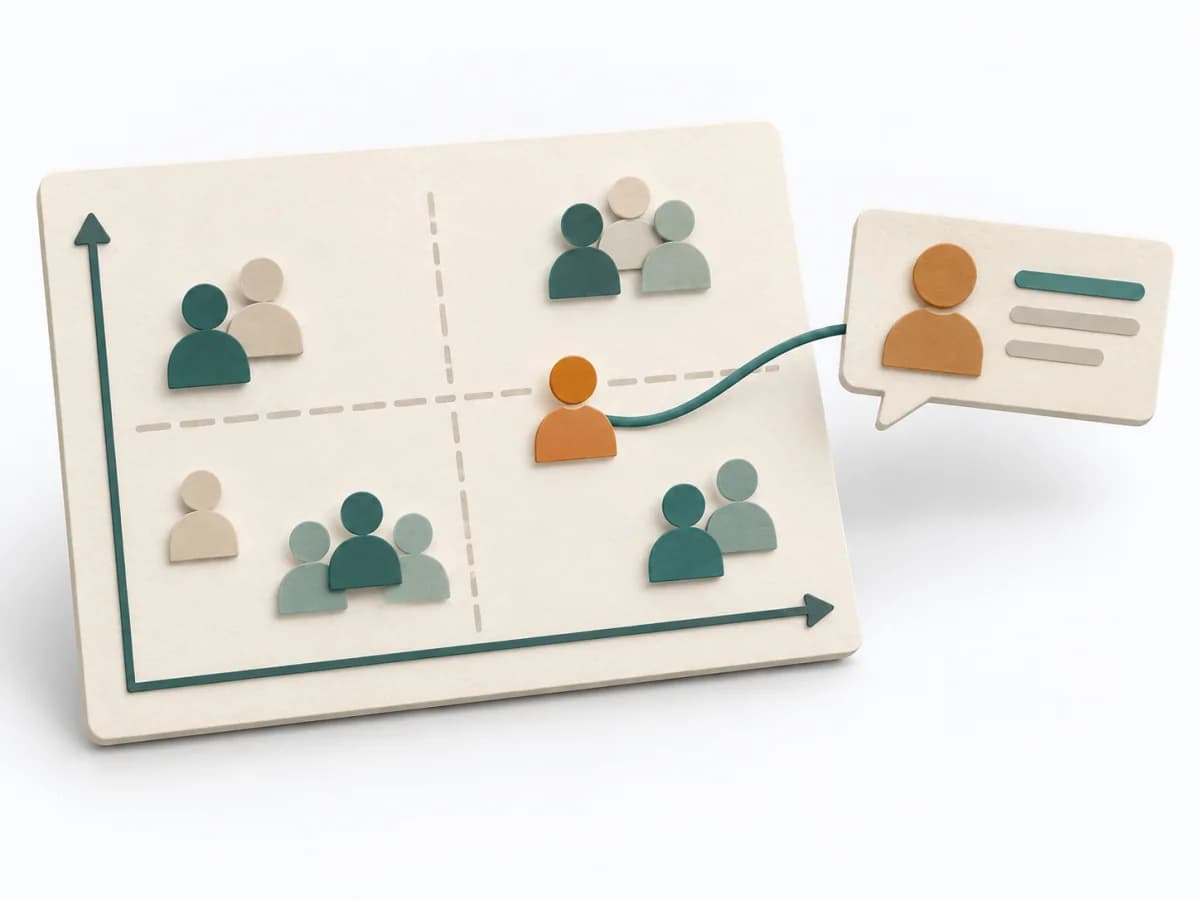 Facilitation Stakeholder Mapping | 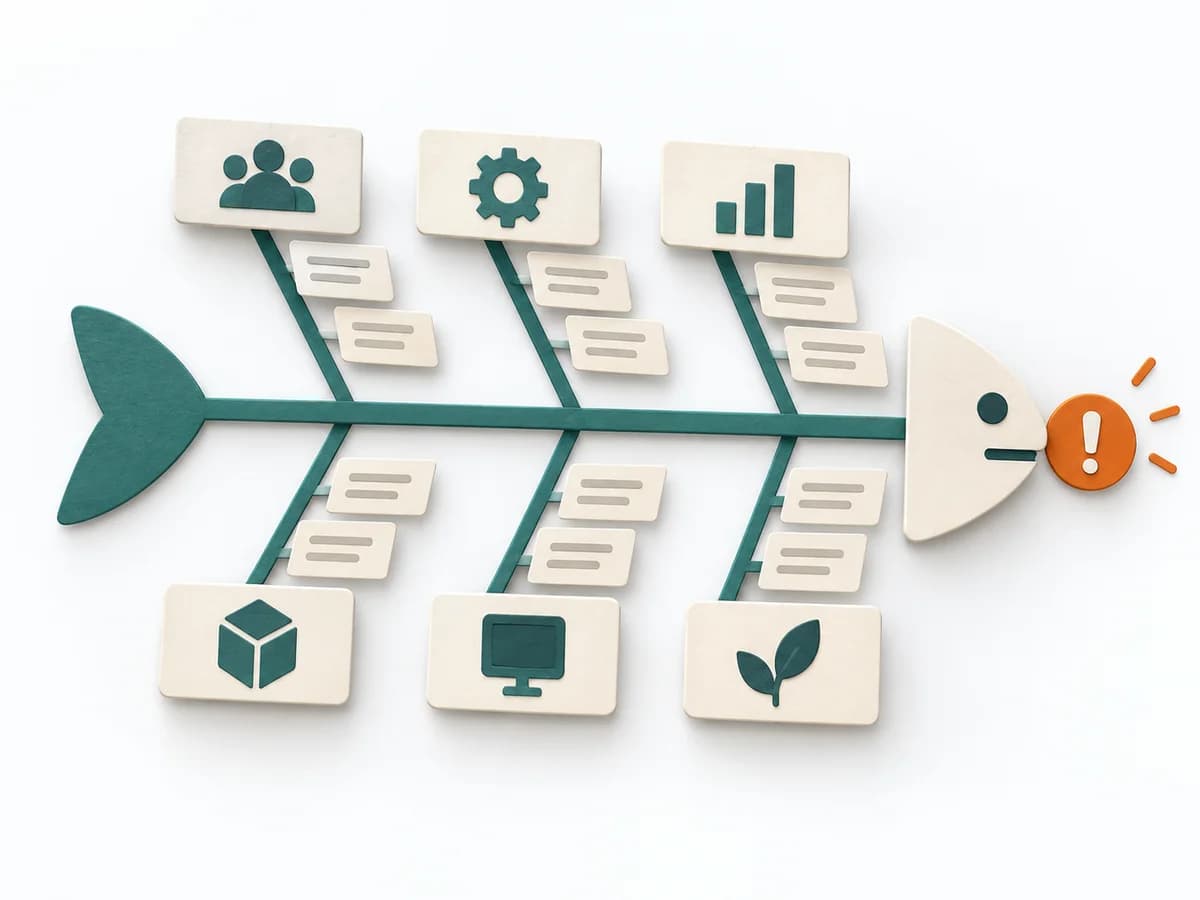 Operations Fishbone Diagram |
|---|---|---|---|---|
Purposedifferent | When size or effort can only be estimated roughly, Dot Estimation condenses the group's experience into a quick range. It turns individual contributions into a visible selection. The result is captured as an Effort Heatmap, Risk Signals, and Discussion Targets. | For a process, product, or service with noticeable failure risks, the method assesses possible failure modes in advance. It directs attention to combinations of occurrence, effect, and detectability. | When an initiative depends on many people, interests, and power dynamics, Stakeholder Mapping systematically orders the environment. It shows who influences, who is affected, and where relationship management or safeguarding matters first. | When a problem has several possible contributing factors, the method sorts causes by cause areas. It prevents an initial hunch from blocking the view of other plausible drivers. |
Complexitydifferent | Low | High | Low | Low |
Timedifferent | 5-20 min | 2-6 h | 60–90 min | 30-60 min |
Participantsdifferent | 3-20 | 3-10 | 2-8 | 2-8 |
Formatdifferent | Workshop | Workshop | Workshop + async | Workshop |
Outputdifferent | Effort Heatmap, Risk Signals, Discussion Targets | FMEA Table, Risk Priority, Mitigation Actions | Stakeholder Map, Engagement Plan, Risk Notes | Fishbone Diagram, Cause Categories, Investigation Backlog |
Tagsno overlap | EstimationEffortRisk | RiskQualityOperationsRoot cause | StakeholdersAlignmentFacilitationChange | Root causeQualityOperations |