View methods side by side.
Choose up to four methods. Add them using the search and share the comparison by copying its link.
| Criterion | 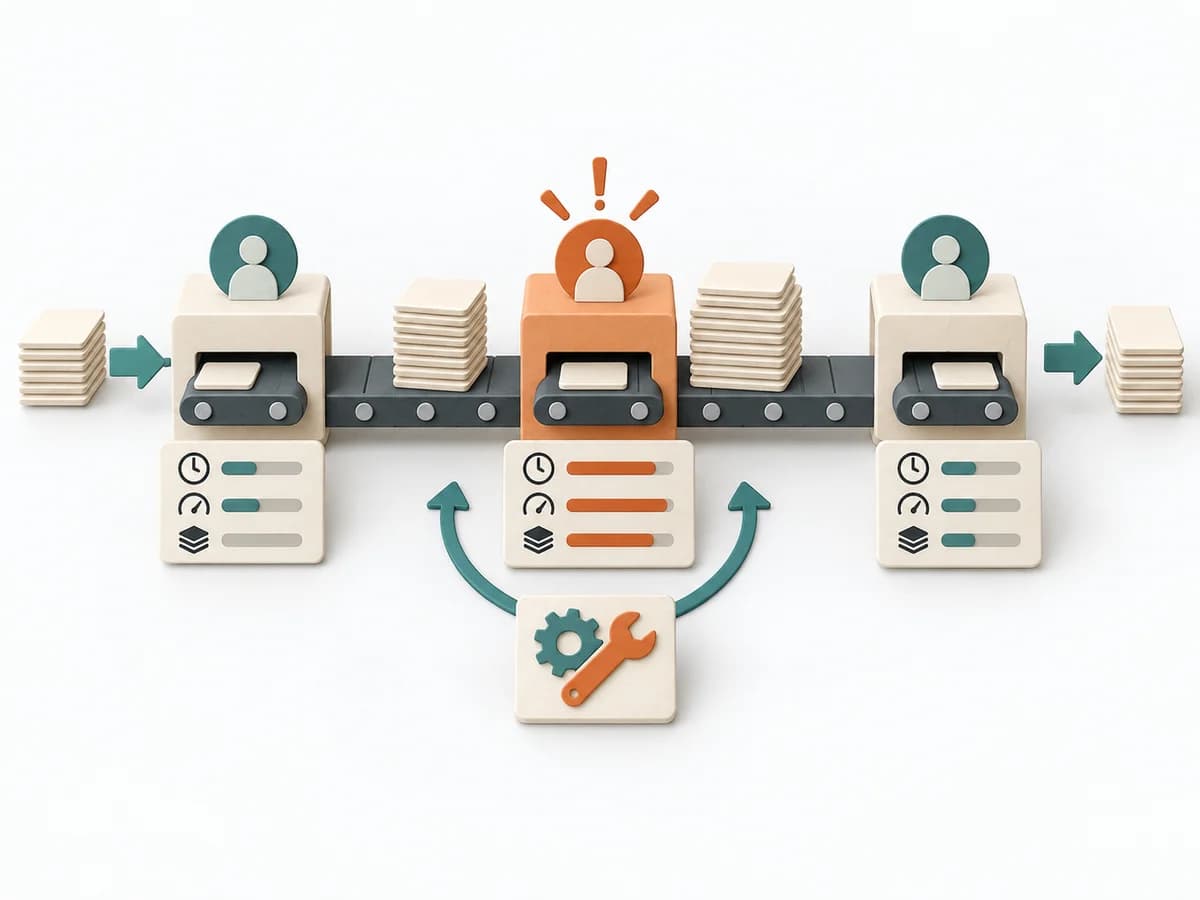 Operations Bottleneck Analysis | 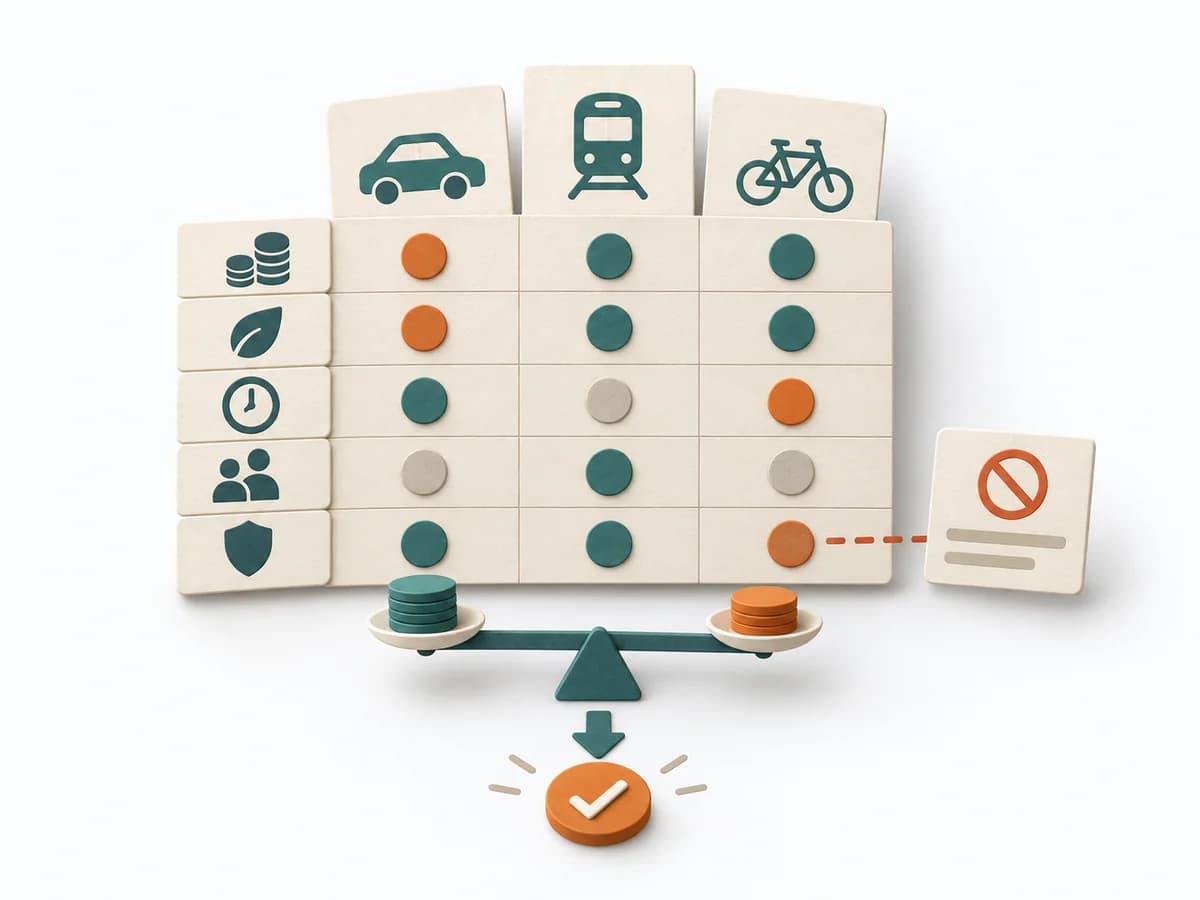 Decision Making Trade-off Analysis | 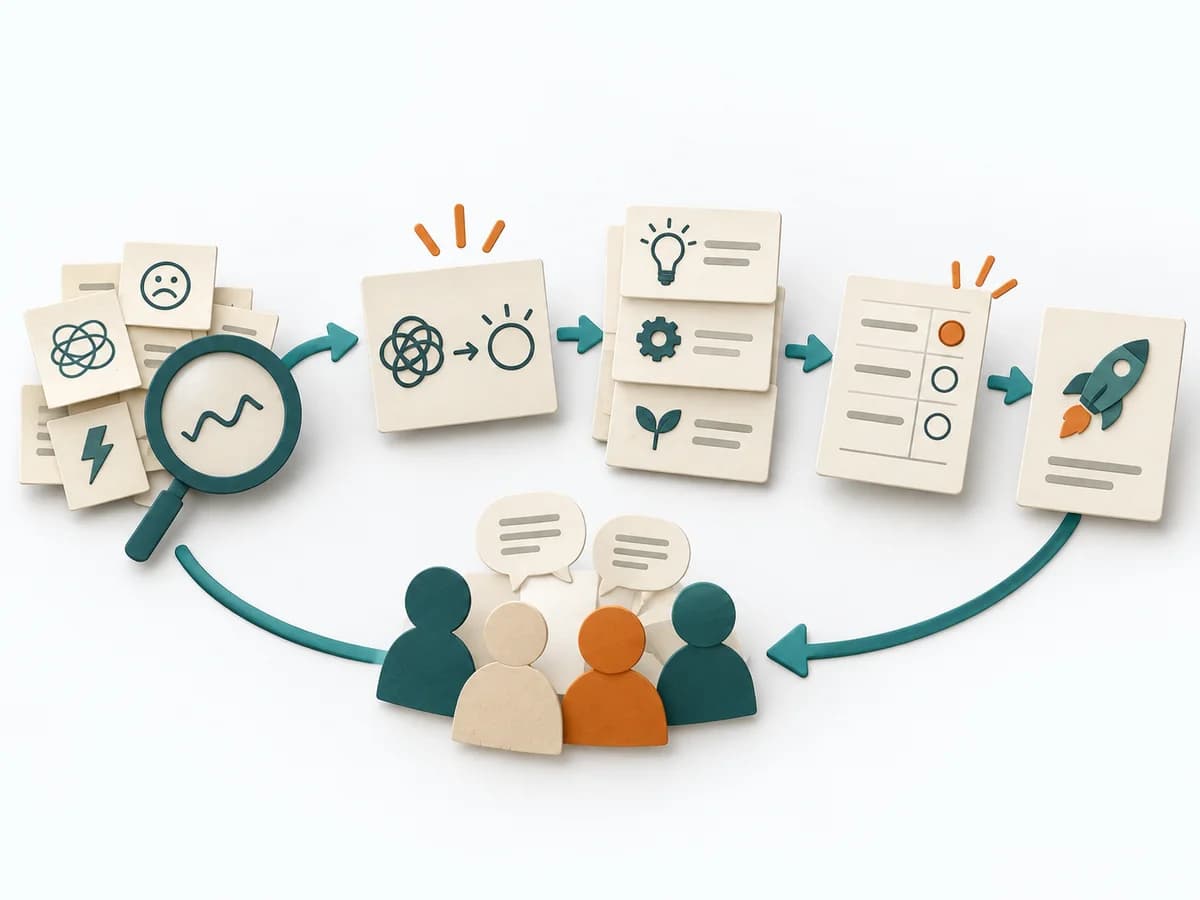 Facilitation Decision Jam | 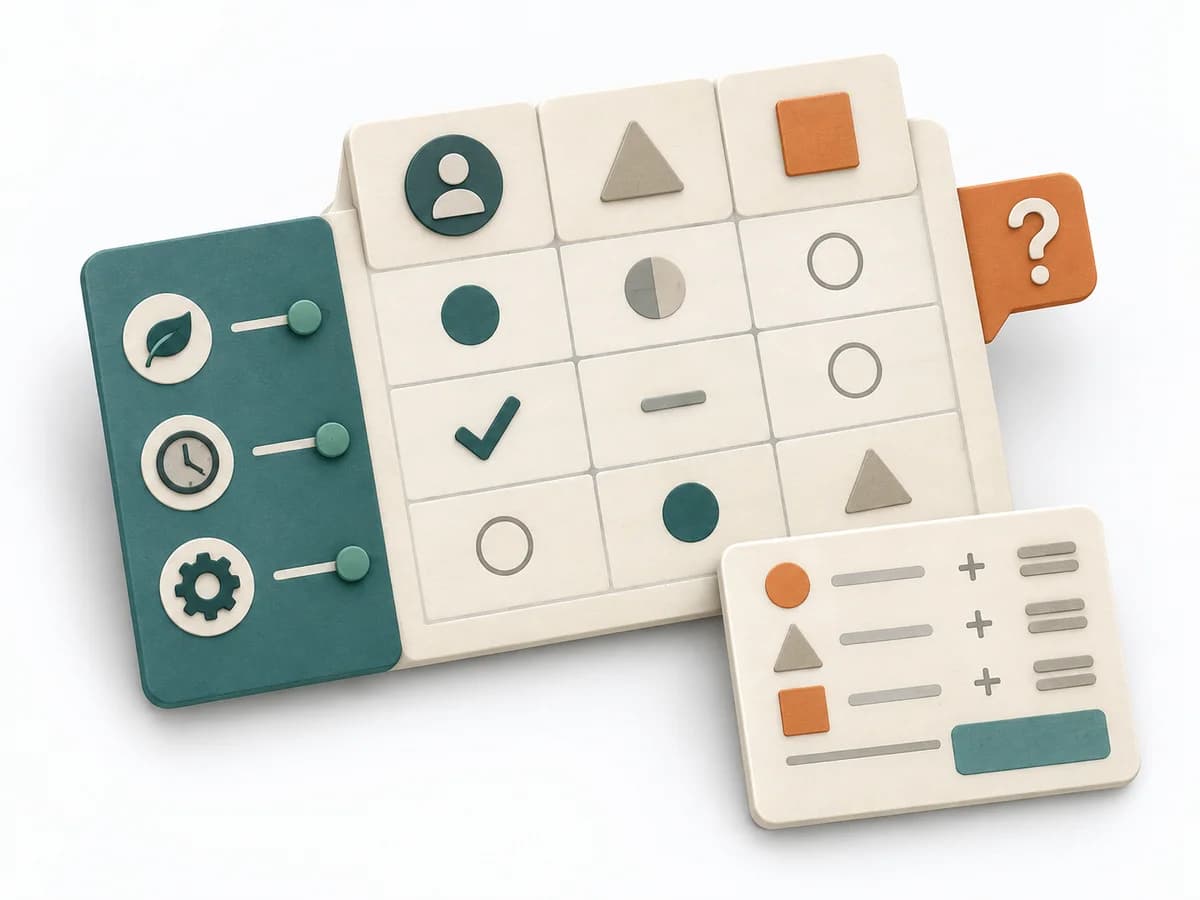 Decision Making Decision Matrix |
|---|---|---|---|---|
Purposedifferent | For a flow that backs up at one point, the method looks for the capacity limit with the greatest leverage. It explains why extra effort elsewhere barely improves throughput. | With limited resources, quality, speed, cost, and risk almost always compete with each other. Trade-off Analysis makes these tensions explicit and prevents decisions from producing hidden side effects. | When a decision is stuck, Decision Jam loosens the knot through structured separation of problem, idea, and selection. The format creates movement without jumping prematurely at the first seemingly elegant answer. | When several options collide with several criteria, comparison quickly becomes subjective. A Decision Matrix makes the trade-off visible and brings weighting, criteria, and options into a shared logic. |
Complexitydifferent | Medium | Medium | Low | Medium |
Timedifferent | 1-3 h | 45-120 min | 60-90 min | 45-90 min |
Participantsdifferent | 3-8 | 2-8 | 4-10 | 2-8 |
Formatdifferent | Workshop + async | Workshop + async | Workshop | Workshop + async |
Outputdifferent | Bottleneck Map, Flow Metrics, Improvement Options, Follow-up Measures | Trade-off Matrix, Criteria List, Decision Rationale, Accepted Downsides | Problem Cluster, Prioritized Challenge, Experiment | Decision Matrix, Scoring Rationale, Selected Option |
Tagsno overlap | FlowMeasurementConstraints | TradeoffsDecisionCriteriaOptions | FacilitationDecisionProblem solvingWorkshop | DecisionCriteriaScoringTradeoffs |