View methods side by side.
Choose up to four methods. Add them using the search and share the comparison by copying its link.
| Criterion | 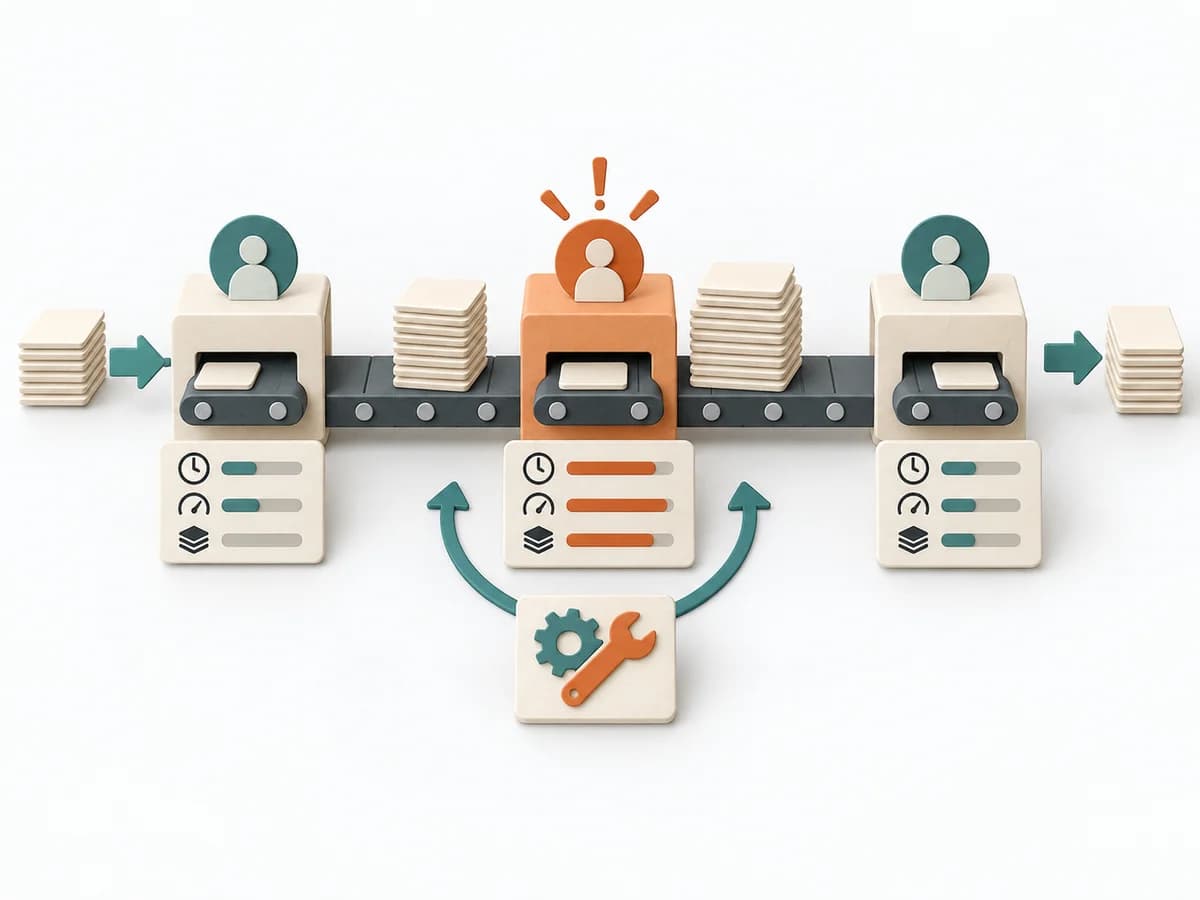 Operations Bottleneck Analysis | 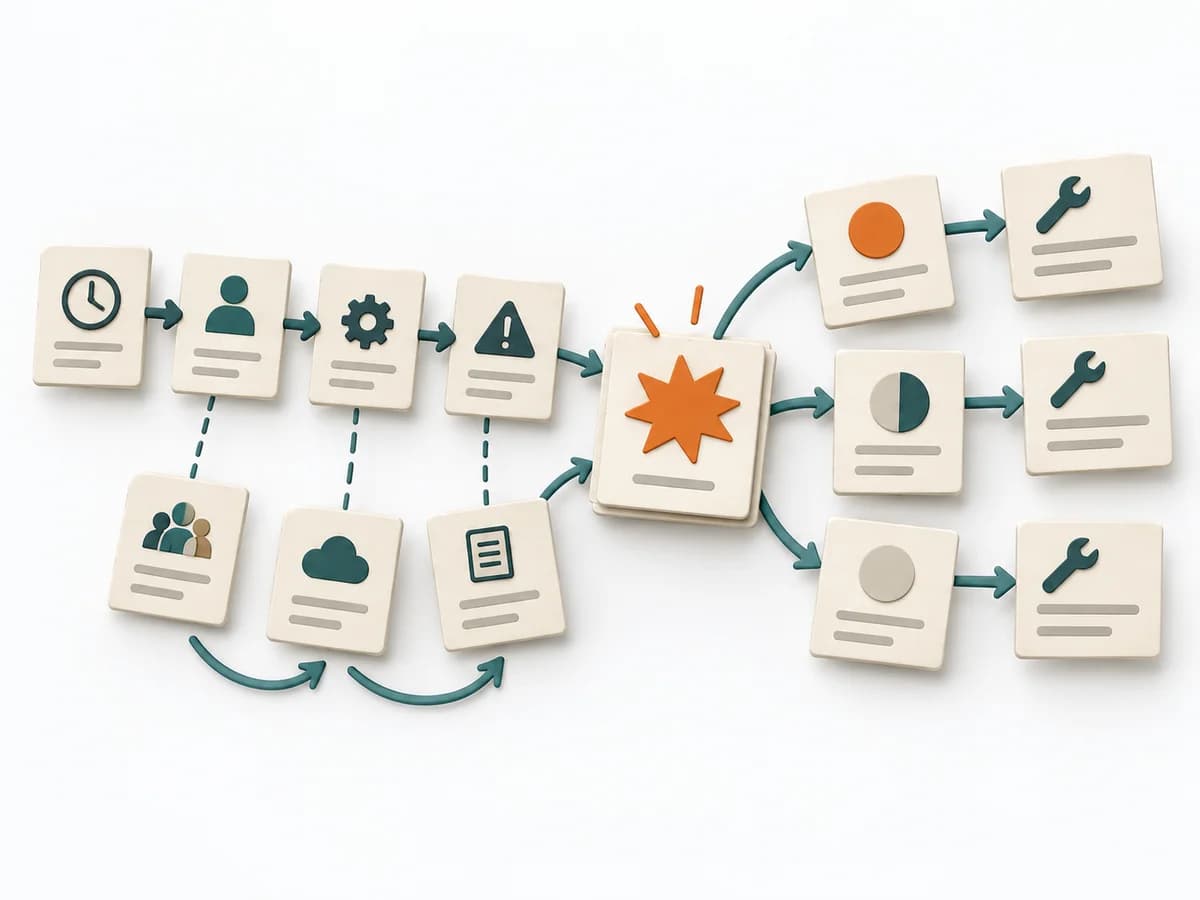 Operations Causal Factor Analysis | 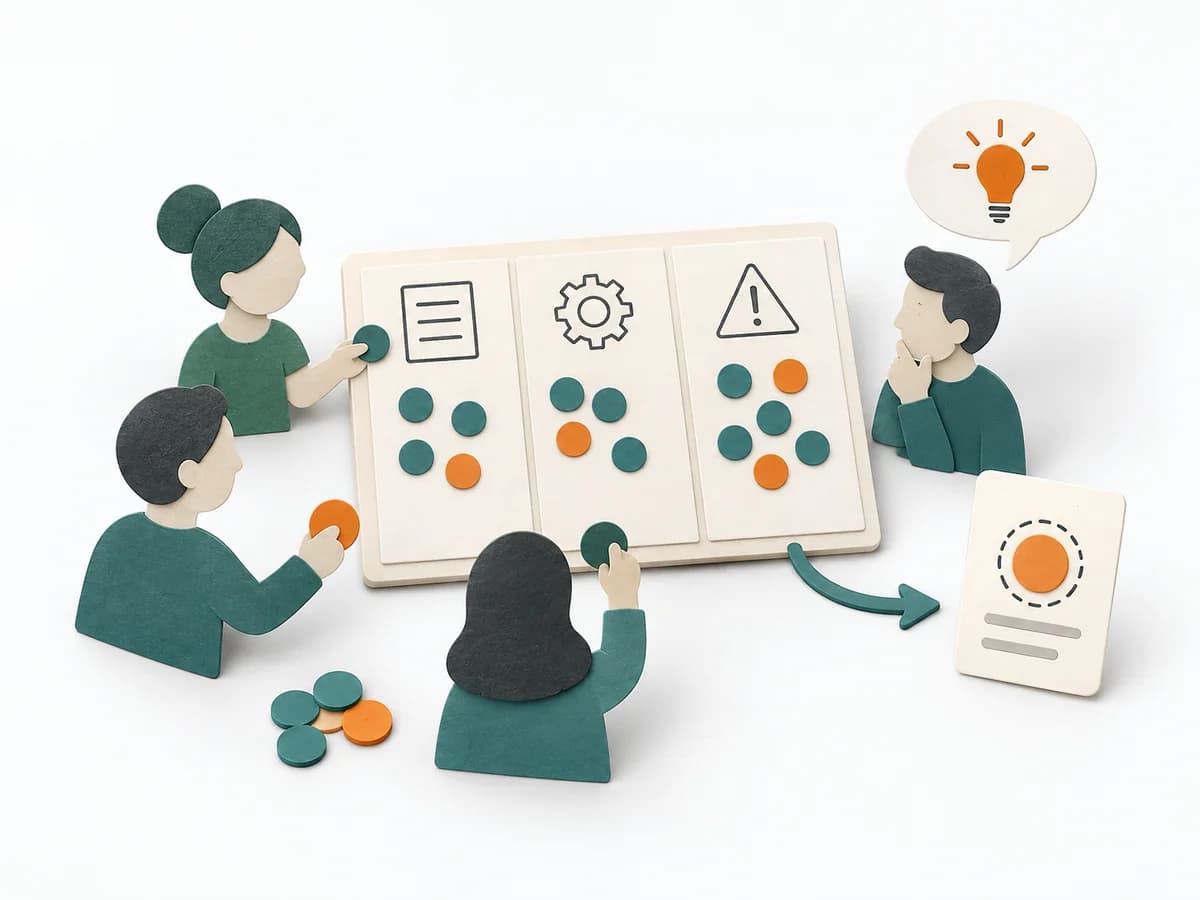 Facilitation Dot Estimation | 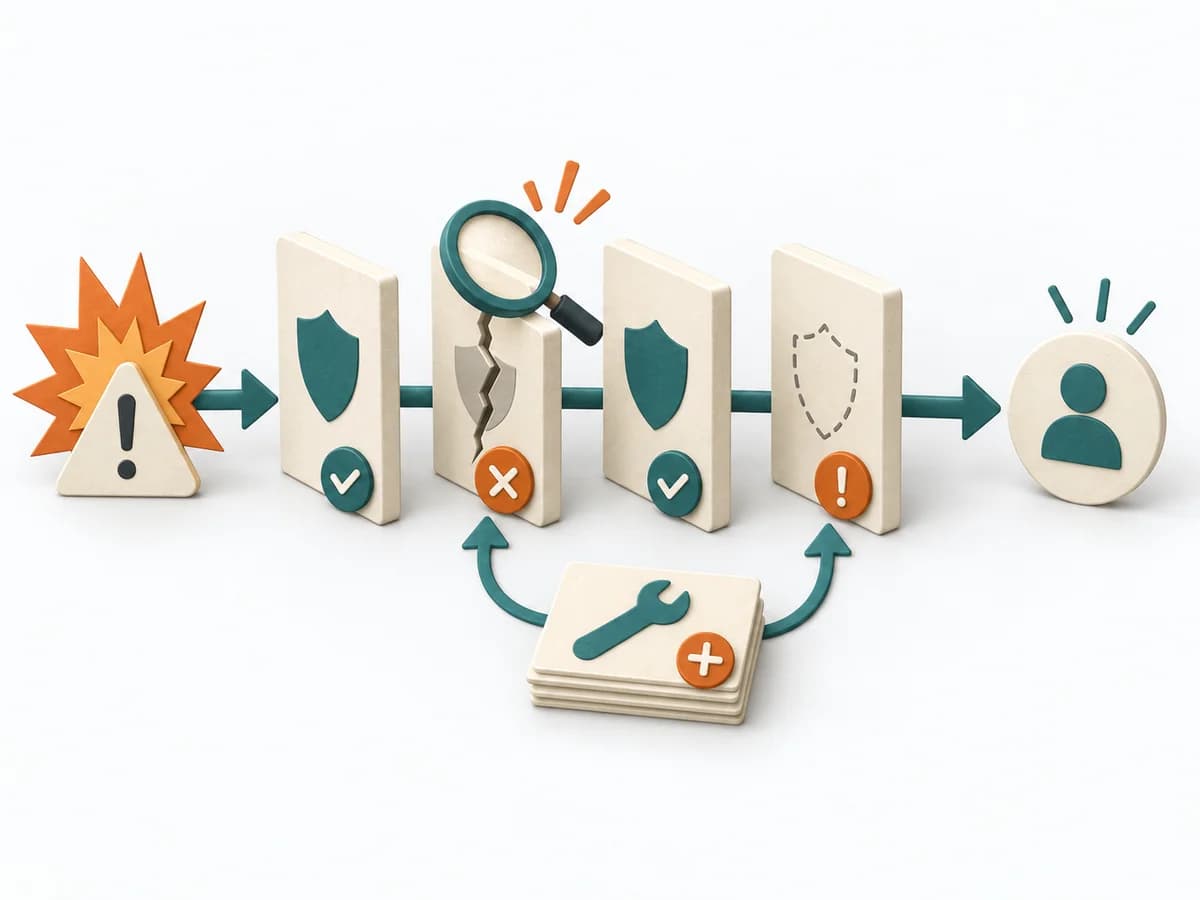 Operations Barrier Analysis |
|---|---|---|---|---|
Purposedifferent | For a flow that backs up at one point, the method looks for the capacity limit with the greatest leverage. It explains why extra effort elsewhere barely improves throughput. | For an event with a complicated course, the method breaks down the contributing factors along the timeline. It shows how conditions, decisions, and reactions together produce a course of events. | When size or effort can only be estimated roughly, Dot Estimation condenses the group's experience into a quick range. It turns individual contributions into a visible selection. The result is captured as an Effort Heatmap, Risk Signals, and Discussion Targets. | For a risk that can only be managed through multiple layers of protection, the method examines the effectiveness of each barrier. It shows where safeguards are missing, too weak, or fail under real conditions. |
Complexitydifferent | Medium | High | Low | Medium |
Timedifferent | 1-3 h | 2-6 h | 5-20 min | 2-4 h |
Participantsdifferent | 3-8 | 3-10 | 3-20 | 2-6 |
Formatdifferent | Workshop + async | Workshop + async | Workshop | Workshop + async |
Outputdifferent | Bottleneck Map, Flow Metrics, Improvement Options, Follow-up Measures | Event Timeline, Causal Factor Chart, Cause List, Corrective Actions | Effort Heatmap, Risk Signals, Discussion Targets | Barrier Inventory, Failure Analysis per Barrier, Action Backlog |
Tagsno overlap | FlowMeasurementConstraints | CausalityIncidentRoot causeTimeline | EstimationEffortRisk | Root causeSafetyIncident |