View methods side by side.
Choose up to four methods. Add them using the search and share the comparison by copying its link.
| Criterion |  Product Discovery Assumption Mapping | 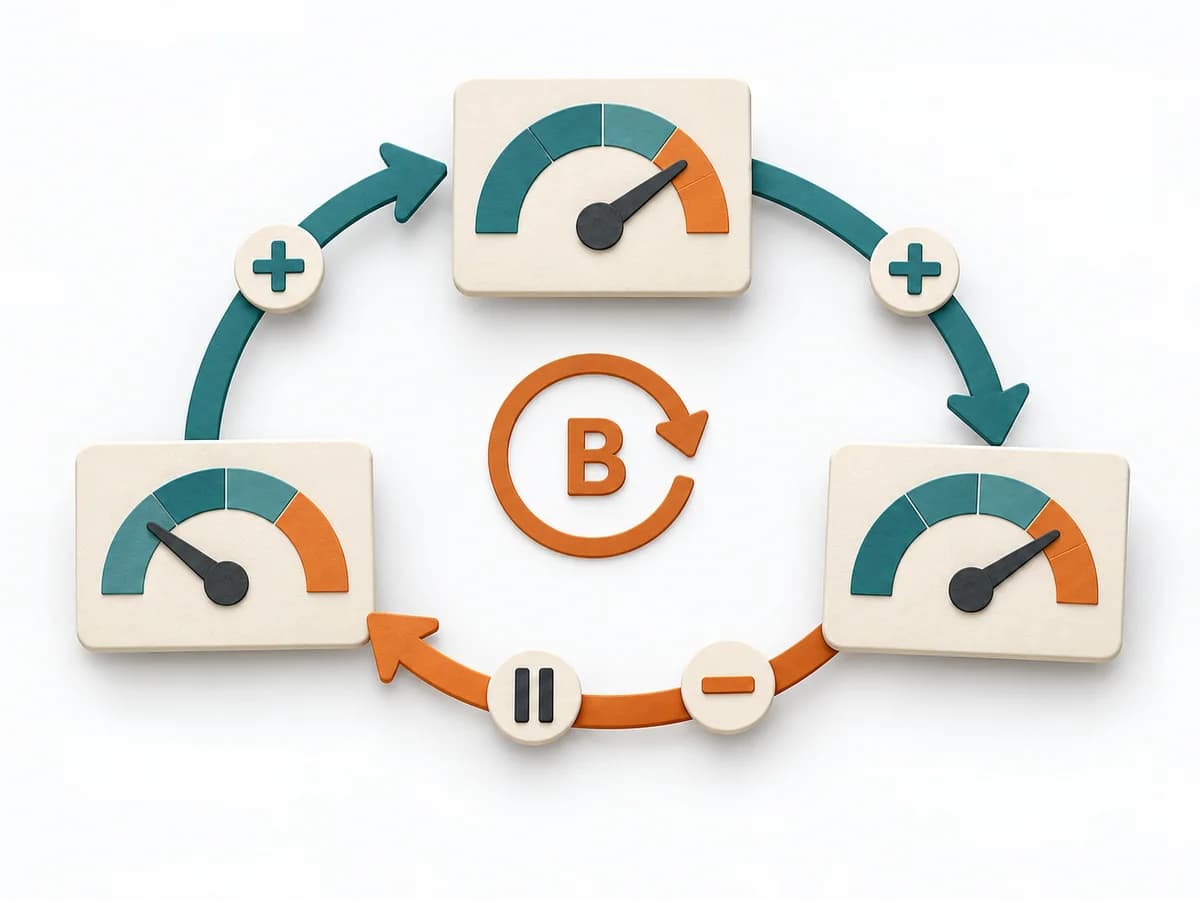 Systems Thinking Causal Loop Diagram | 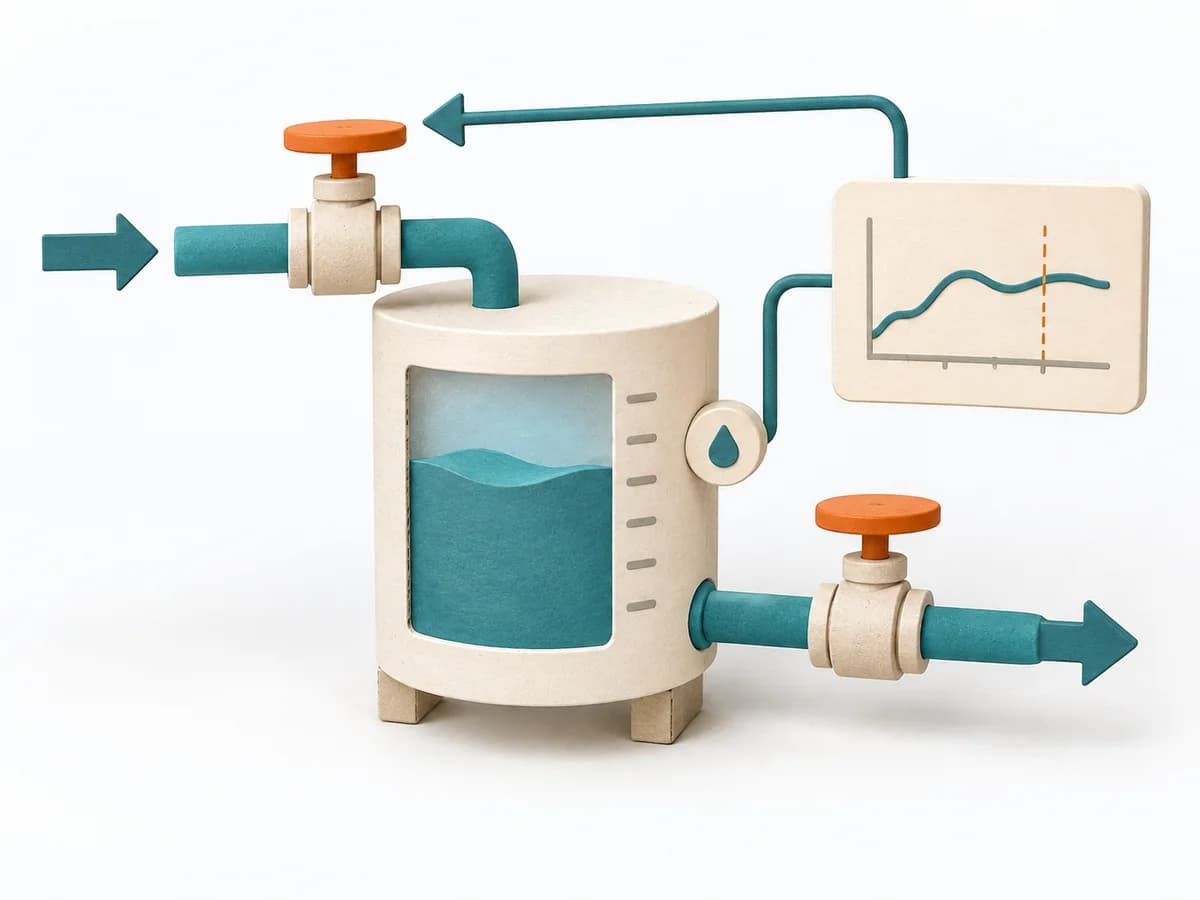 Systems Thinking Stock and Flow Diagram | 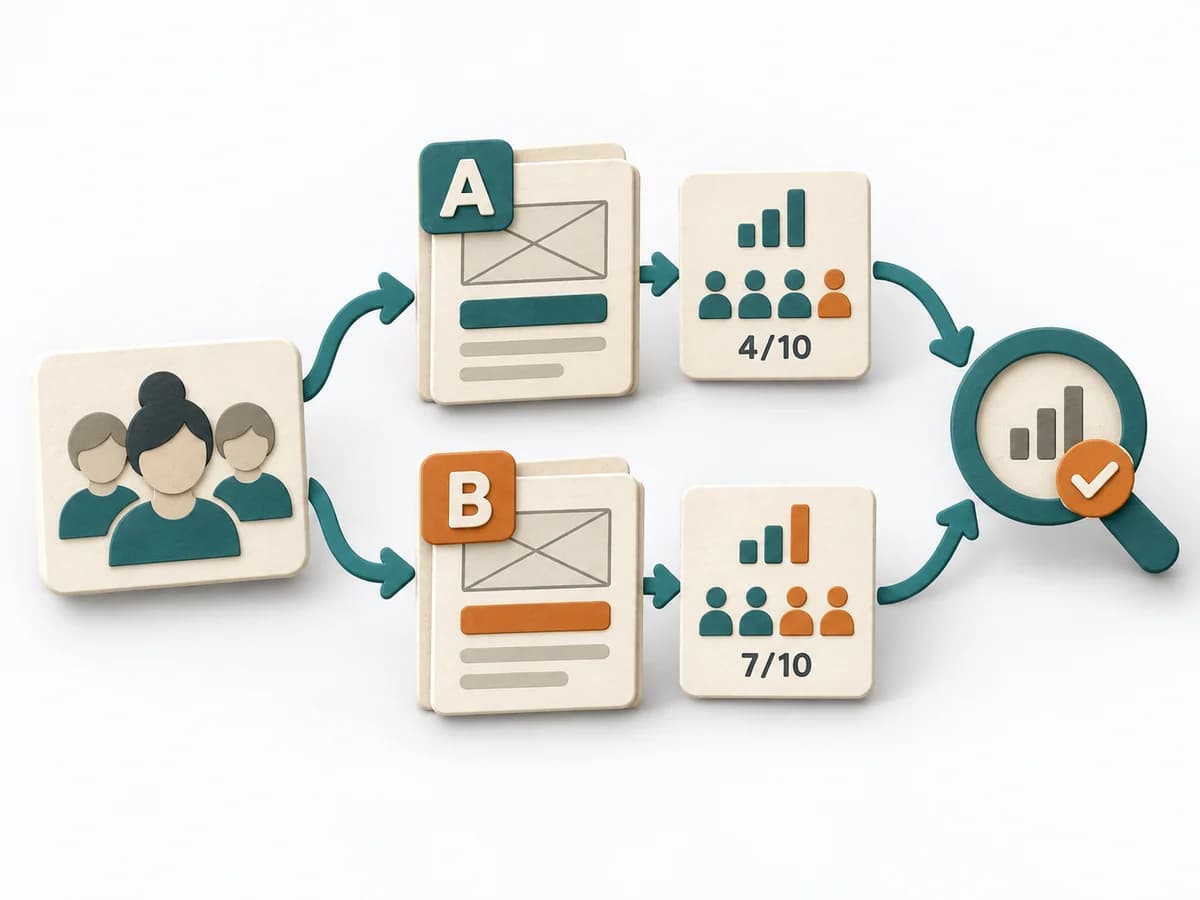 Growth A/B Testing |
|---|---|---|---|---|
Purposedifferent | When assumptions still sit unordered in the room, it weighs uncertainty against leverage. It makes visible which hypotheses should be checked first. | A Causal Loop Diagram makes feedback, reinforcement, and balance in a system legible. It uncovers side effects and self-reinforcement that stay hidden in linear explanations. | A Stock and Flow Diagram shows how stocks, inflows, and outflows shape a system over time. It is especially suited when growth, delays, or capacity limits determine the dynamics. | When two variants compete, discussions quickly decide by taste rather than effect. A/B Testing checks behavior under controlled conditions and separates real improvement from chance or expectation effects. |
Complexitydifferent | Medium | Medium | High | High |
Timedifferent | 45-60 min | 1-3 h | 2-6 h | 1-4 Wochen |
Participantsdifferent | 2-8 | 2-8 | 1-6 | 1-6 |
Formatdifferent | Workshop + async | Workshop | Workshop + async | Async |
Outputdifferent | Assumption map, Test backlog, Risk ranking | Causal Loop Diagram, Feedback Notes, Leverage Points | Stock and Flow Model, Dynamics Notes, Simulation Hypotheses | Experiment results, Decision log, Learning summary |
Tagsno overlap | AssumptionsRiskExperimentsValidation | FeedbackSystems thinkingCausalityDynamics | DynamicsSimulationFeedbackSystems thinking | ExperimentsGrowthAnalyticsValidation |