View methods side by side.
Choose up to four methods. Add them using the search and share the comparison by copying its link.
| Criterion | 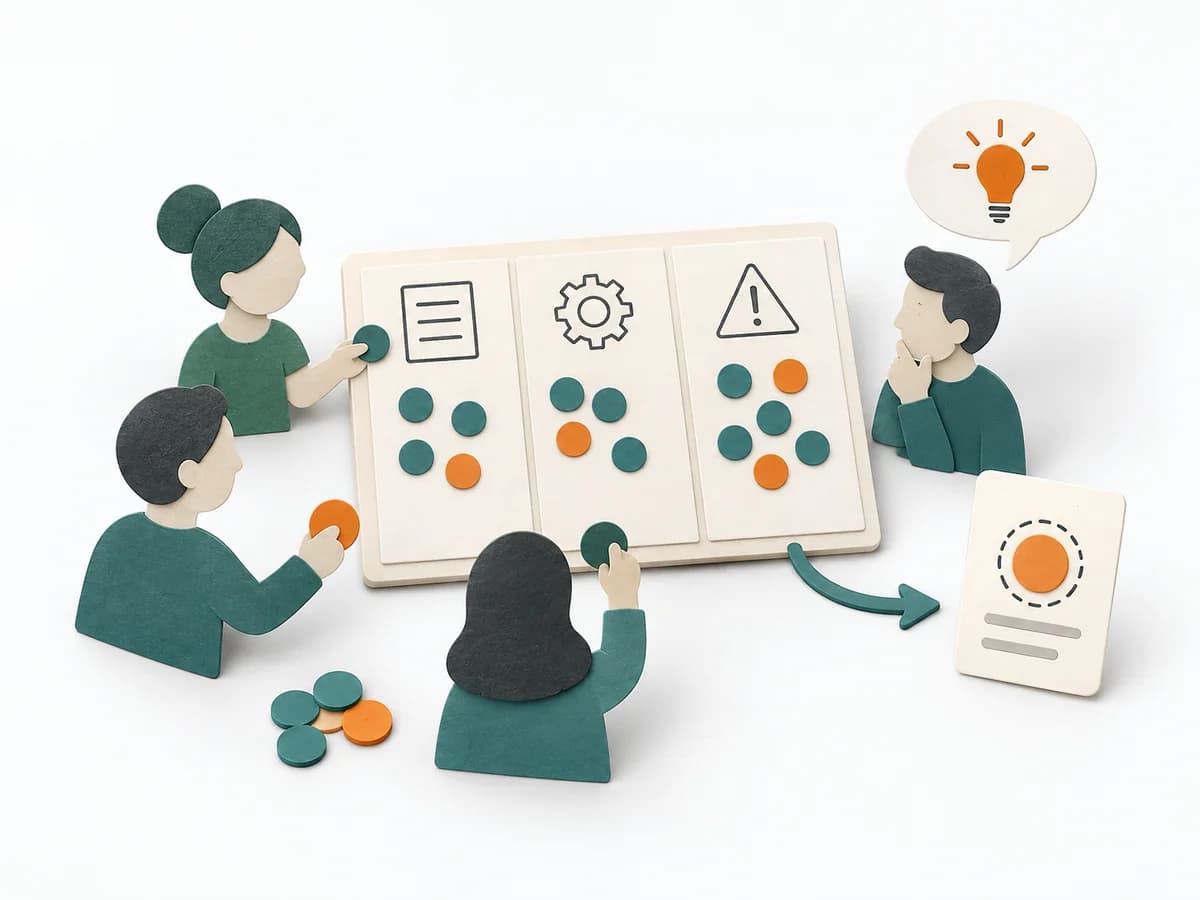 Facilitation Dot Estimation |  Operations Bottleneck Analysis | 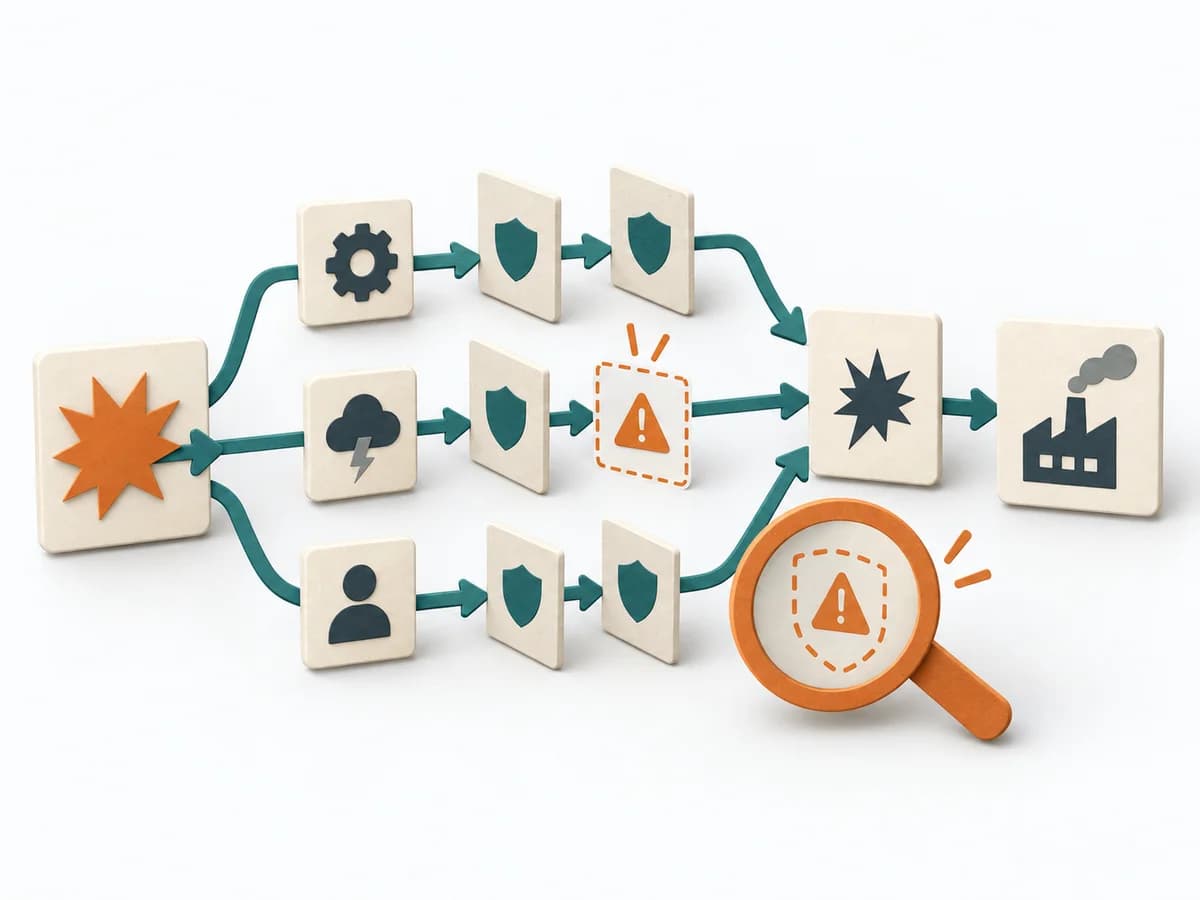 Engineering Failure Scenario Analysis | 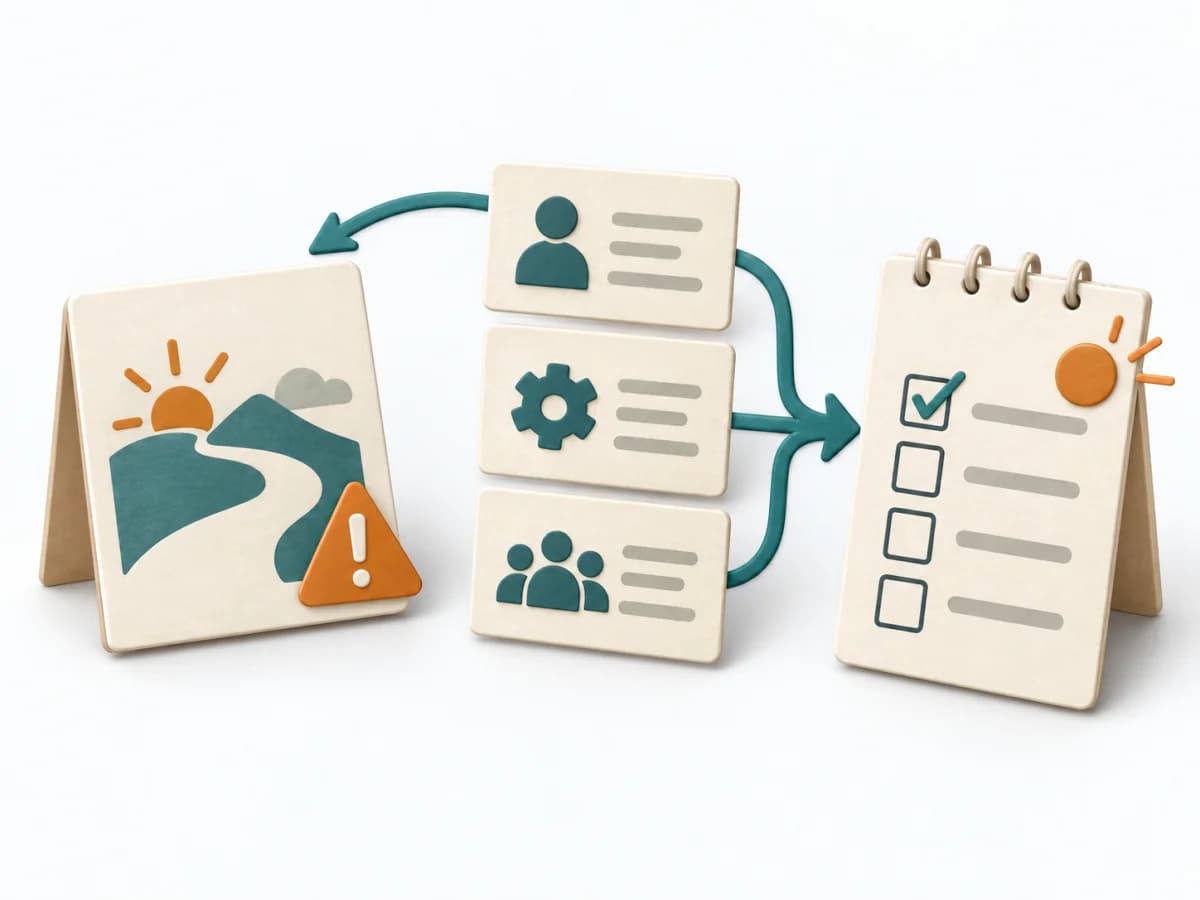 Decision Making Pre-Mortem |
|---|---|---|---|---|
Purposedifferent | When size or effort can only be estimated roughly, Dot Estimation condenses the group's experience into a quick range. It turns individual contributions into a visible selection. The result is captured as an Effort Heatmap, Risk Signals, and Discussion Targets. | For a flow that backs up at one point, the method looks for the capacity limit with the greatest leverage. It explains why extra effort elsewhere barely improves throughput. | In critical processes, it is not enough to plan only for the normal case. Failure Scenario Analysis looks at the path into failure and shows which failures, chains, and control gaps cause the most damage. | In early initiatives with many uncertainties, planning quickly turns too optimistic. A pre-mortem makes the expected failure visible in advance and sharpens the view of causes, gaps, and countermeasures. |
Complexitydifferent | Low | Medium | Medium | Low |
Timedifferent | 5-20 min | 1-3 h | 1-3 h | 20–45 min |
Participantsdifferent | 3-20 | 3-8 | 3-8 | Small cross-functional group |
Formatdifferent | Workshop | Workshop + async | Workshop | Workshop |
Outputdifferent | Effort Heatmap, Risk Signals, Discussion Targets | Bottleneck Map, Flow Metrics, Improvement Options, Follow-up Measures | Failure Scenarios, Risk Notes, Control Gaps, Test and Response Actions | Risk list, Mitigation plan, Assumption log |
Tagsno overlap | EstimationEffortRisk | FlowMeasurementConstraints | FailureResilienceRisk | RiskDecisionFailurePlanning |